
ControlNetPlus
English | 简体中文
ControlNet++: All-in-one ControlNet for image generations and editing!
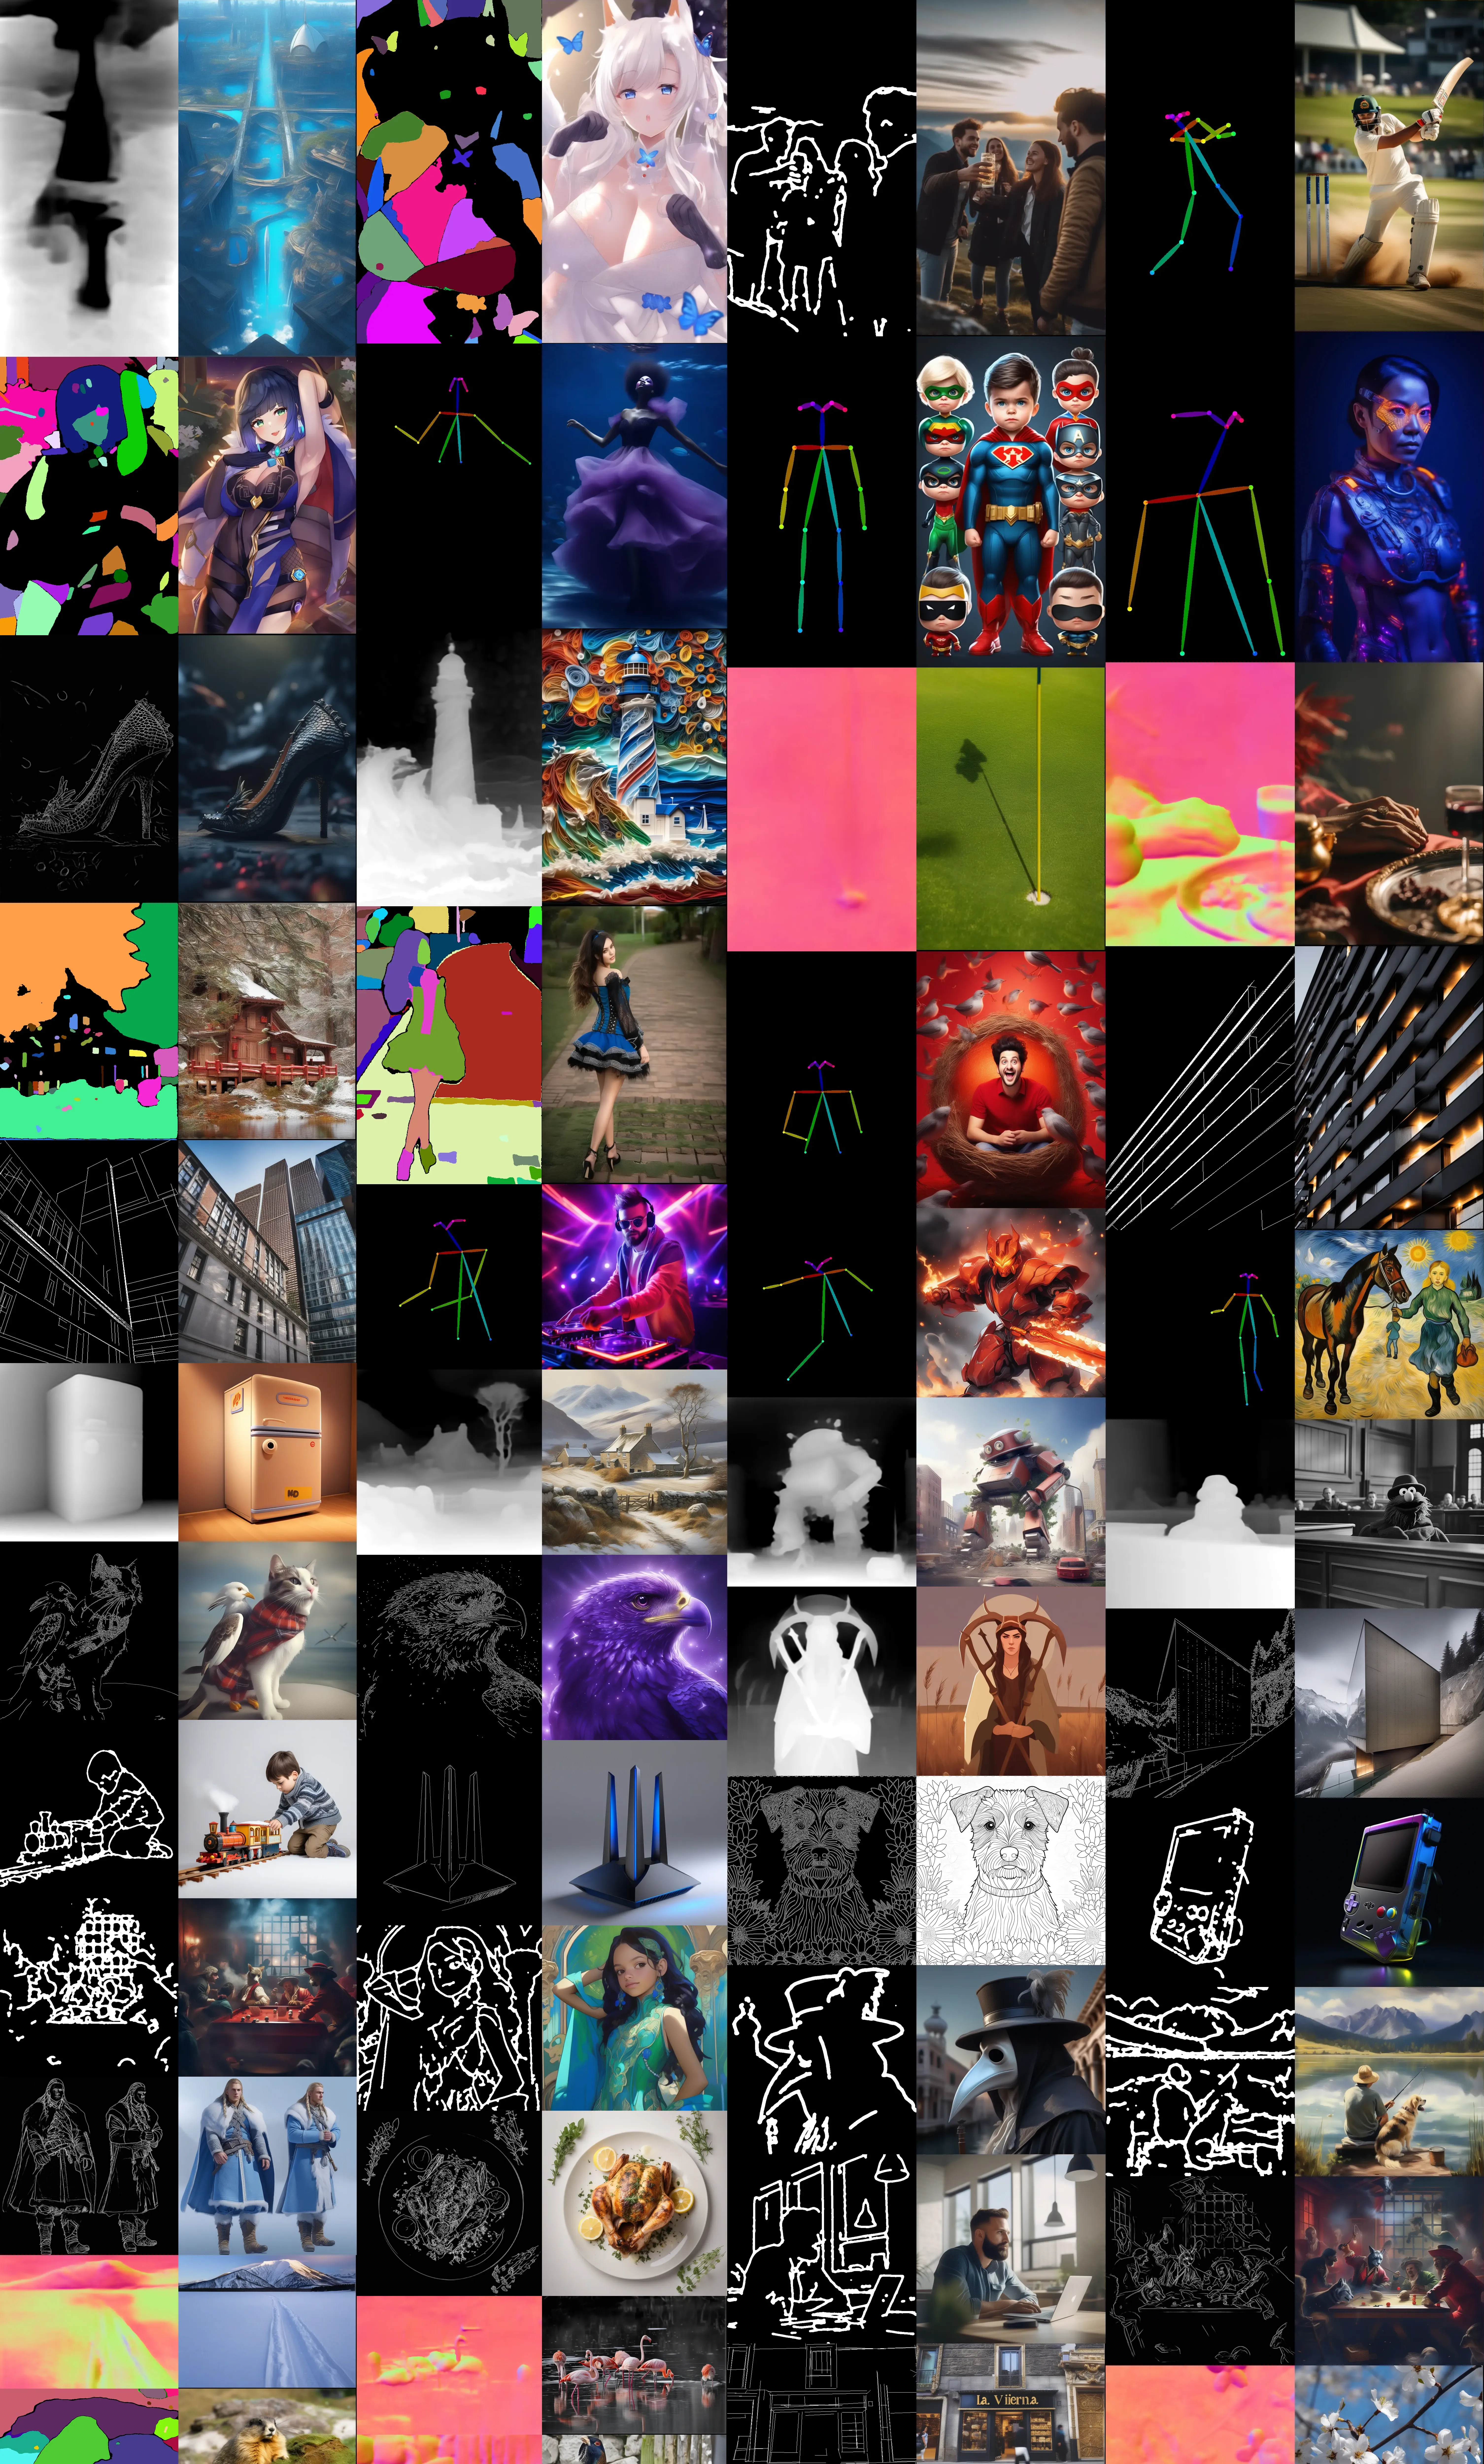
我们设计了一种新架构,支持在条件文本到图像生成中使用 10 种以上的控制类型,并能生成在视觉上可与 midjourney 媲美的高分辨率图像。该网络基于原始的 ControlNet 架构,我们提出了两个新模块:1 扩展原始 ControlNet,使其能够使用相同的网络参数支持不同的图像条件。2 支持多条件输入而不增加计算卸载,这对于希望详细编辑图像的设计师尤为重要,不同的条件使用相同的条件编码器,无需增加额外的计算或参数。我们在 SDXL 上进行了彻底的实验,在控制能力和美学评分方面均取得了卓越的性能。我们将该方法和模型发布给开源社区,让每个人都能享受它。
如果您觉得有用,请给我一颗星,非常感谢!! SDXL ProMax 版本已发布!!!,尽情享受吧!!!
很抱歉,由于项目的收支难以平衡,GPU 资源被分配给了更有可能盈利的其他项目,SD3 的训练已暂停,直到我找到足够的 GPU 支持为止,我会尽力寻找 GPU 以继续训练。如果这给您带来了不便,我深表歉意。我想感谢所有喜欢这个项目的人,你们的支持是我坚持下去的动力
注意:我们将带有 promax 后缀的 promax 模型放在同一个 huggingface 模型仓库,详细说明稍后添加。
Promax 模型的高级编辑功能
Tile 去模糊
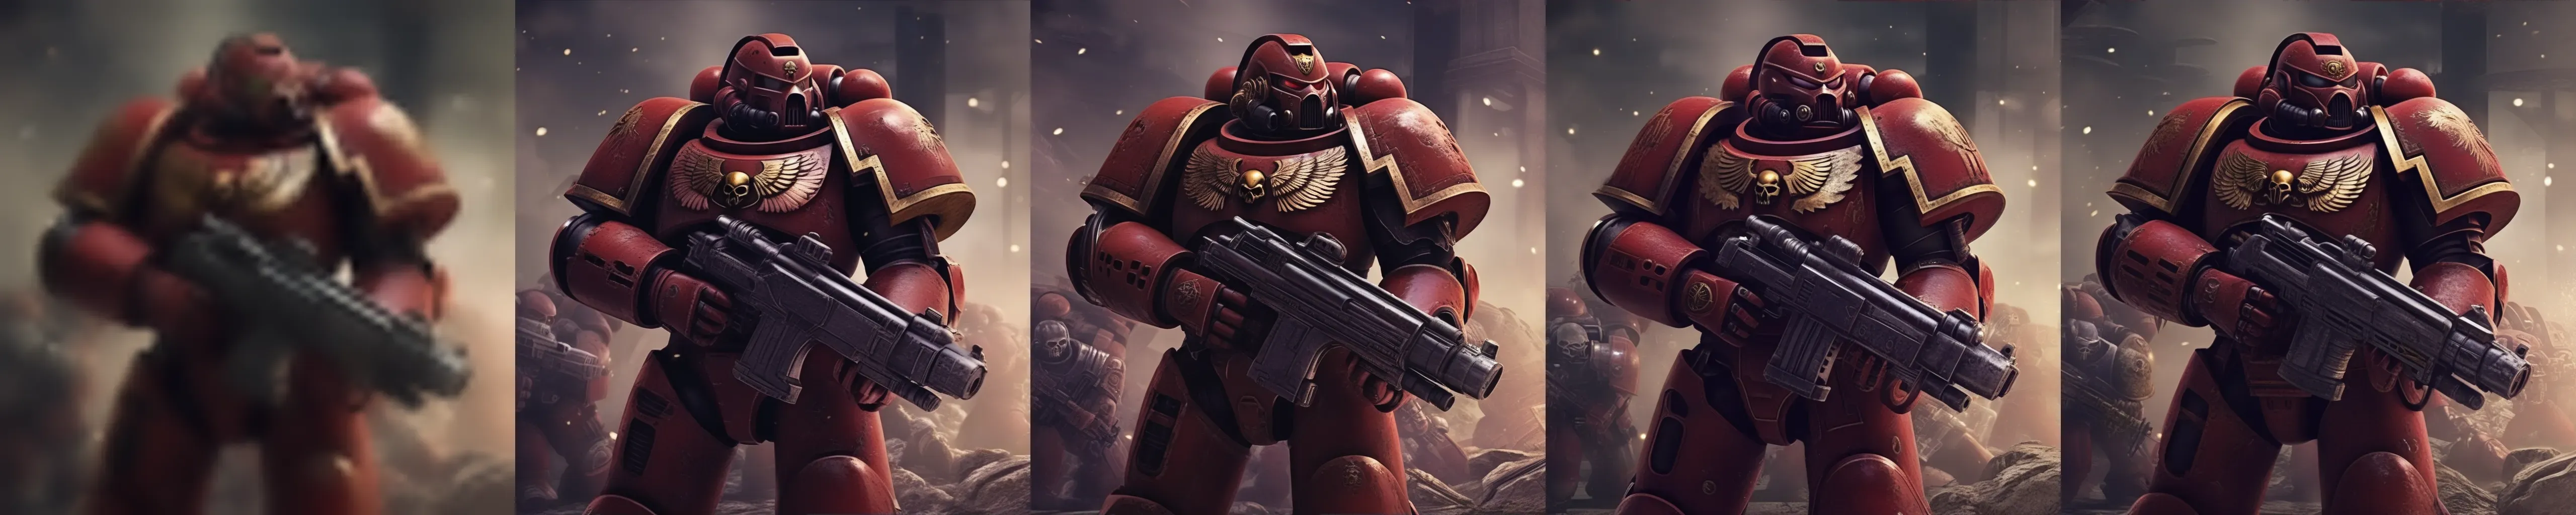
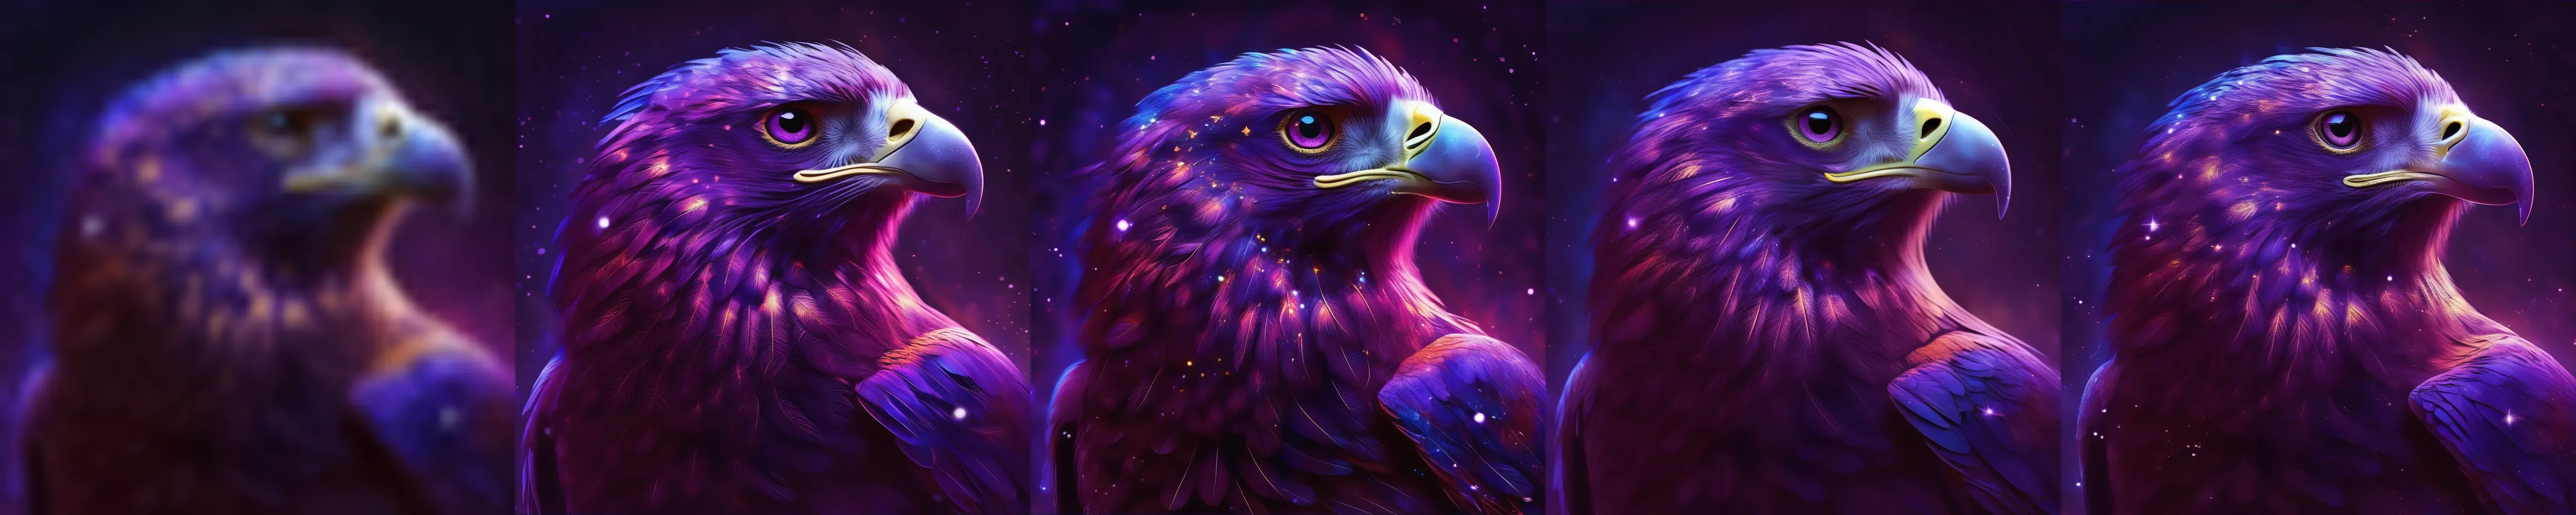
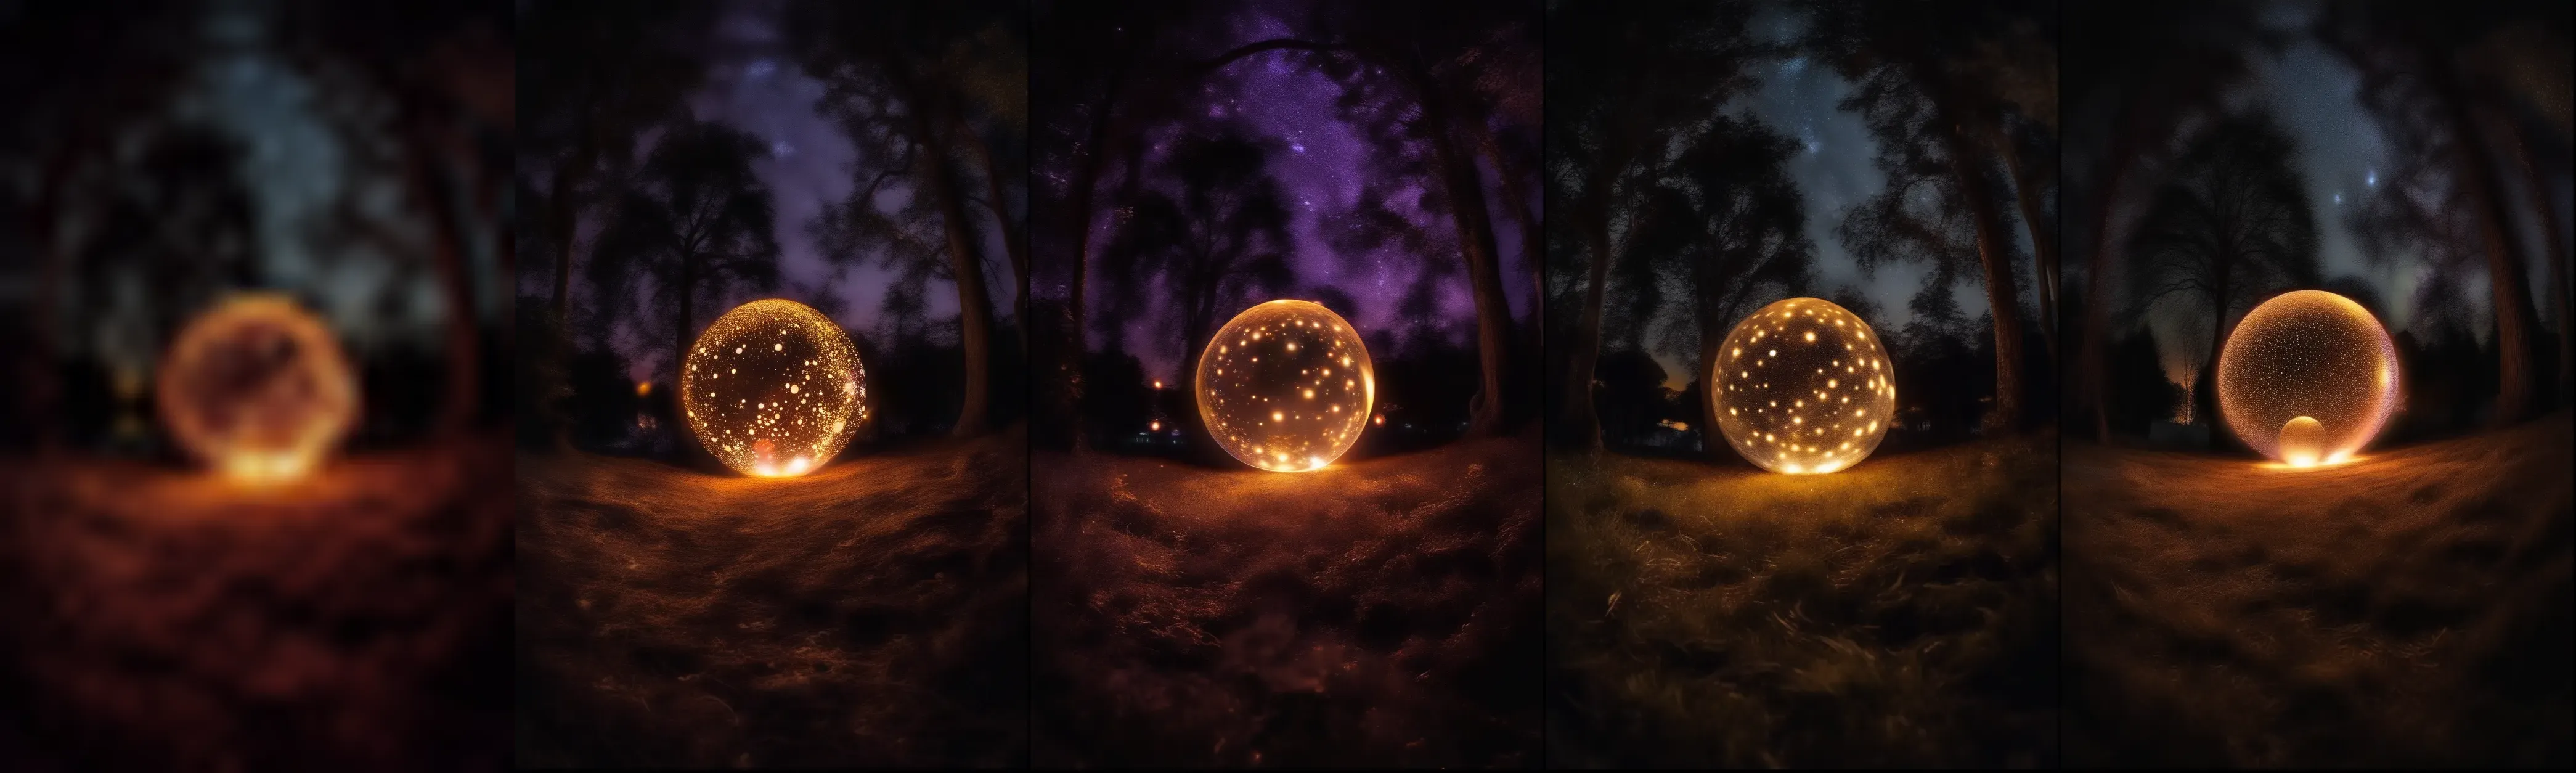
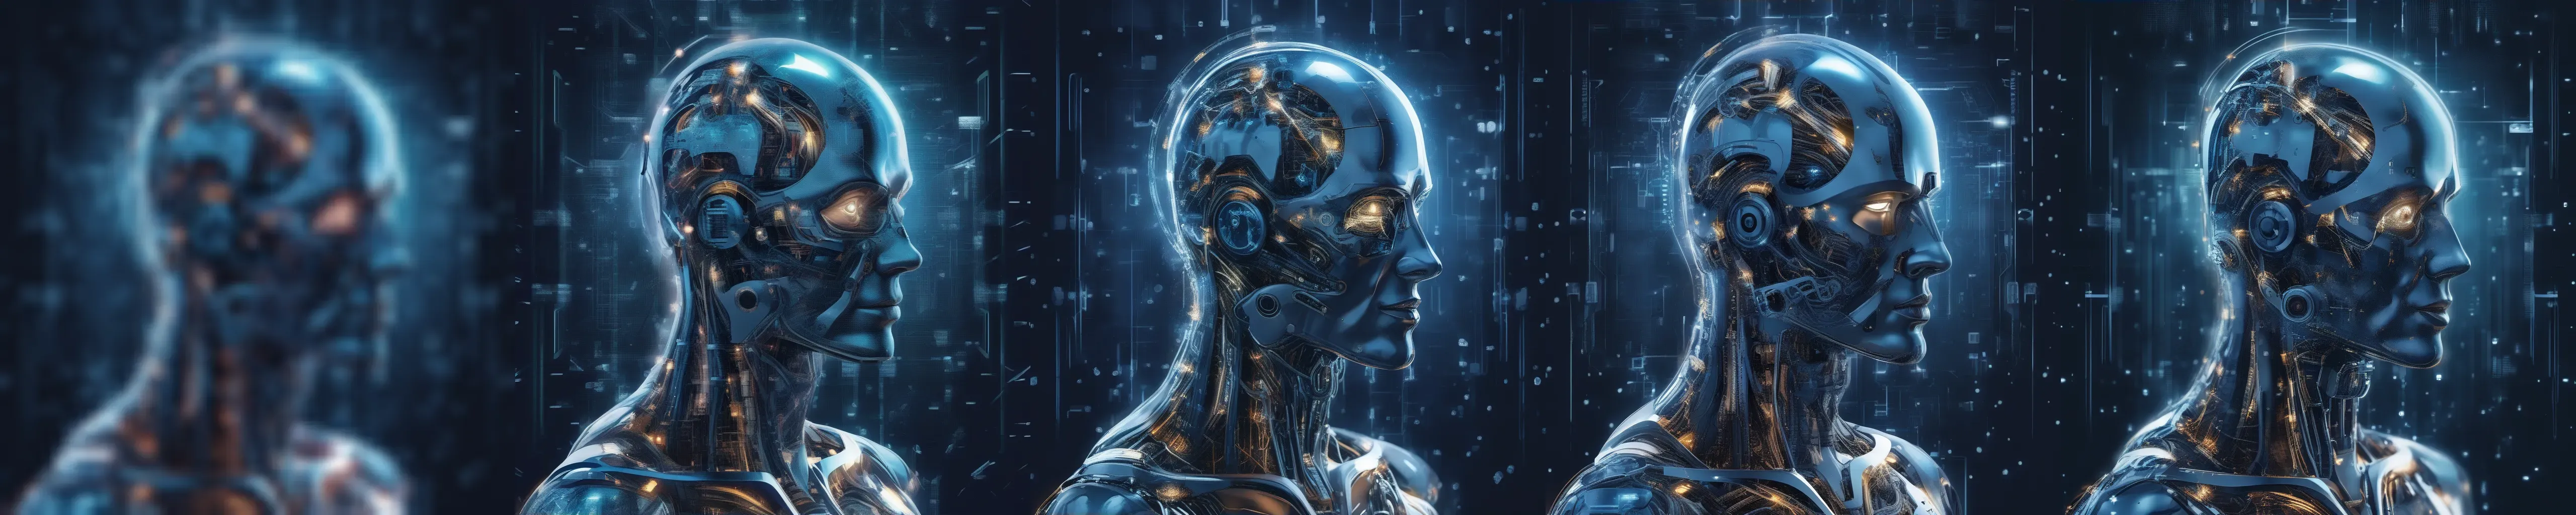
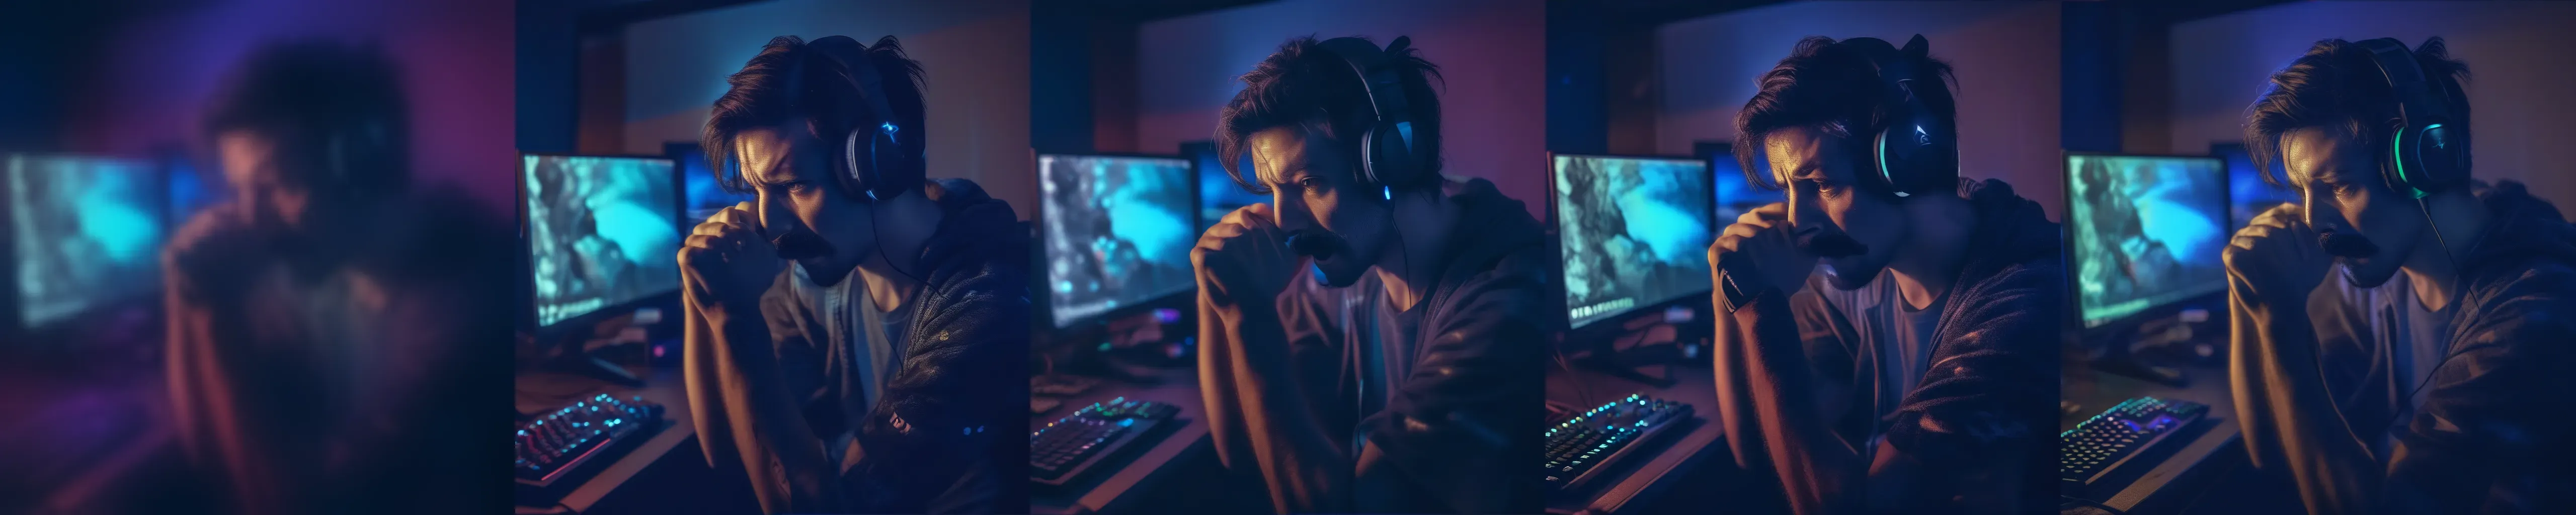

Tile 变体


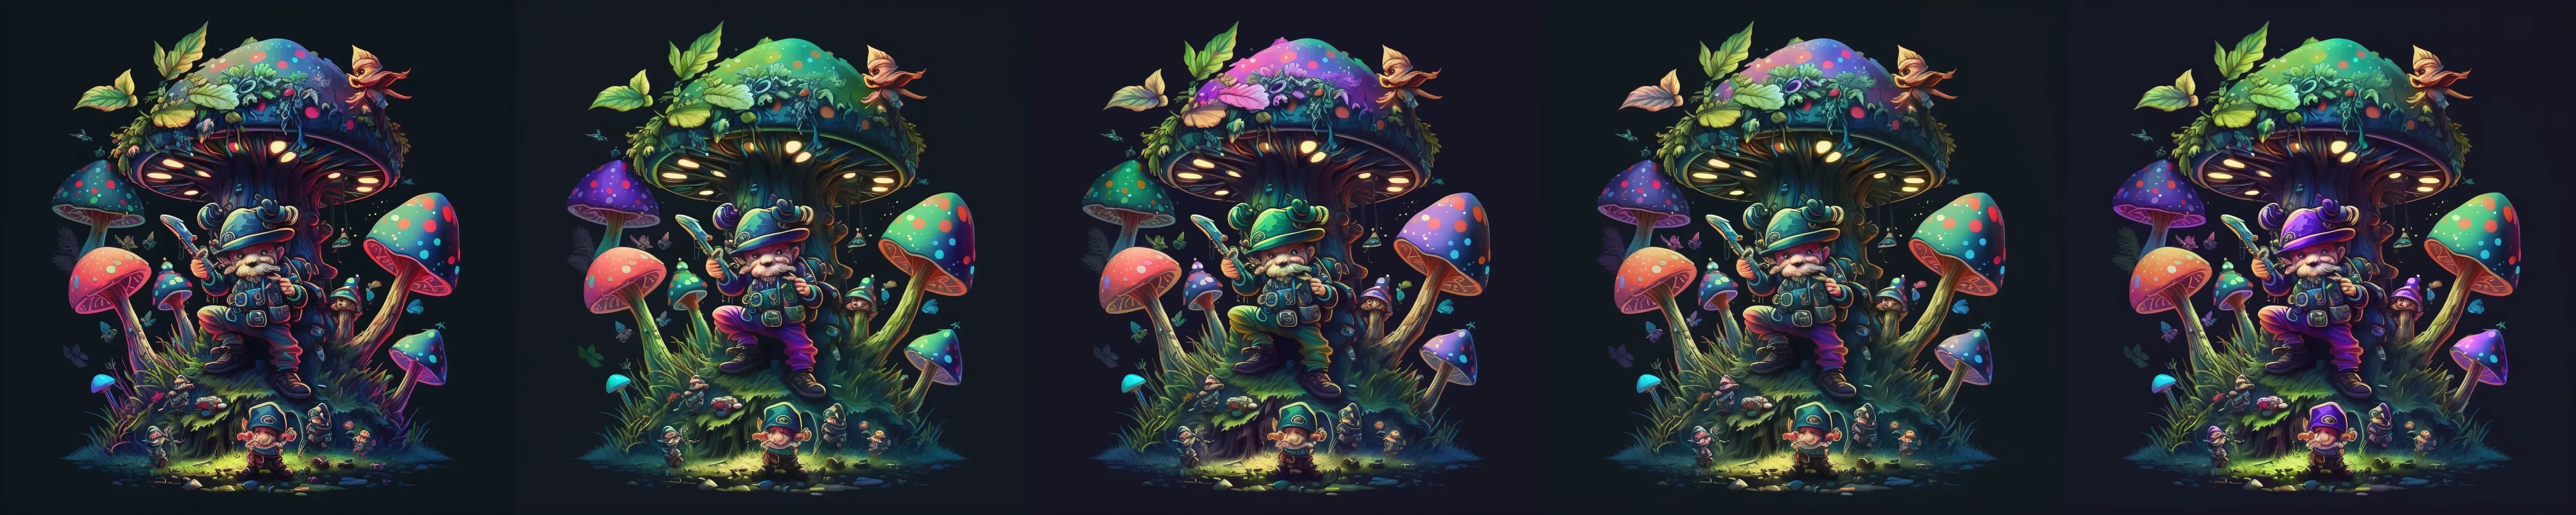
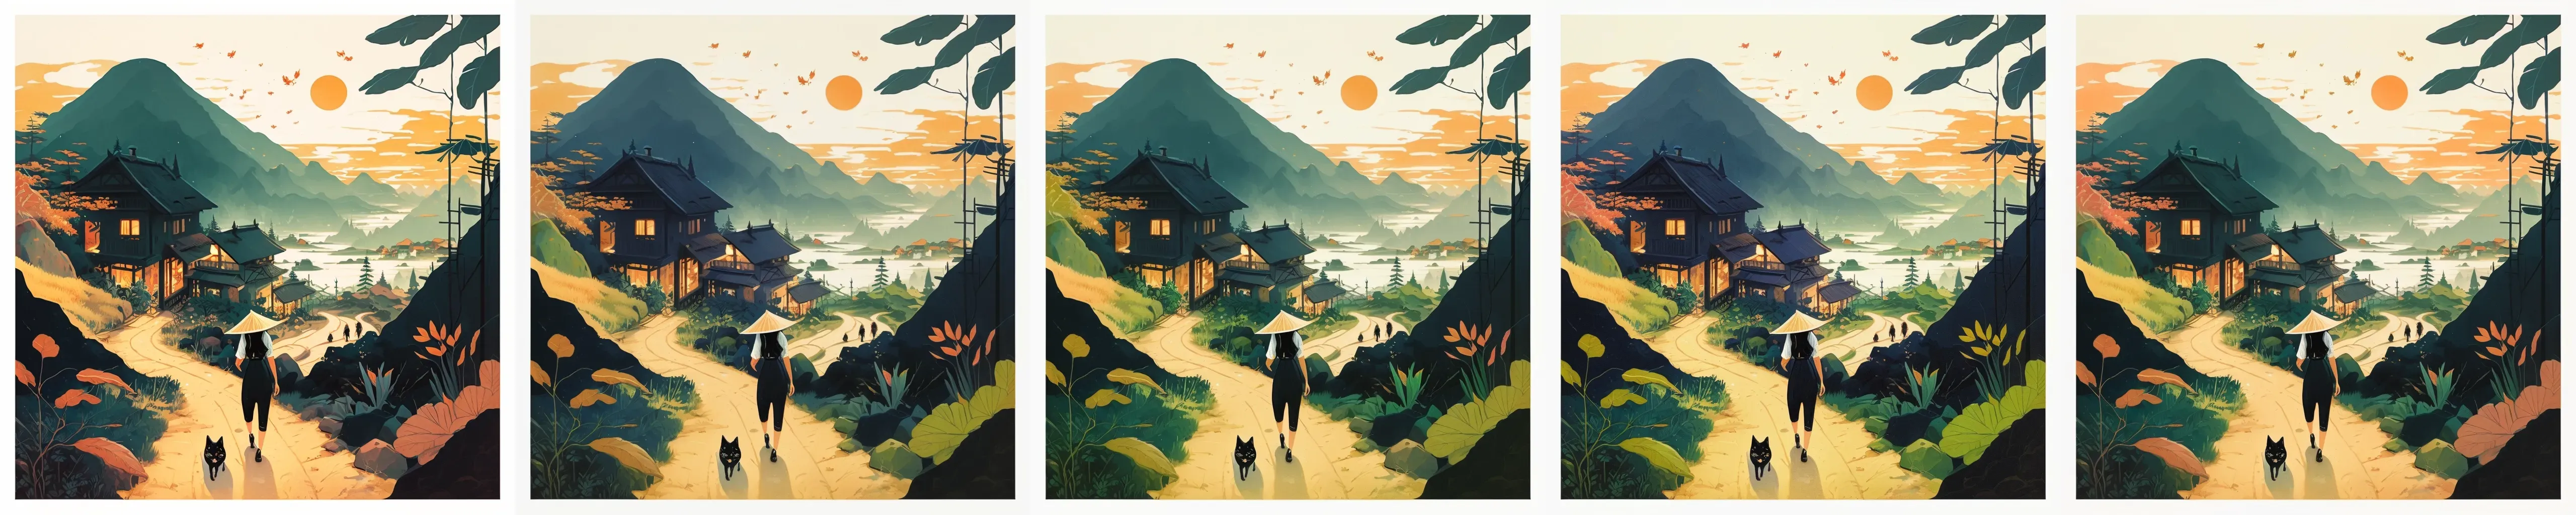

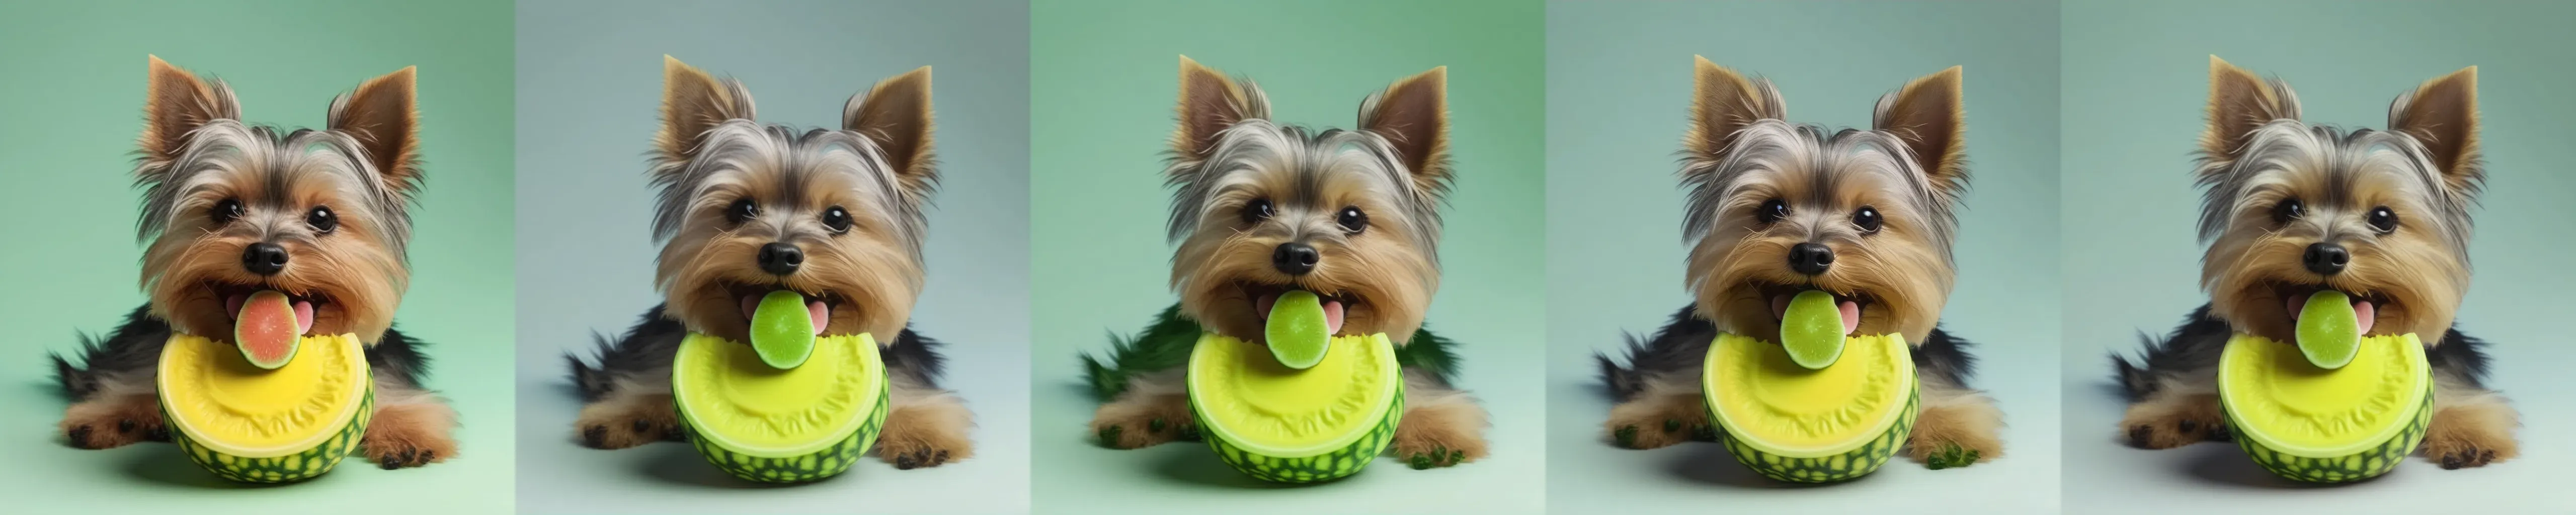
Tile 超分辨率
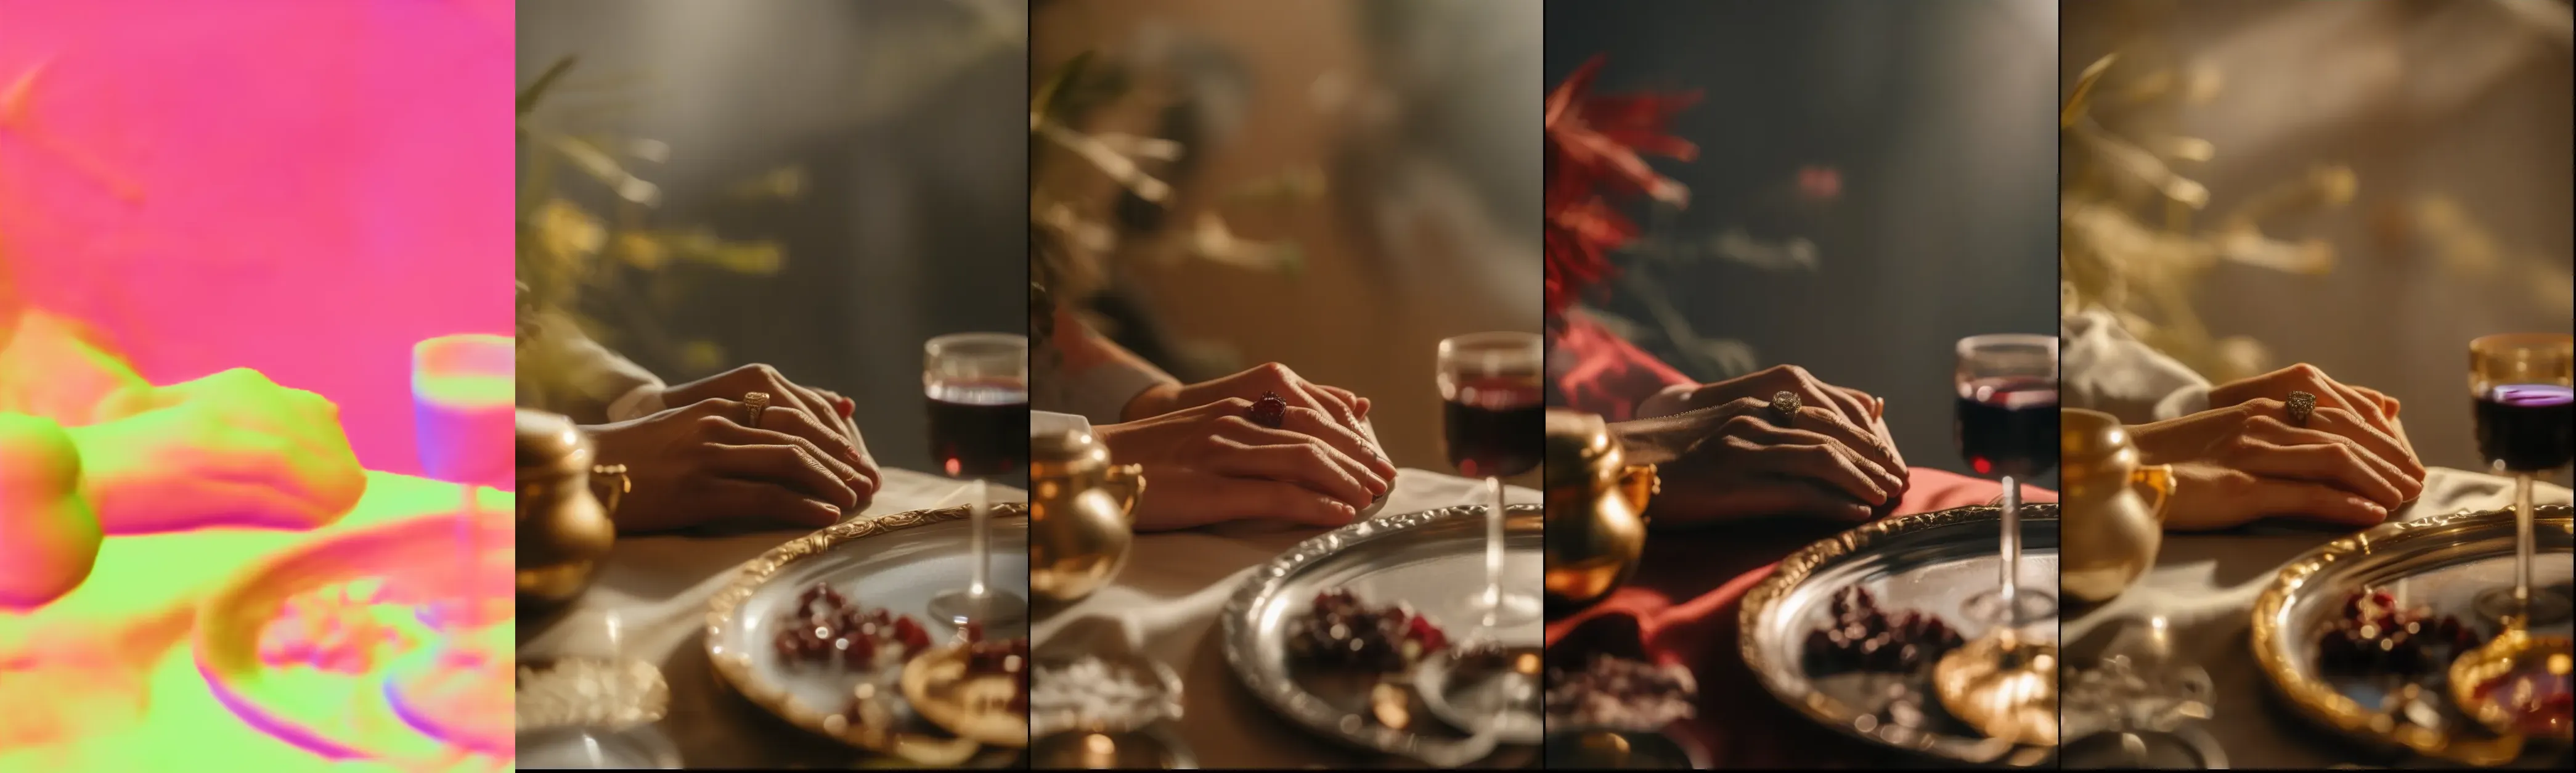
以下示例展示了从 1M 分辨率 --> 9M 分辨率
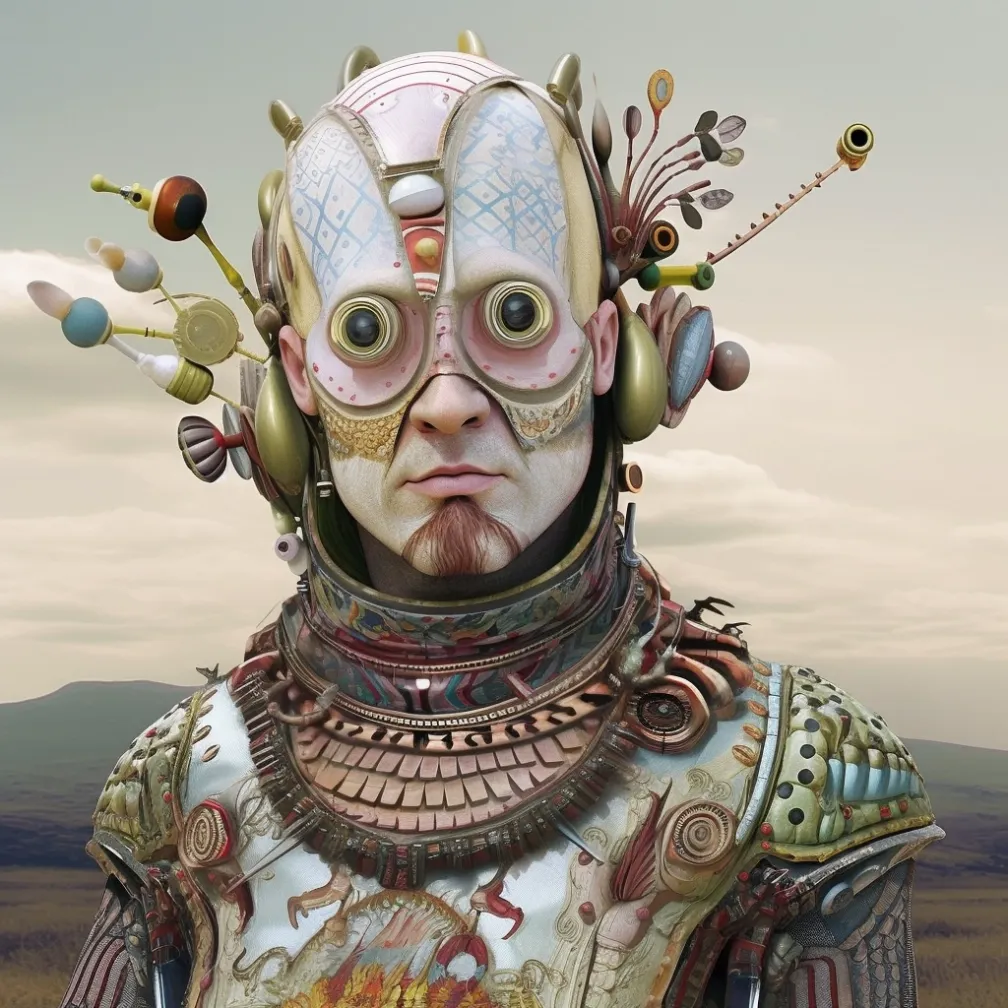
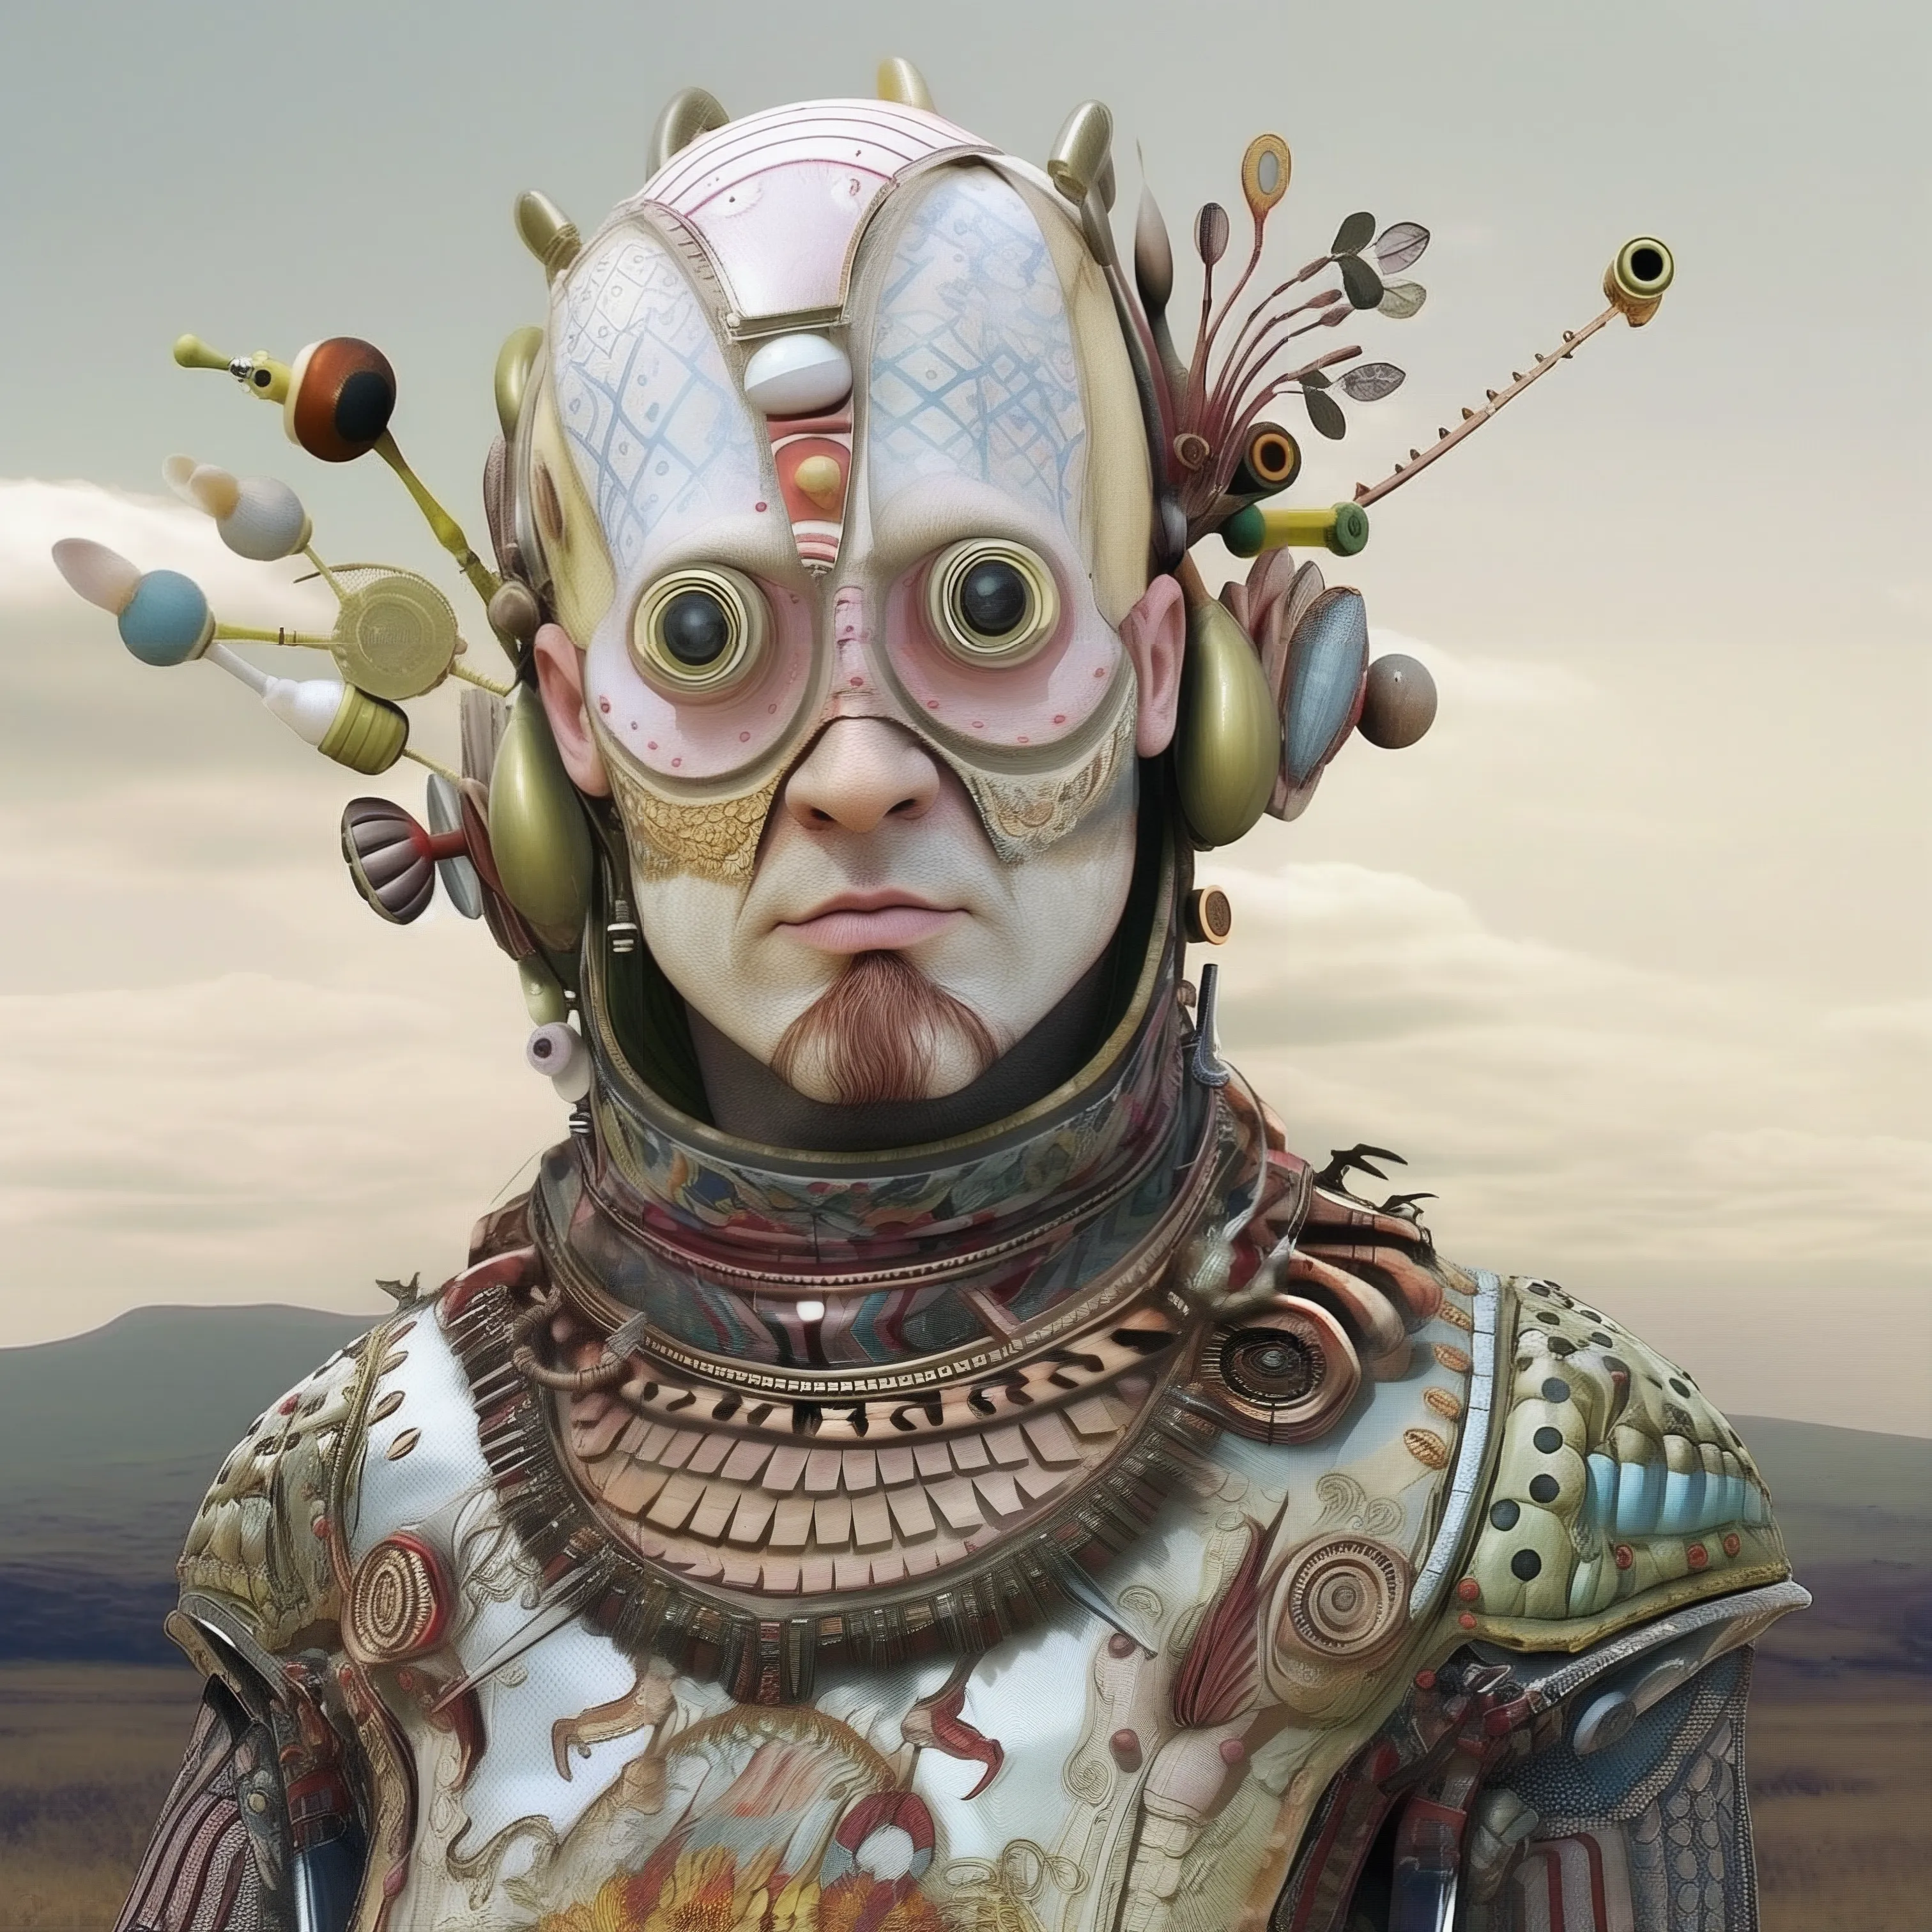


图像修复
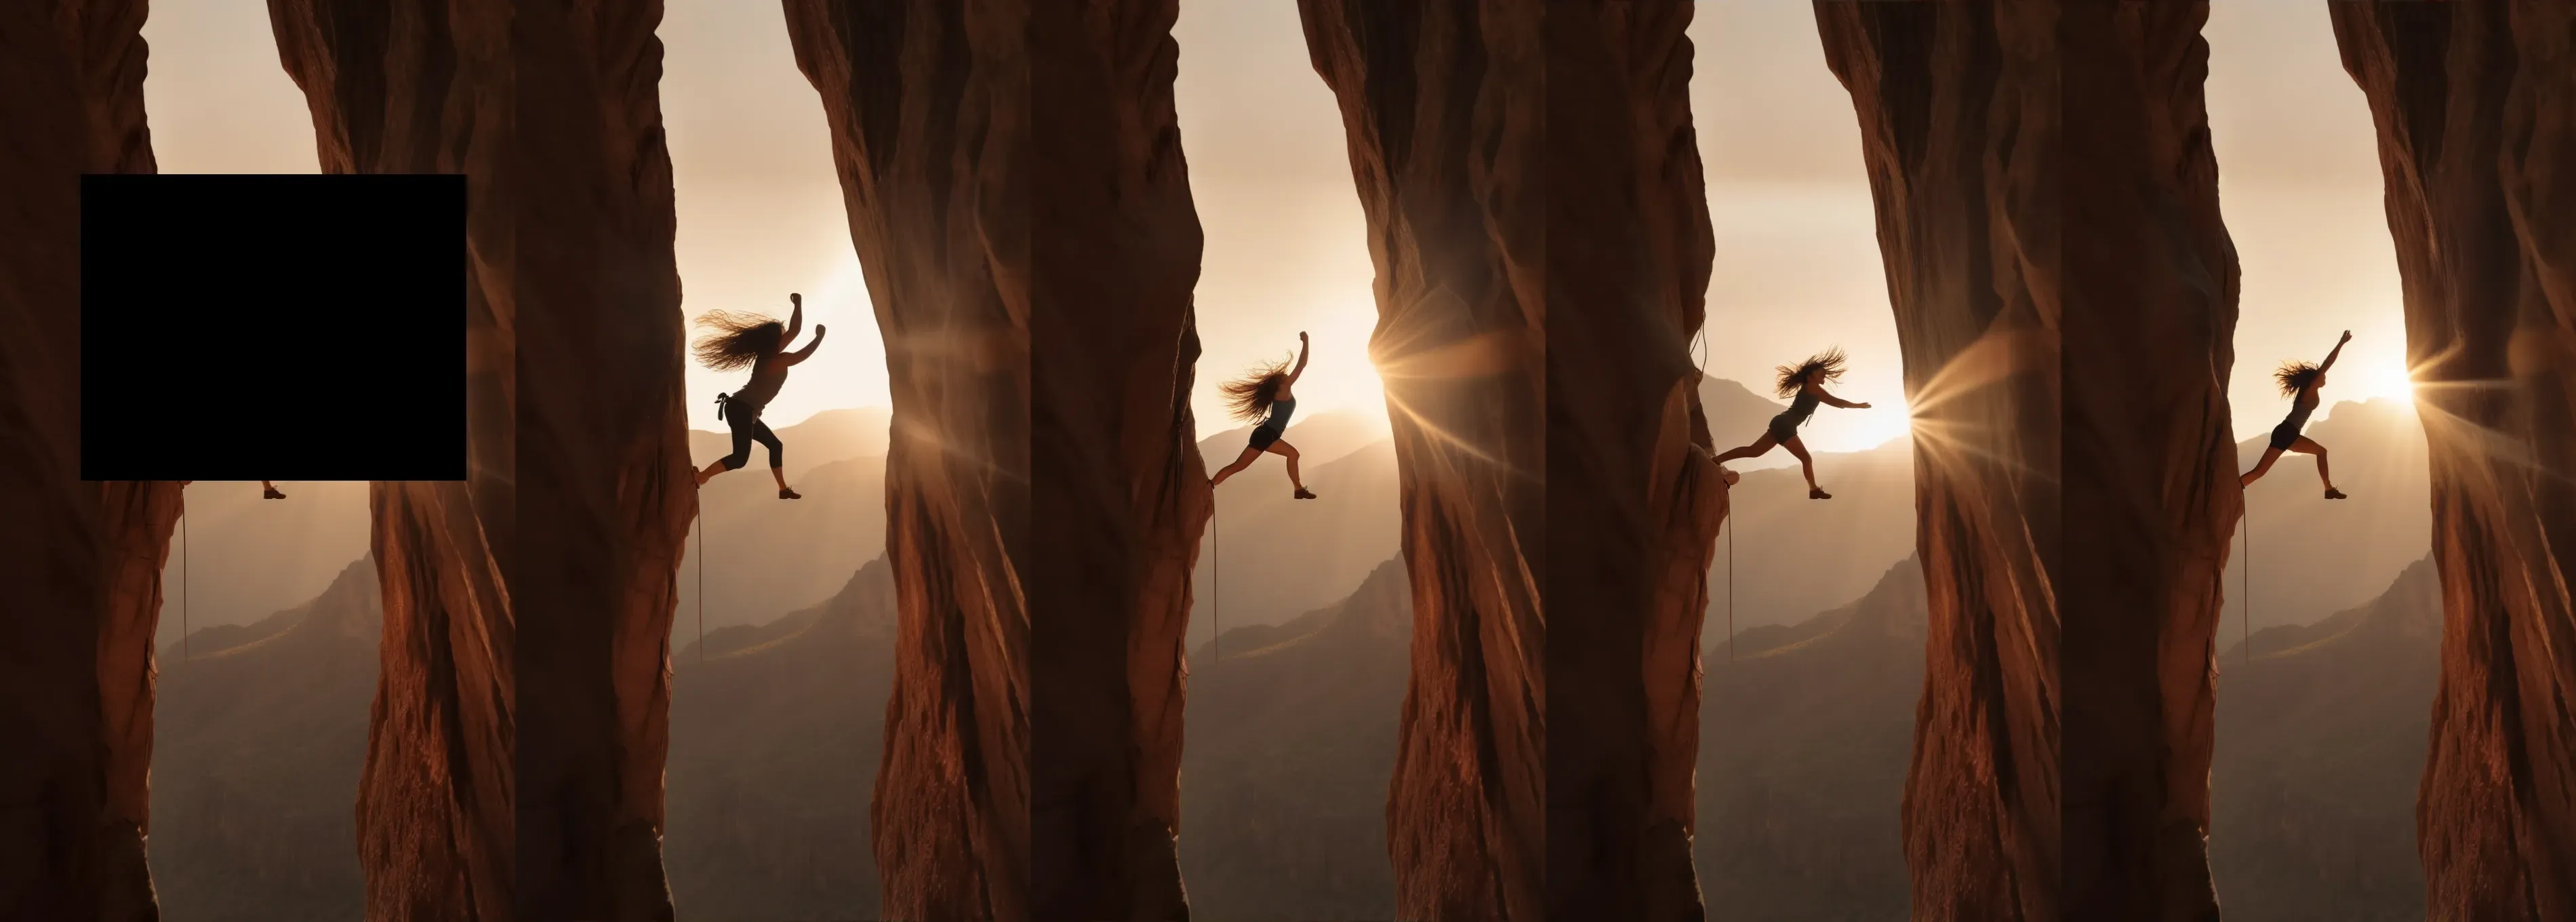

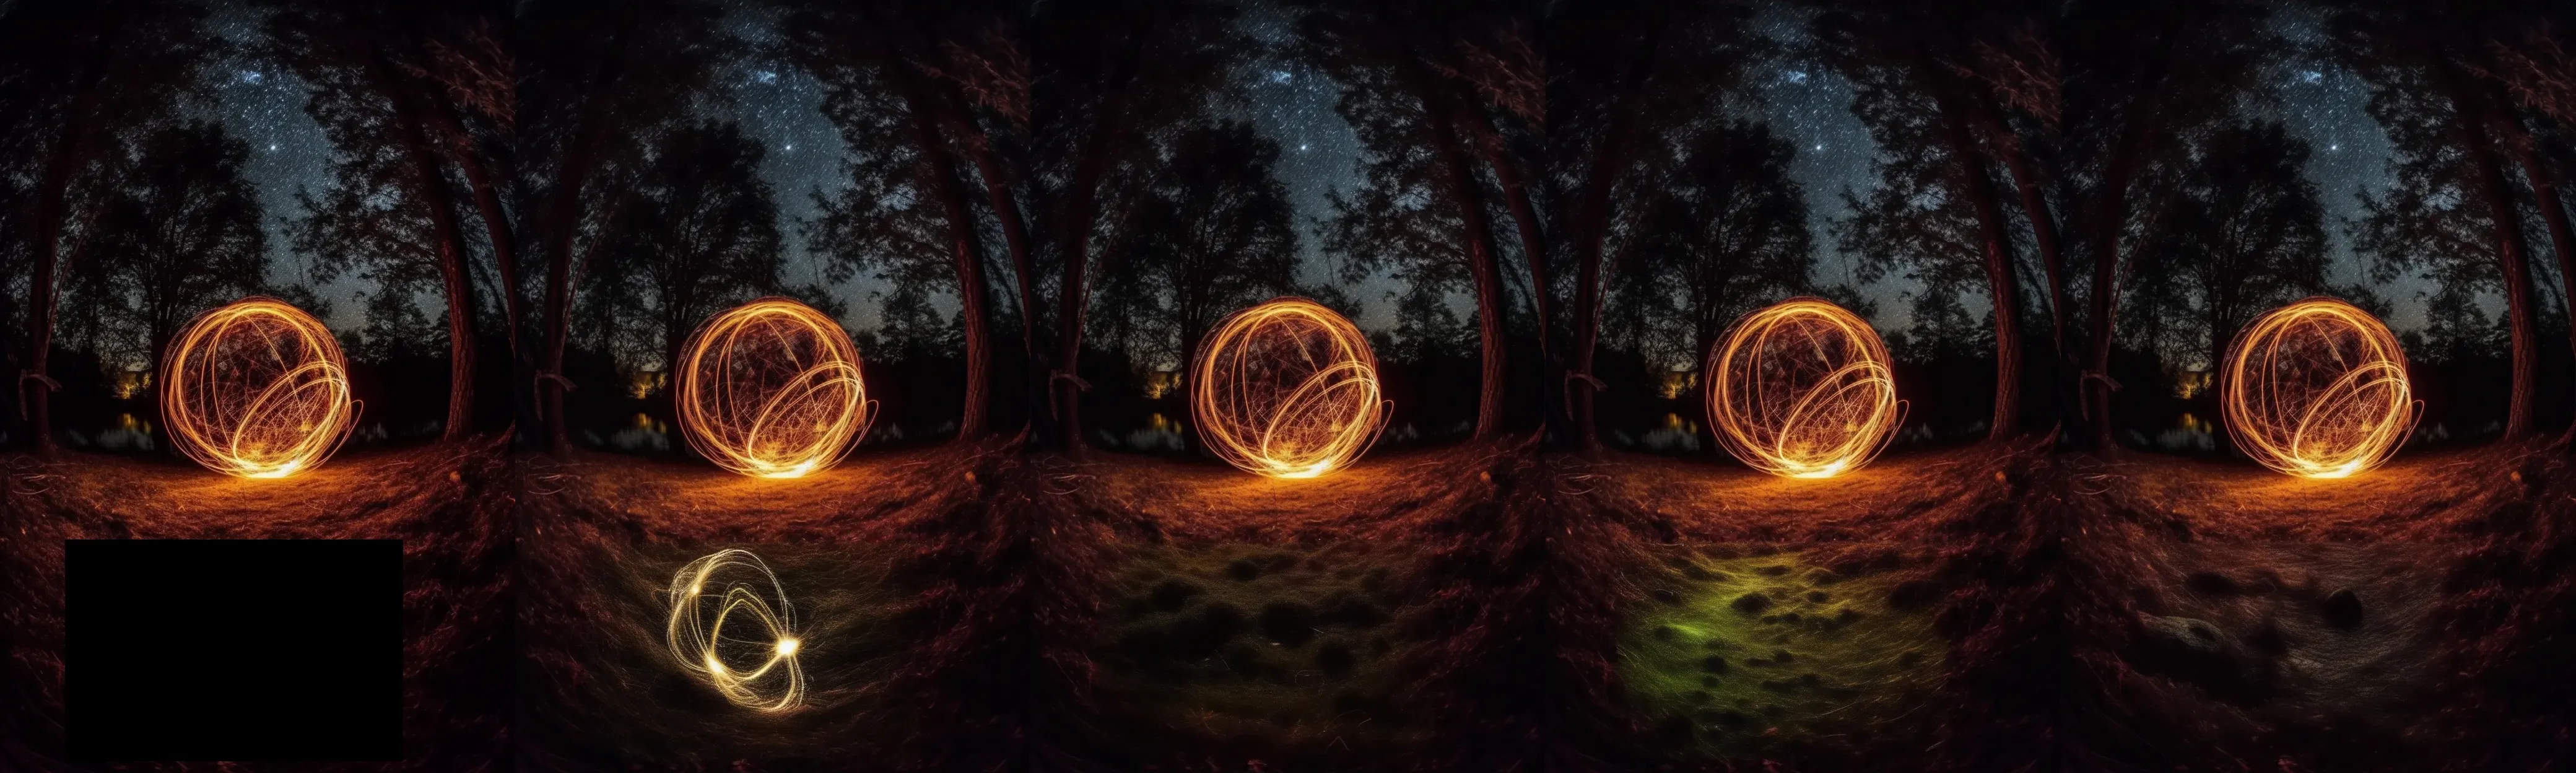

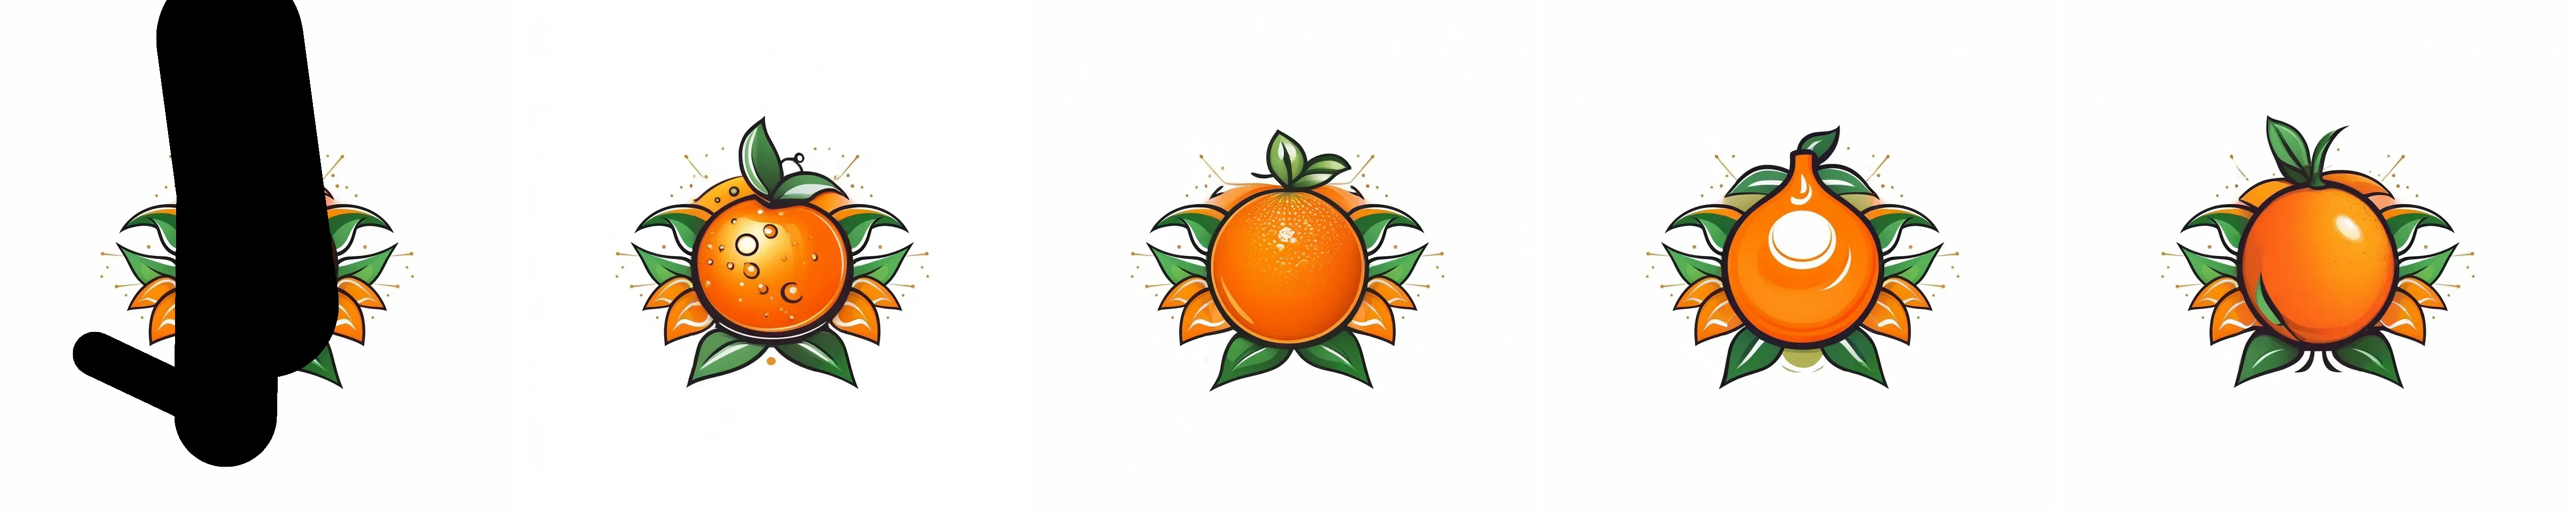

图像外扩
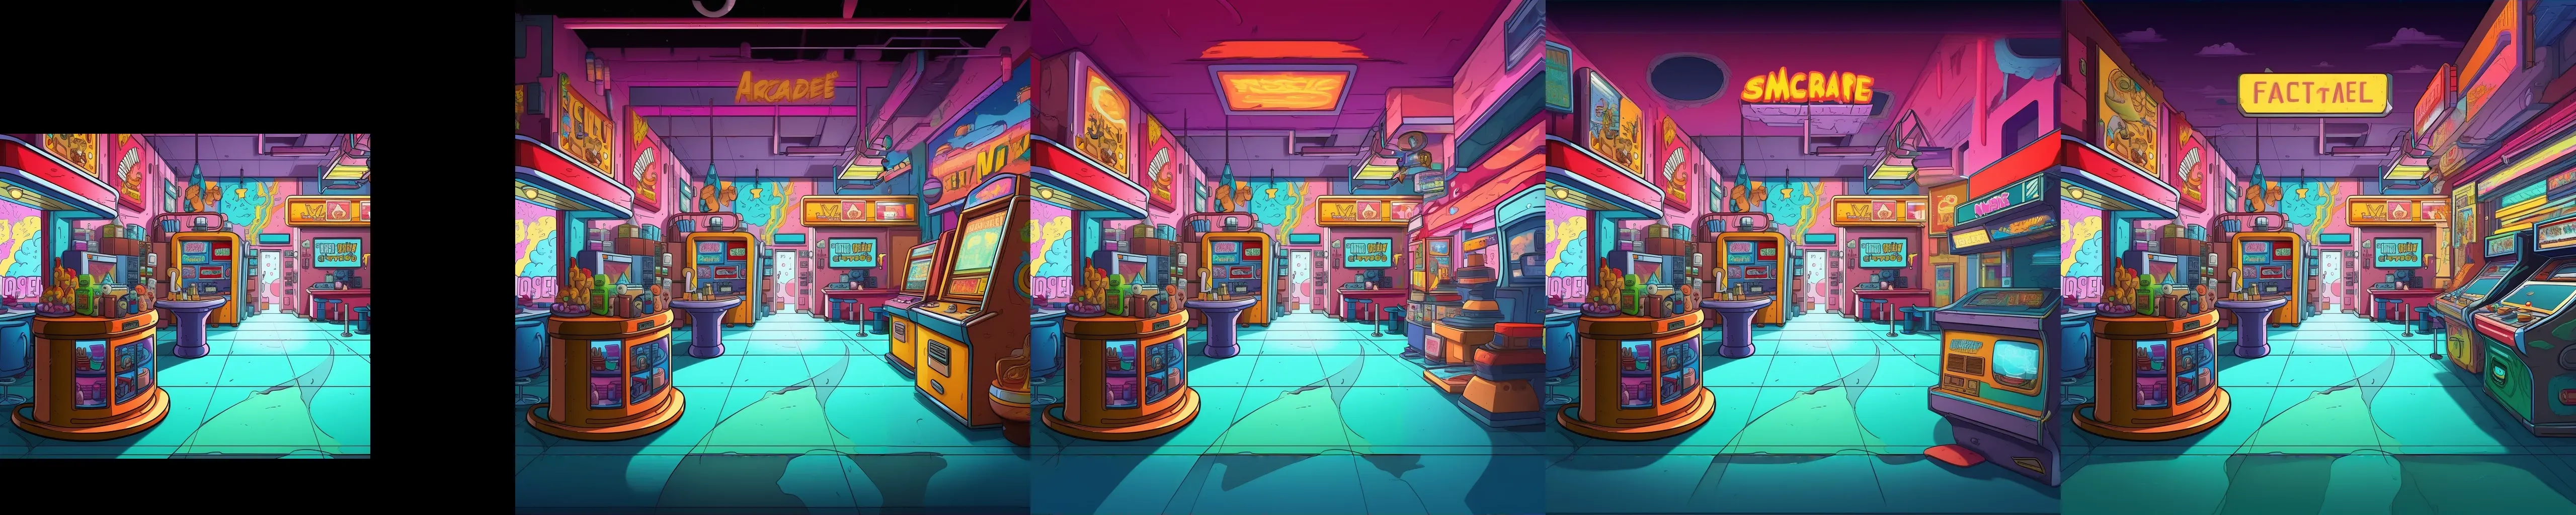


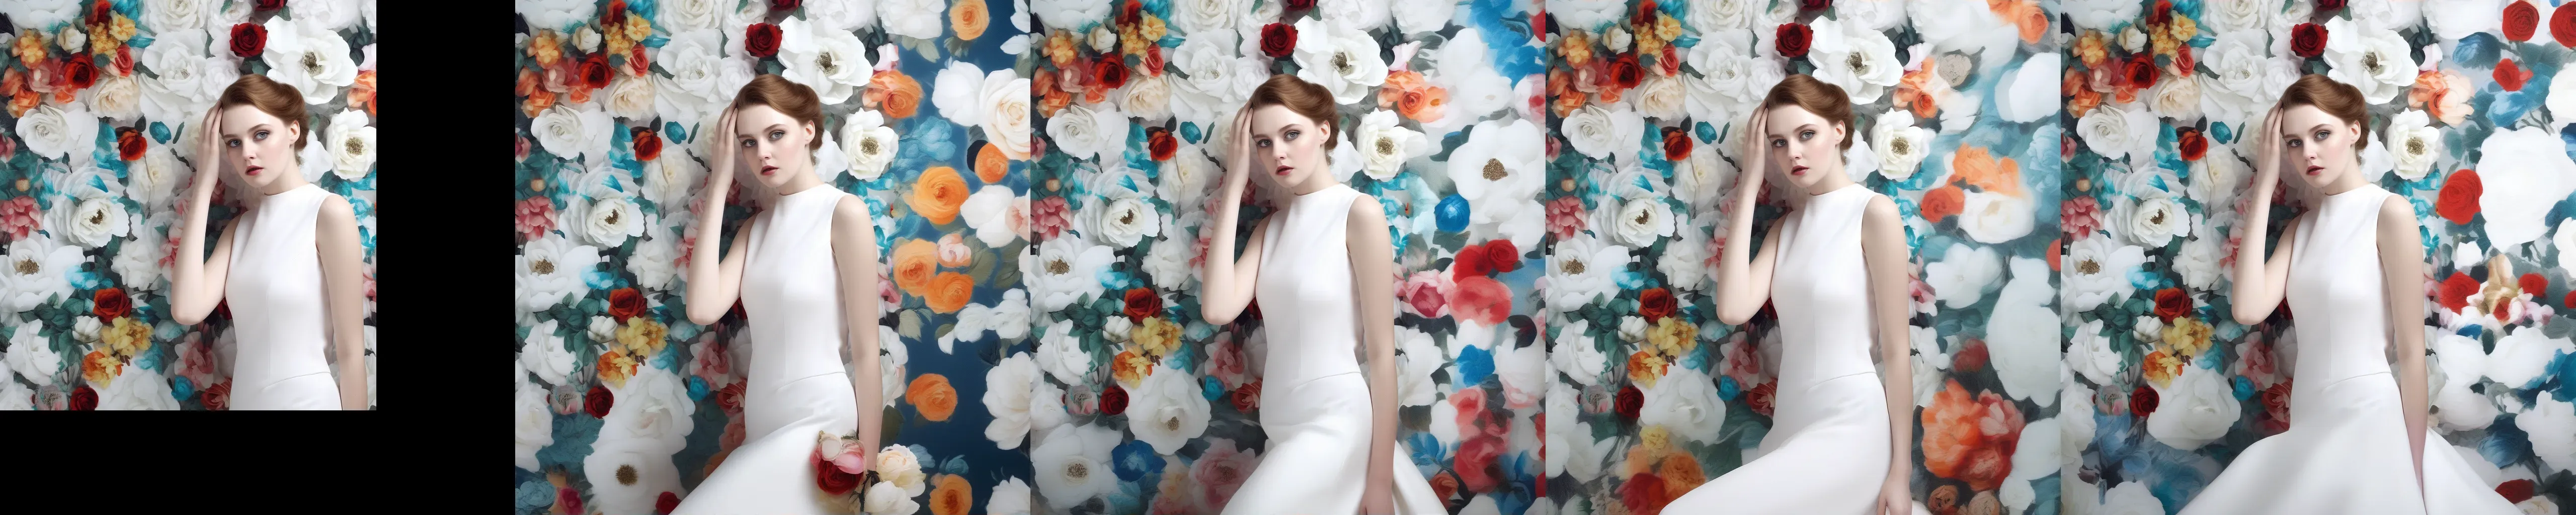

模型优势
- 采用类似 novelai 的桶训练(bucket training),可生成任意宽高比的高分辨率图像
- 使用大量高质量数据(超过 10000000 张图像),数据集涵盖多种多样的场景
- 采用类似 DALLE.3 的重标注提示词(re-captioned prompt),使用 CogVLM 生成详细描述,具有良好的提示词遵循能力
- 训练过程中使用了许多有用的技巧。包括但不限于数据增强、多损失函数、多分辨率
- 与原始 ControlNet 相比,参数量几乎相同。网络参数或计算量没有明显增加
- 支持 10 种以上的控制条件,与独立训练相比,在任何单一条件上都没有明显的性能下降
- 支持多条件生成,条件融合在训练过程中学习。无需设置超参数或设计提示词
- 与其他开源 SDXL 模型兼容,例如 BluePencilXL、CounterfeitXL。与其他 Lora 模型兼容。
我们其他热门发布的模型
https://huggingface.co/xinsir/controlnet-openpose-sdxl-1.0
https://huggingface.co/xinsir/controlnet-scribble-sdxl-1.0
https://huggingface.co/xinsir/controlnet-tile-sdxl-1.0
https://huggingface.co/xinsir/controlnet-canny-sdxl-1.0
新闻
- [07/06/2024] 发布
ControlNet++和预训练模型。 - [07/06/2024] 发布推理代码(单条件 & 多条件)。
- [07/13/2024] 发布具有高级编辑功能的
ProMax ControlNet++。
待办事项:
- gradio 的 ControlNet++
- Comfyui 的 ControlNet++
- 发布训练代码和训练指南。
- 发布 arxiv 论文。
视觉示例
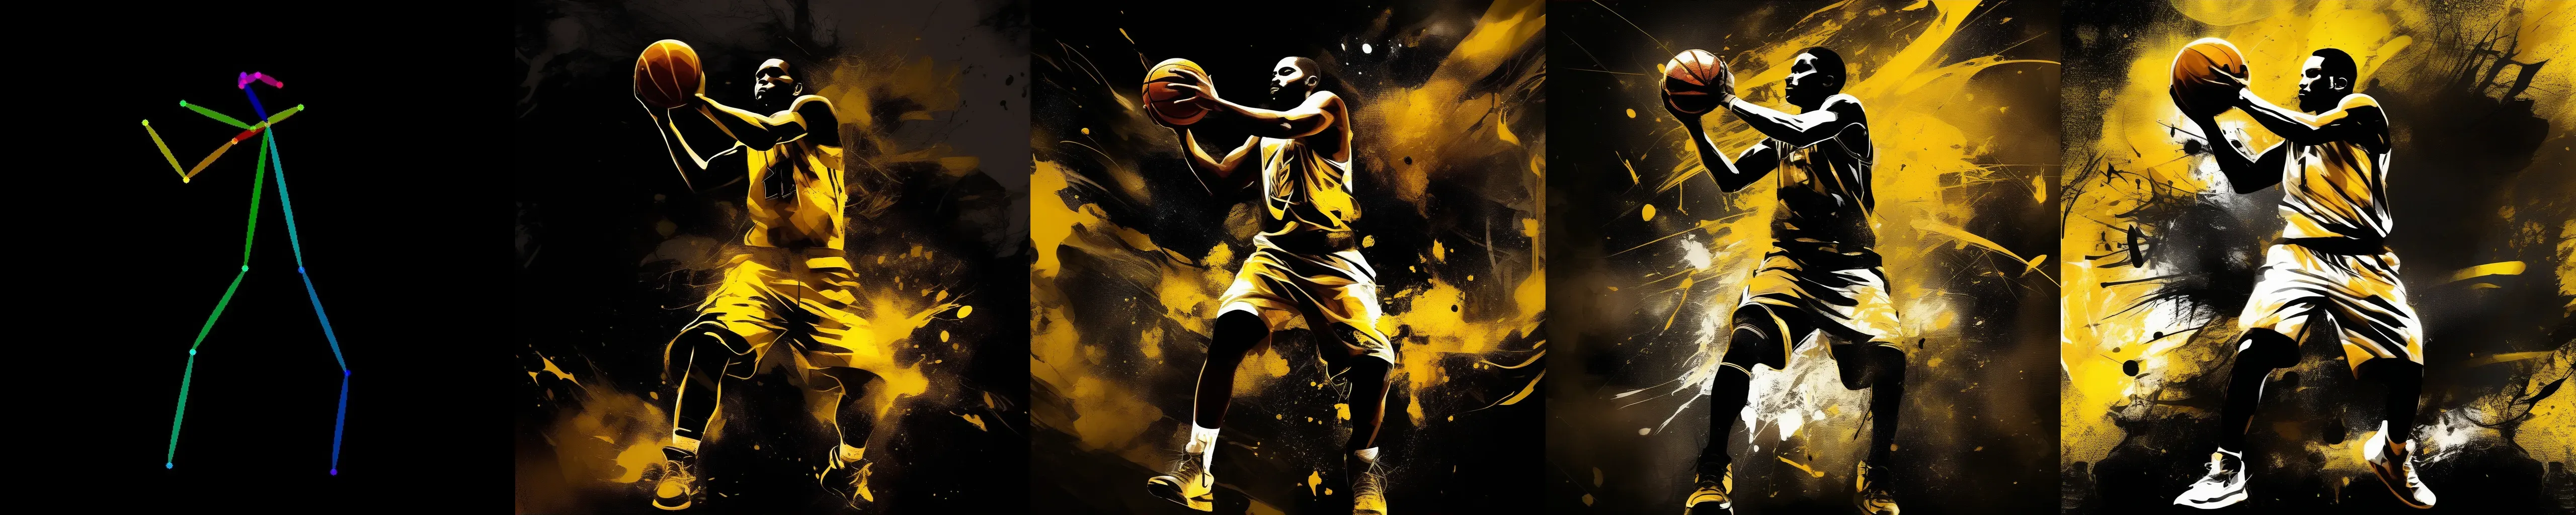
Openpose
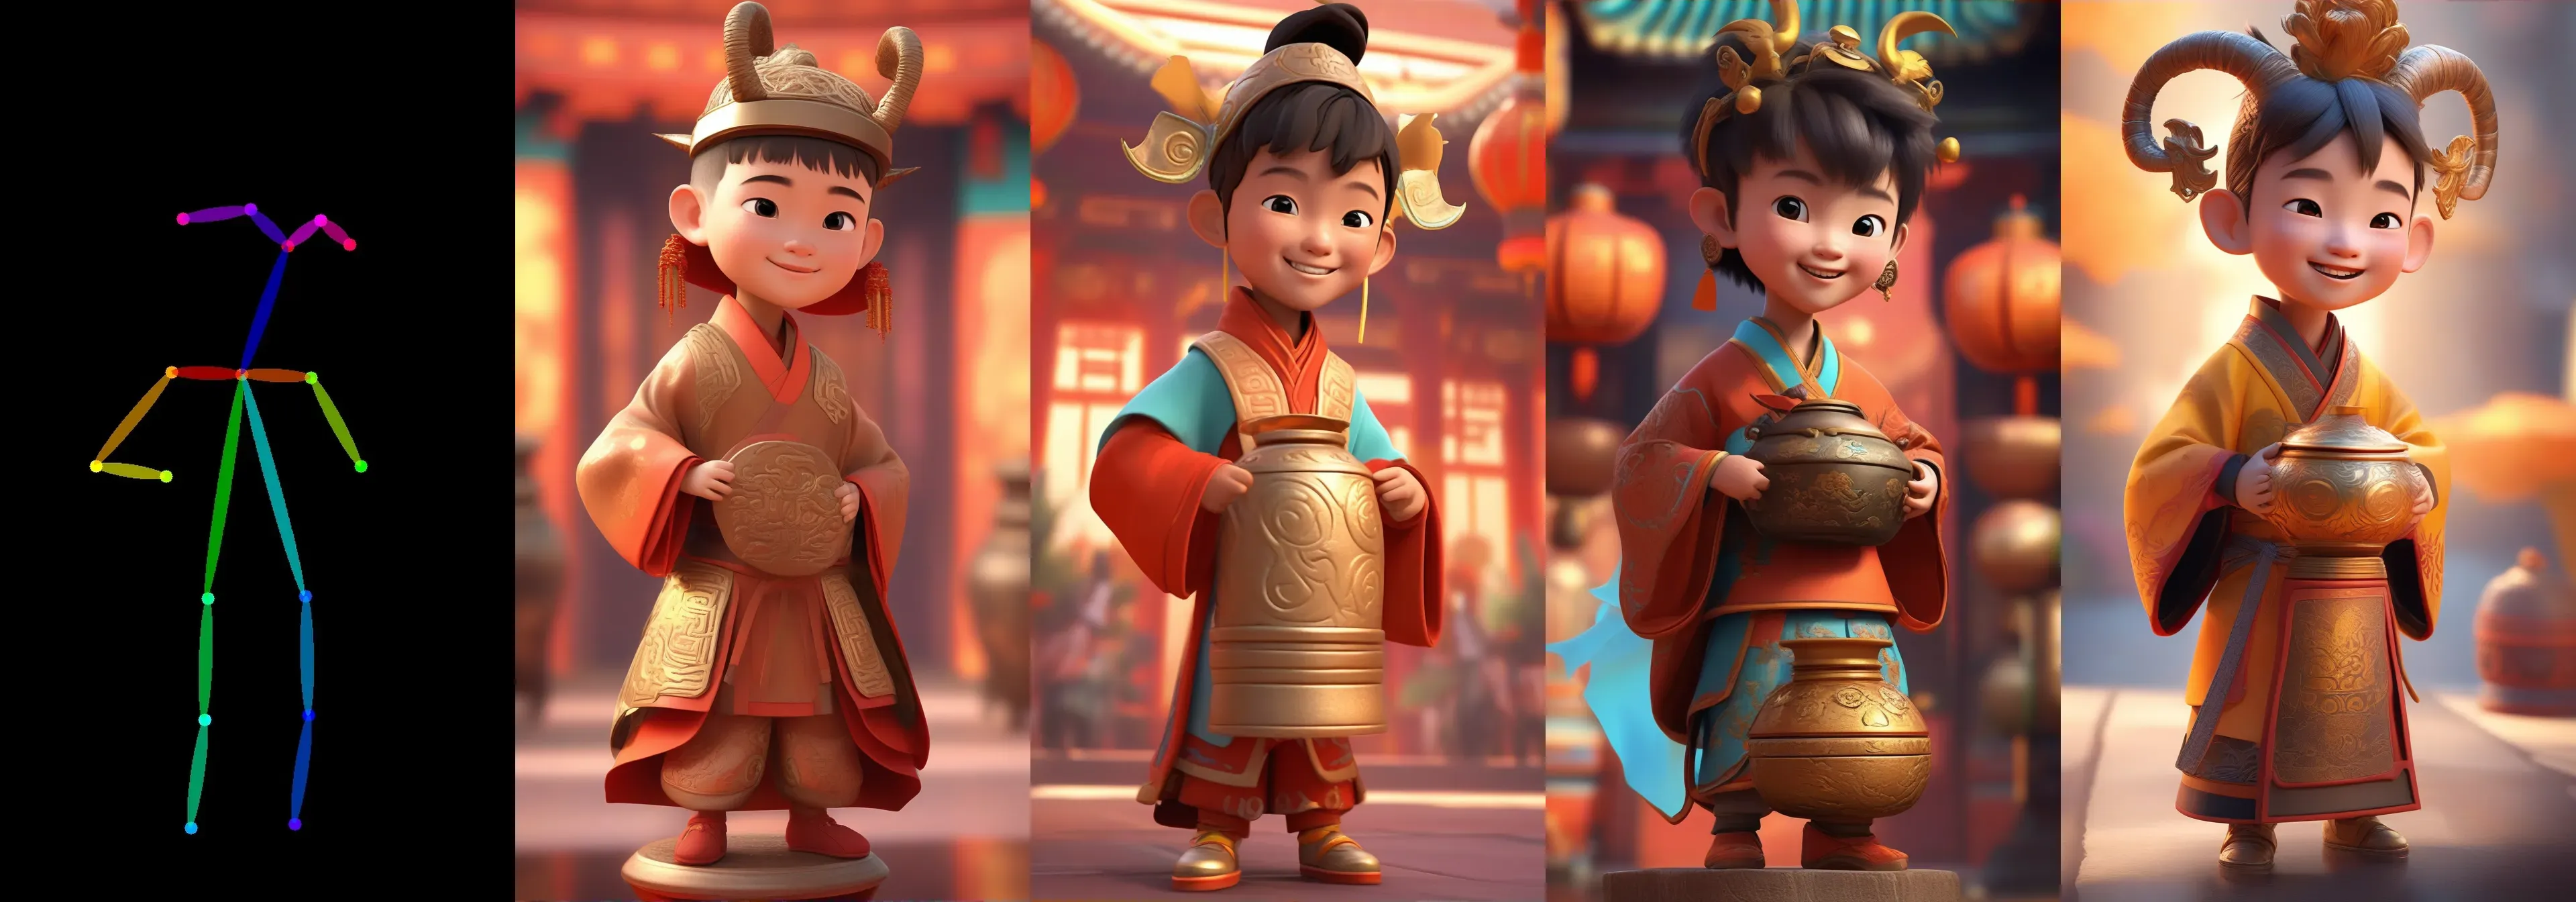
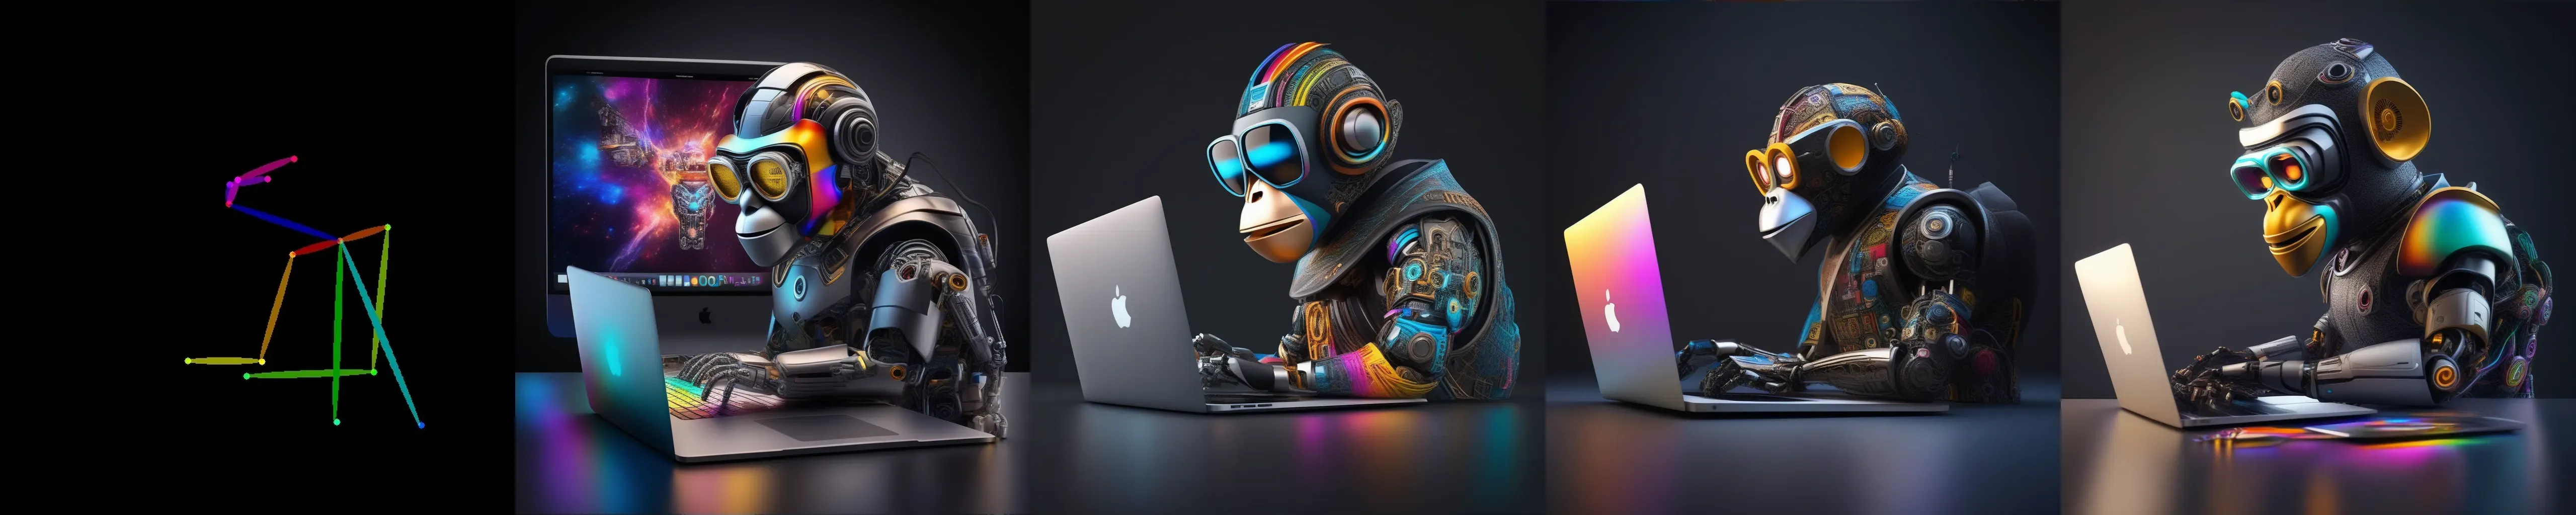
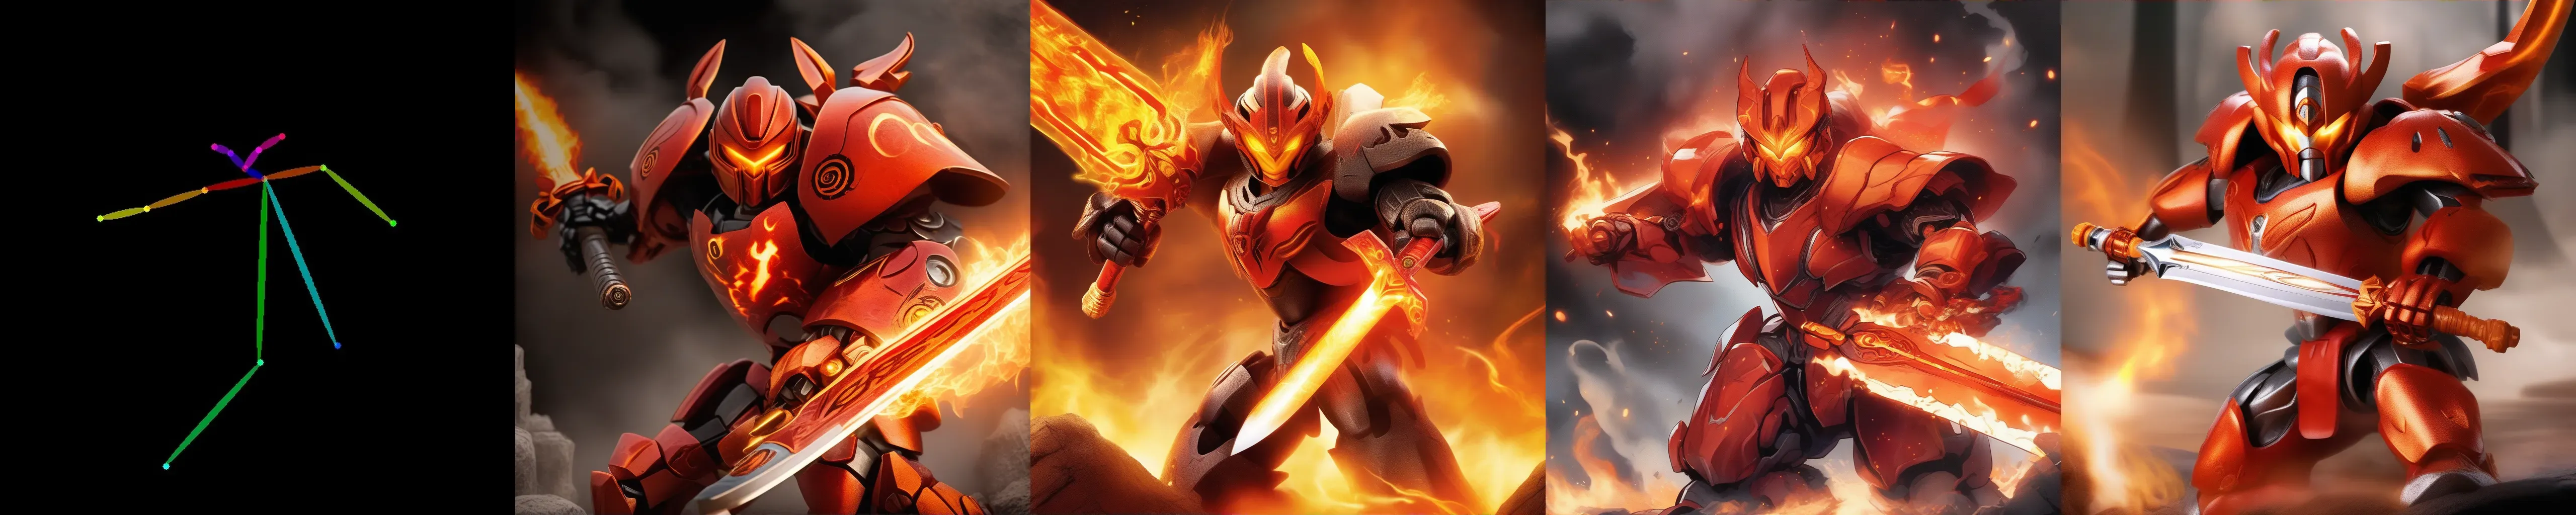
最重要的 controlnet 模型之一,我们在训练该模型时使用了多种技巧,其效果与 https://huggingface.co/xinsir/controlnet-openpose-sdxl-1.0 相当,在姿态控制方面具有 SOTA 性能。
为了使 openpose 模型达到最佳性能,您应该替换 controlnet_aux 包中的 draw_pose 函数(comfyui 拥有自己的 controlnet_aux 包),详情请参阅 Inference Scripts。

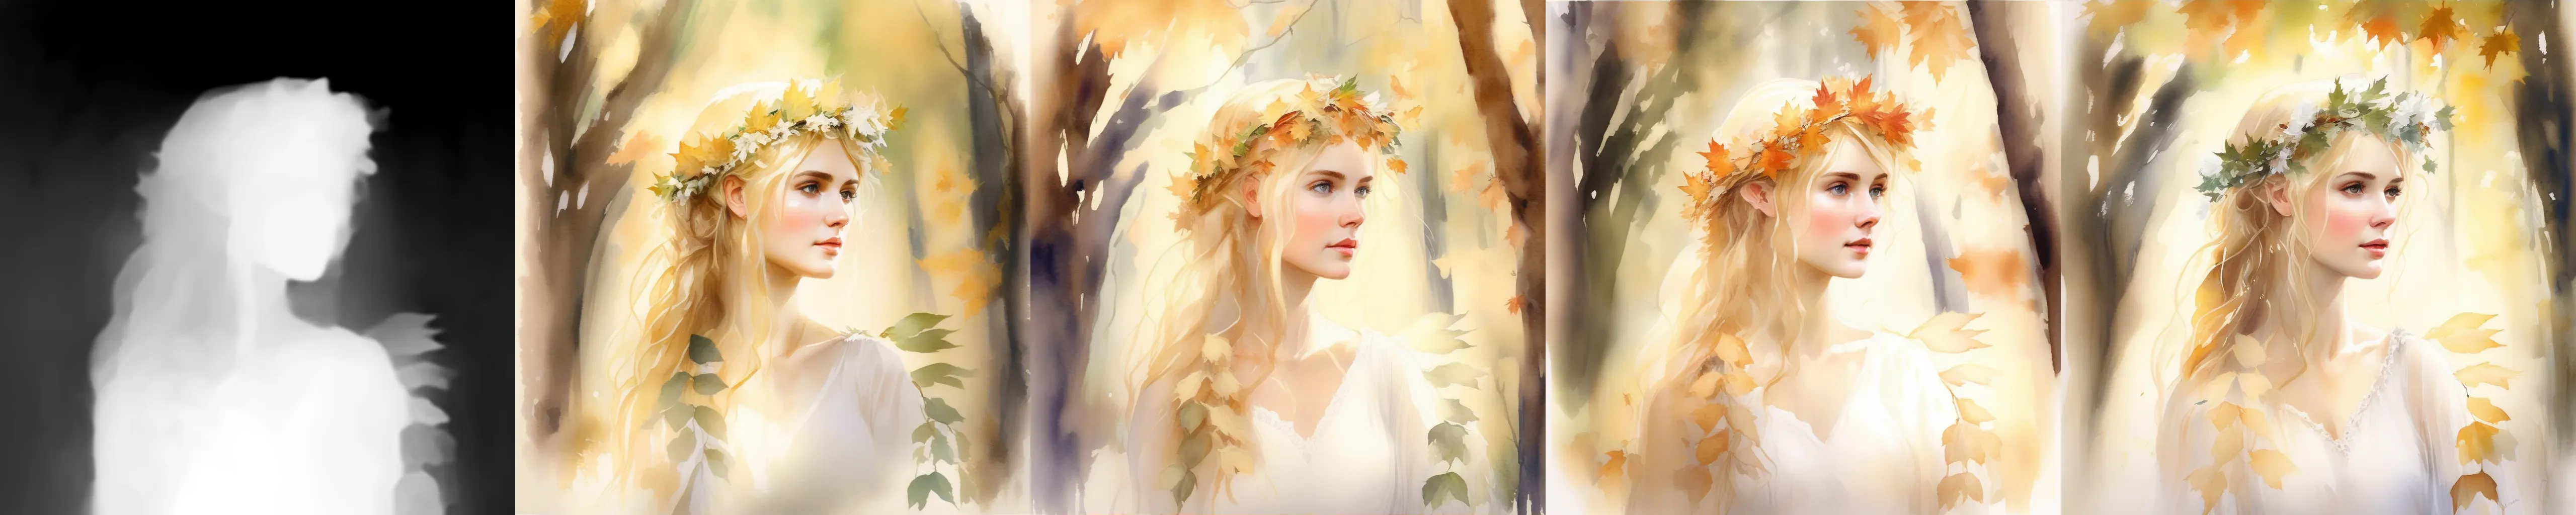
Depth


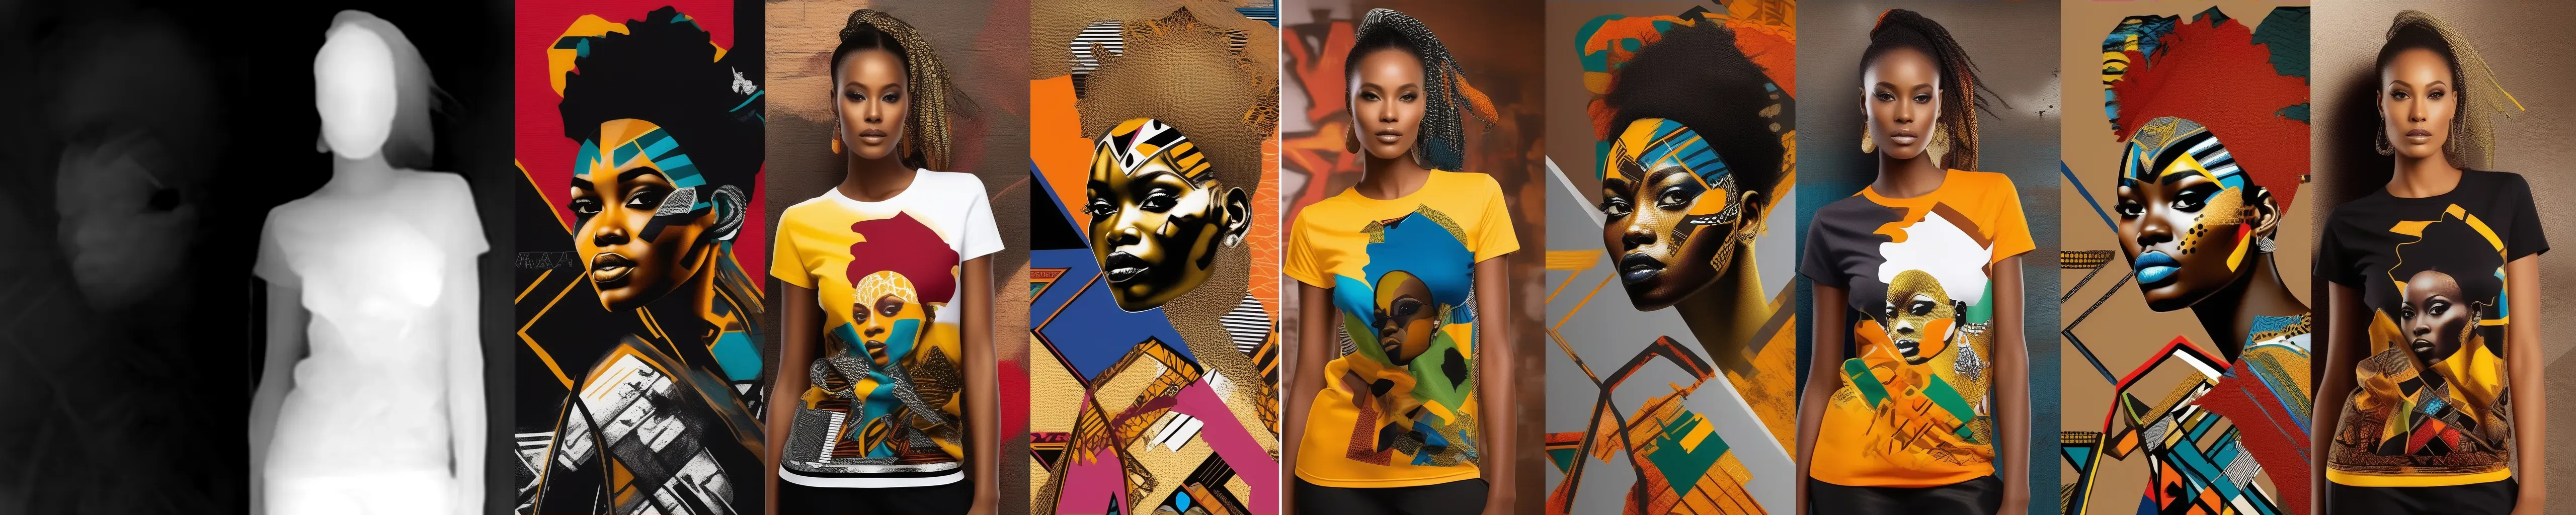
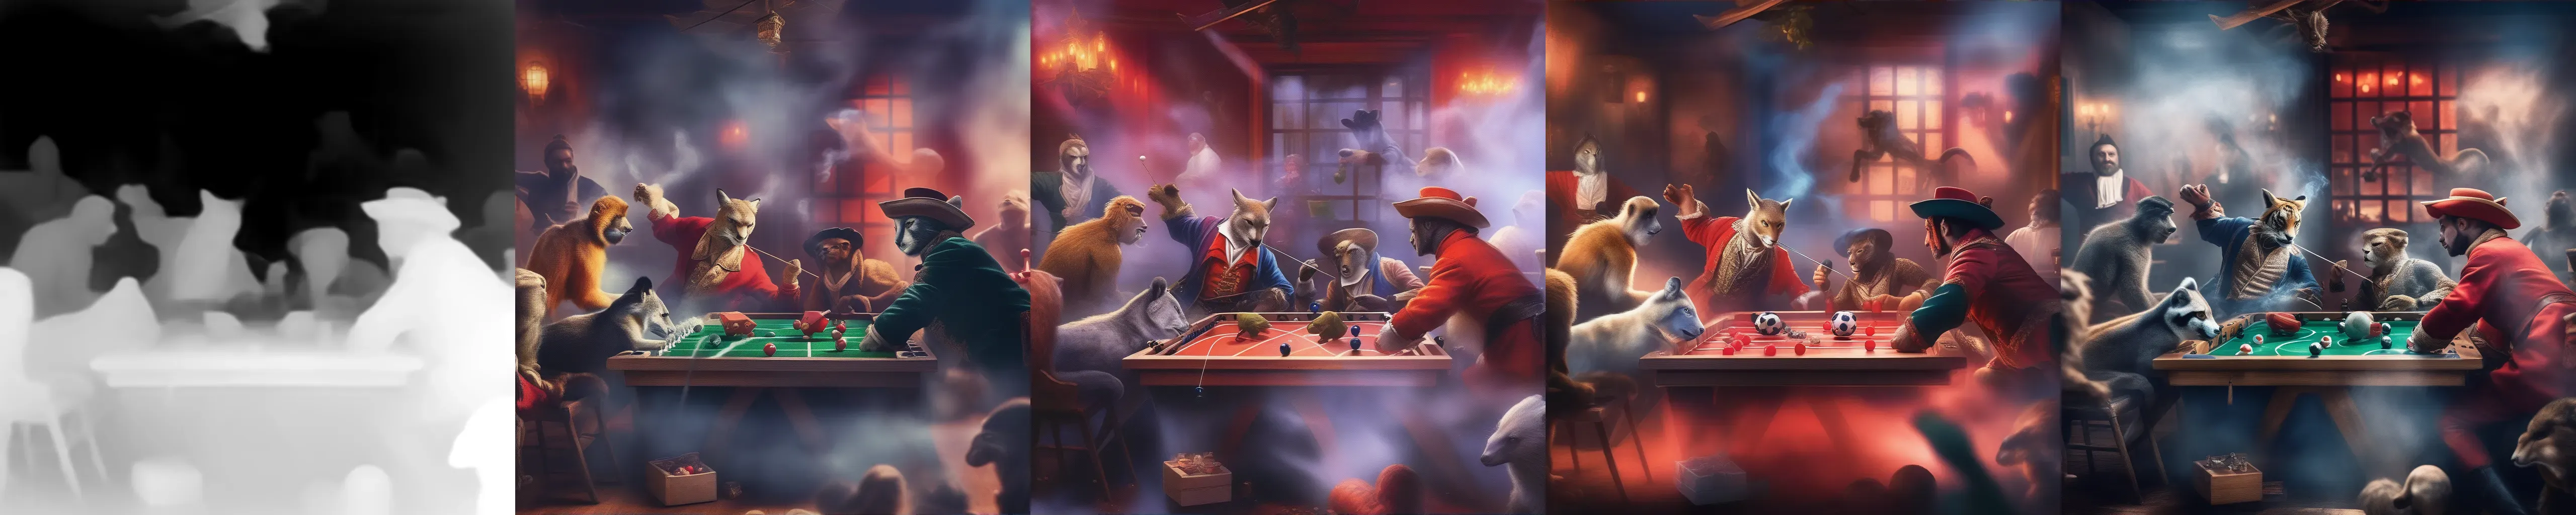
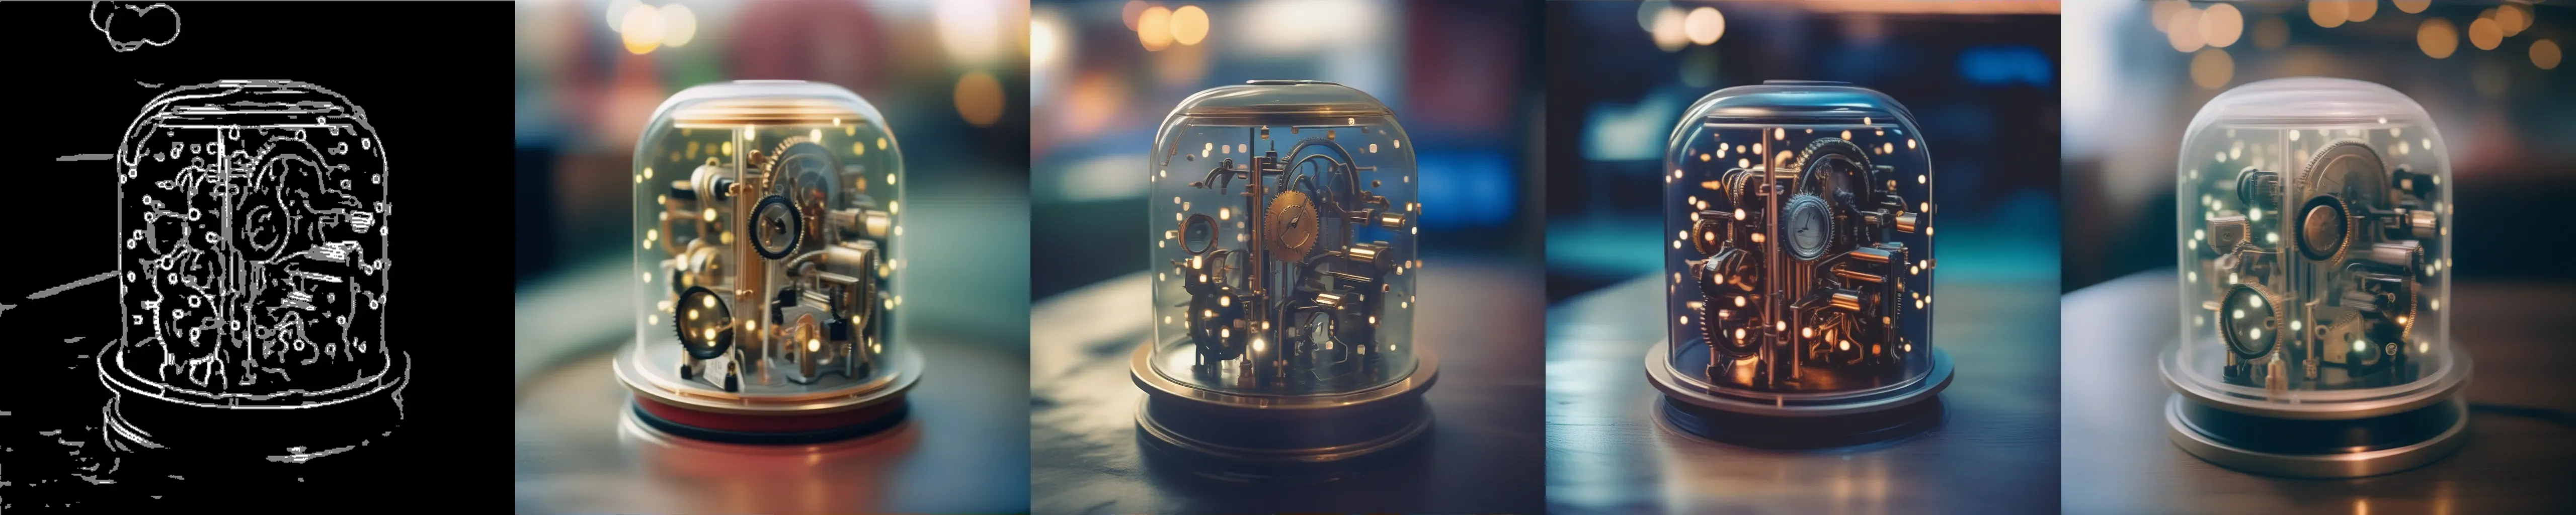
Canny
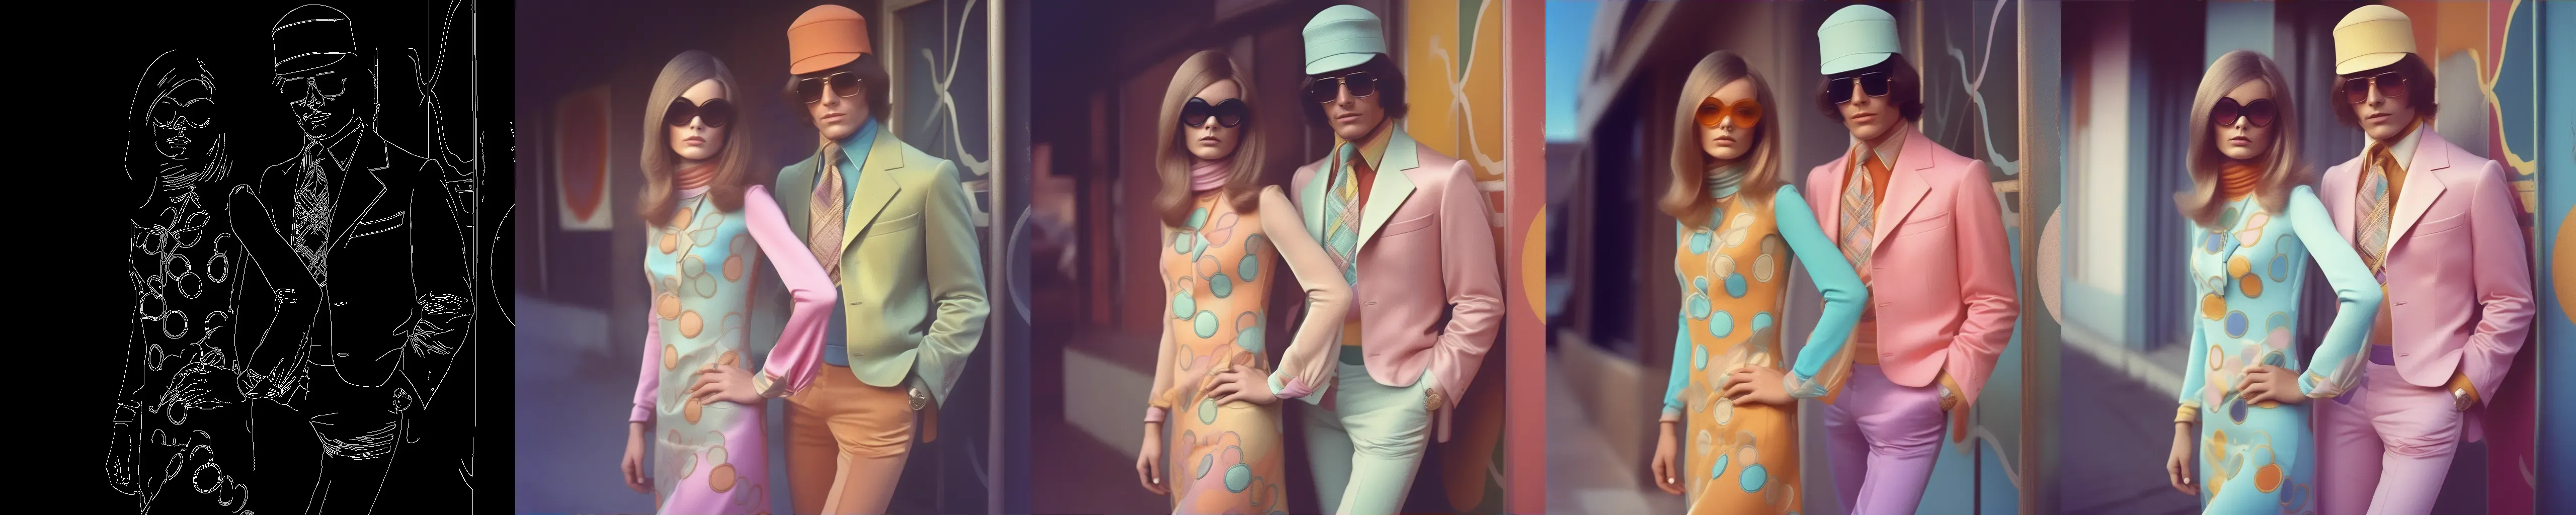
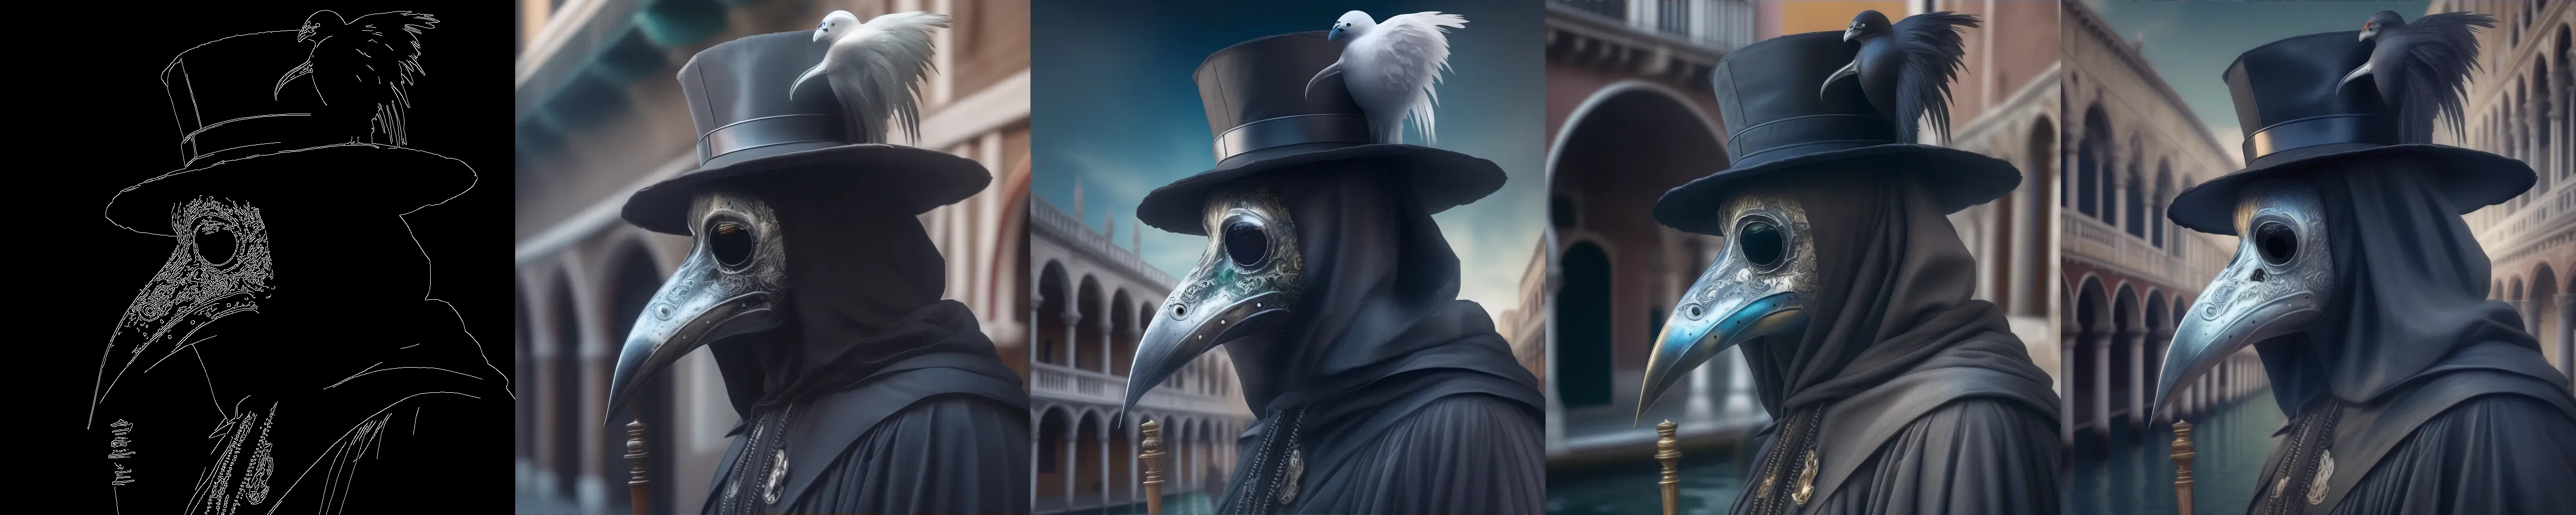
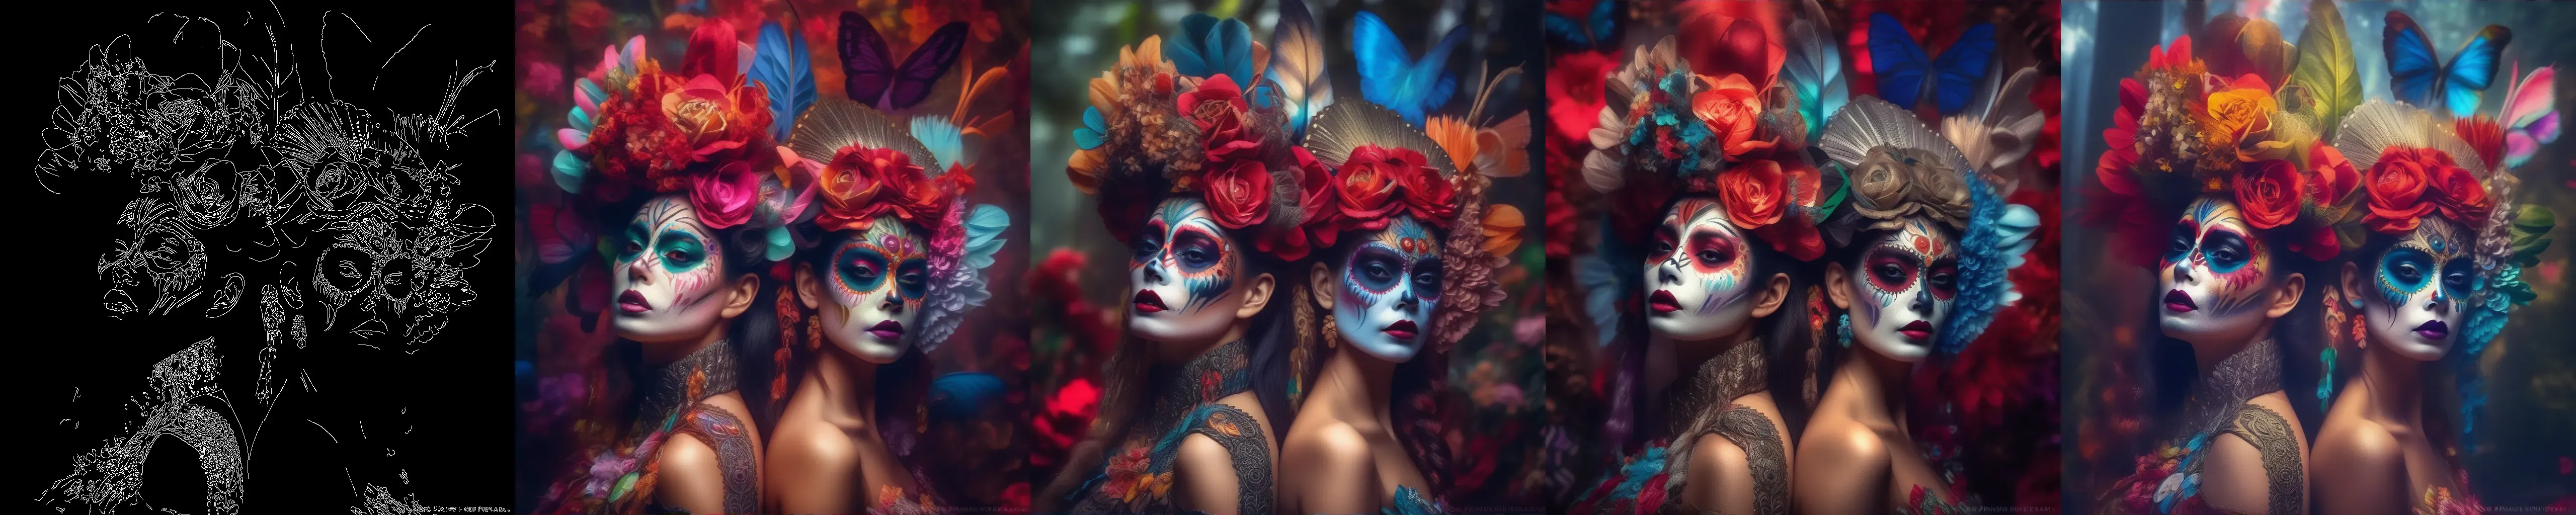
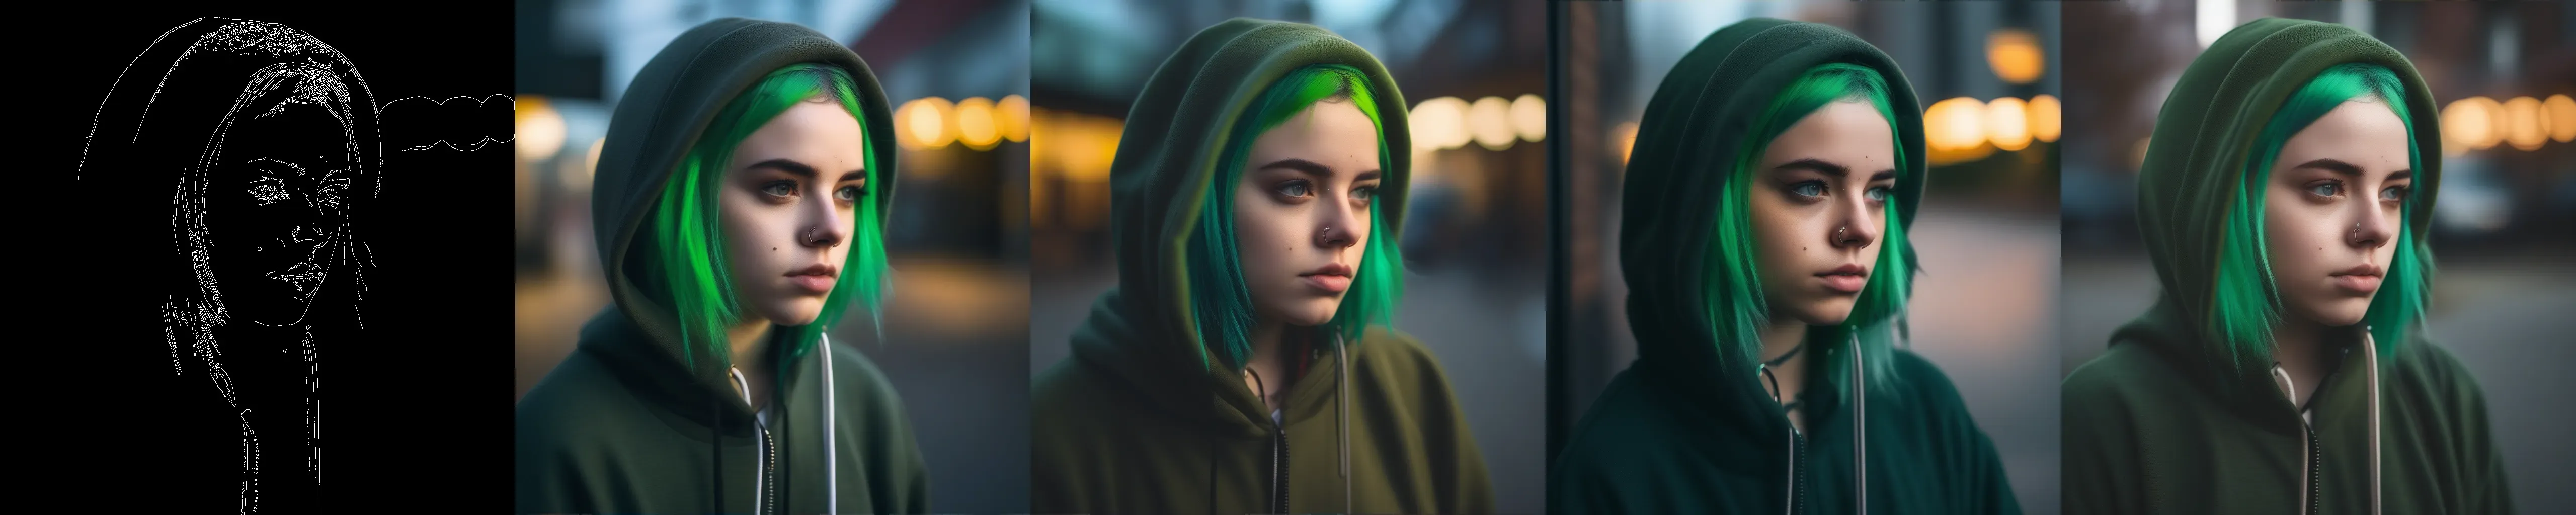
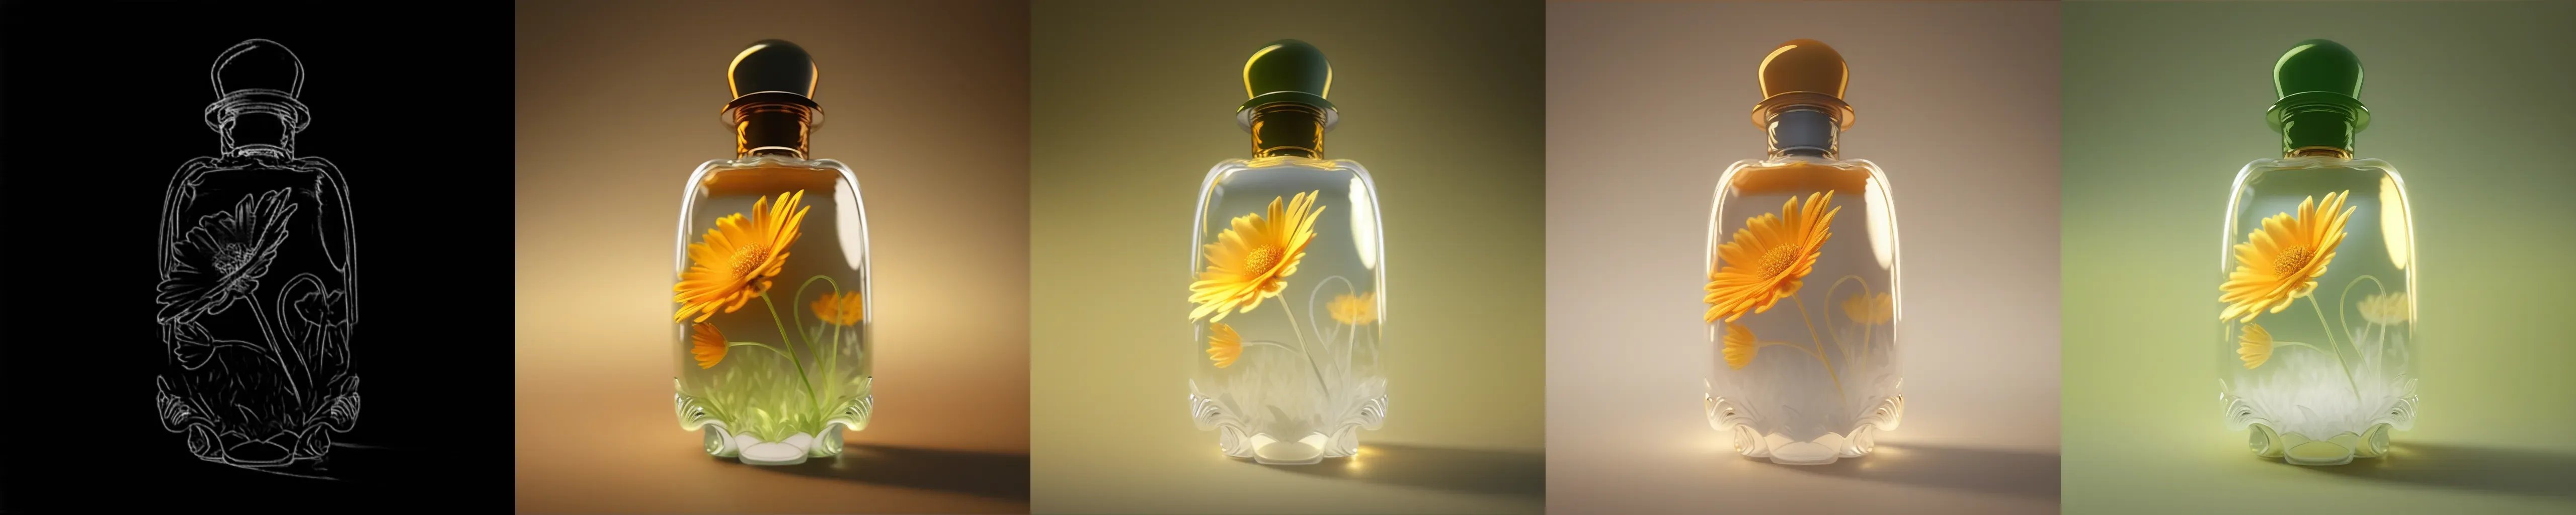
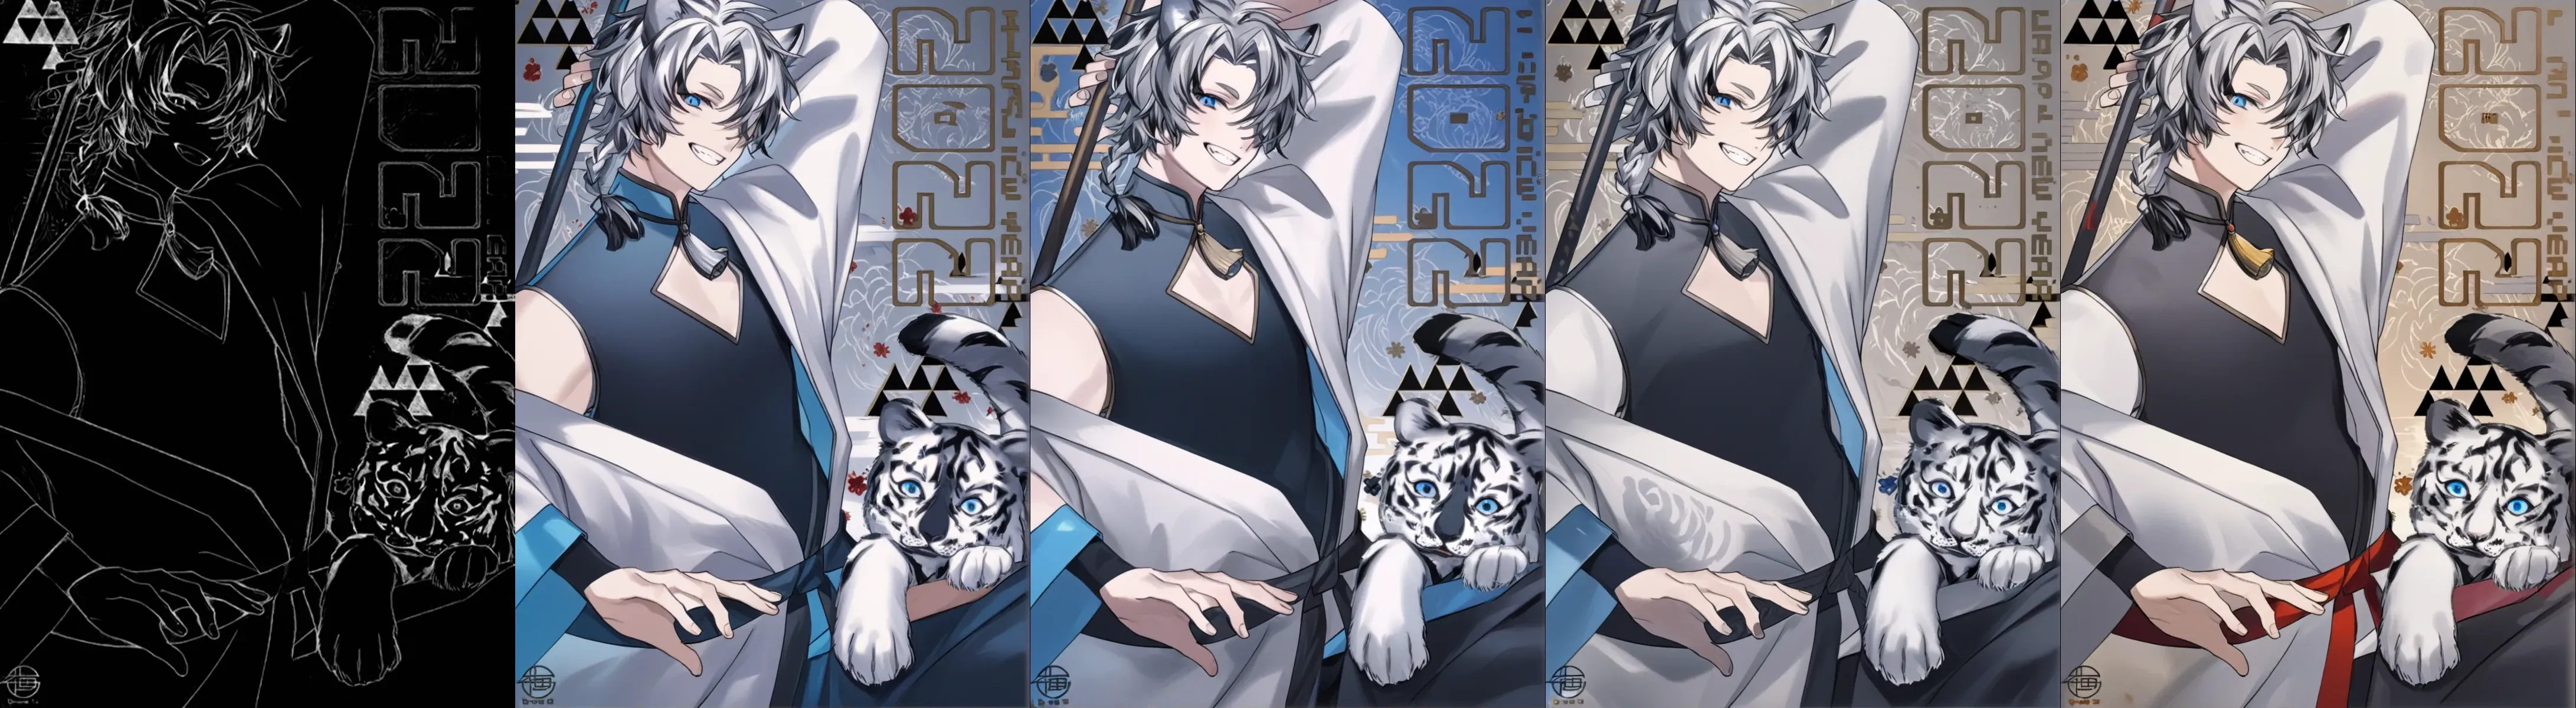
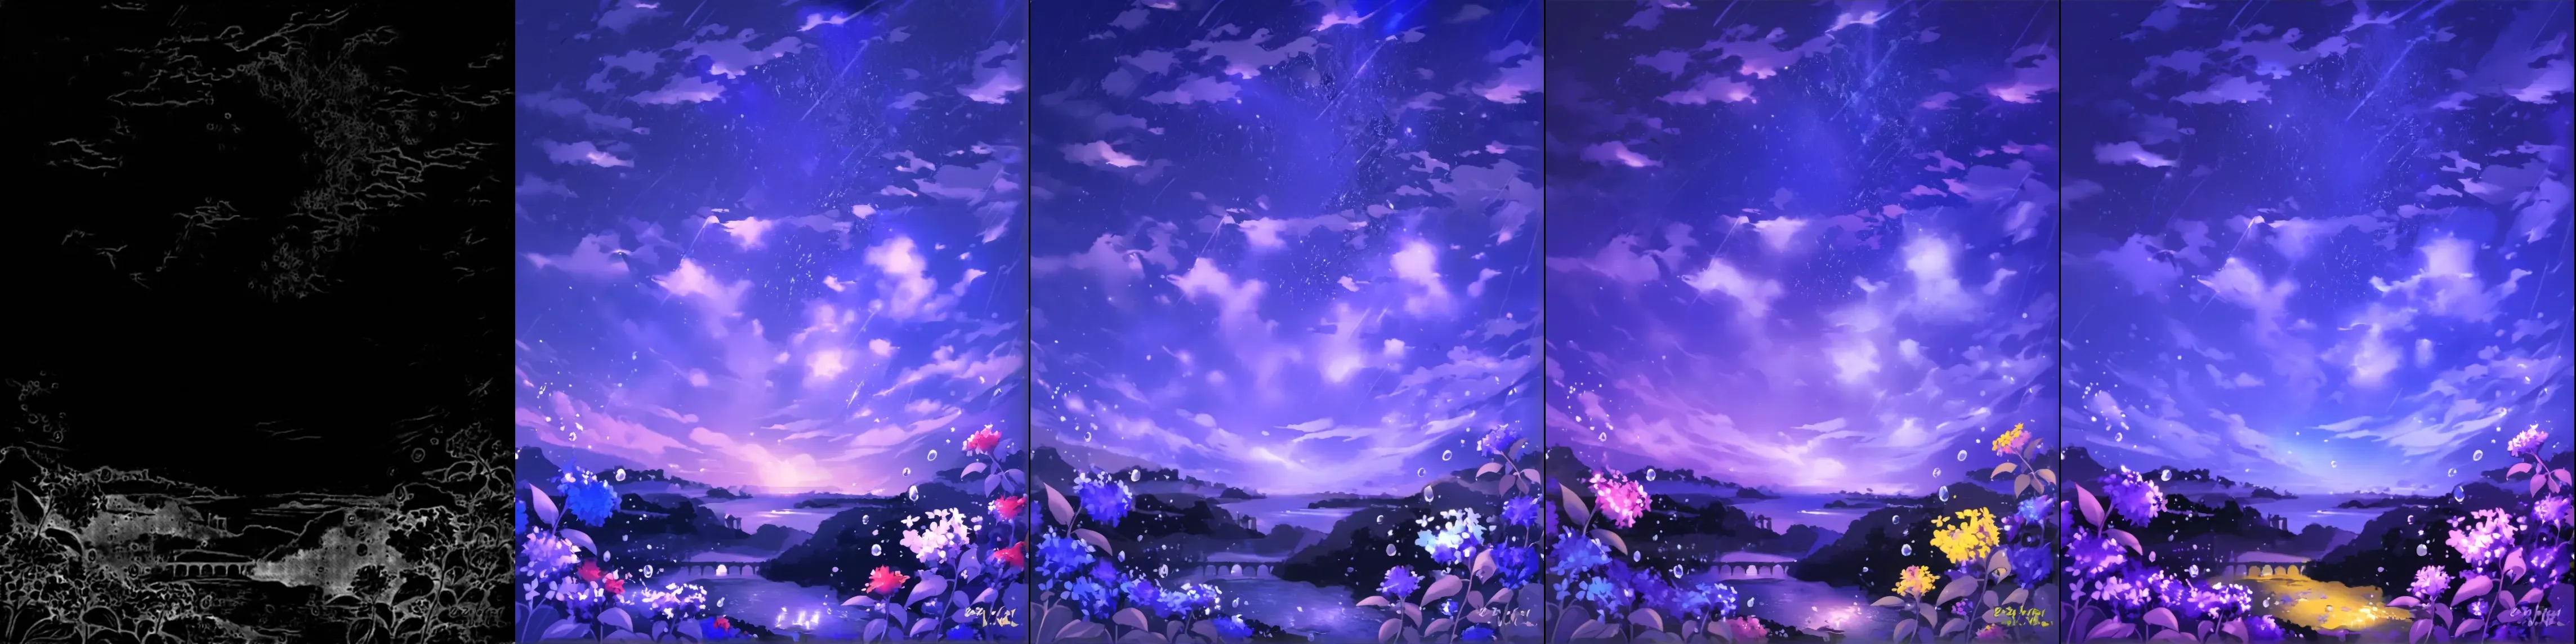
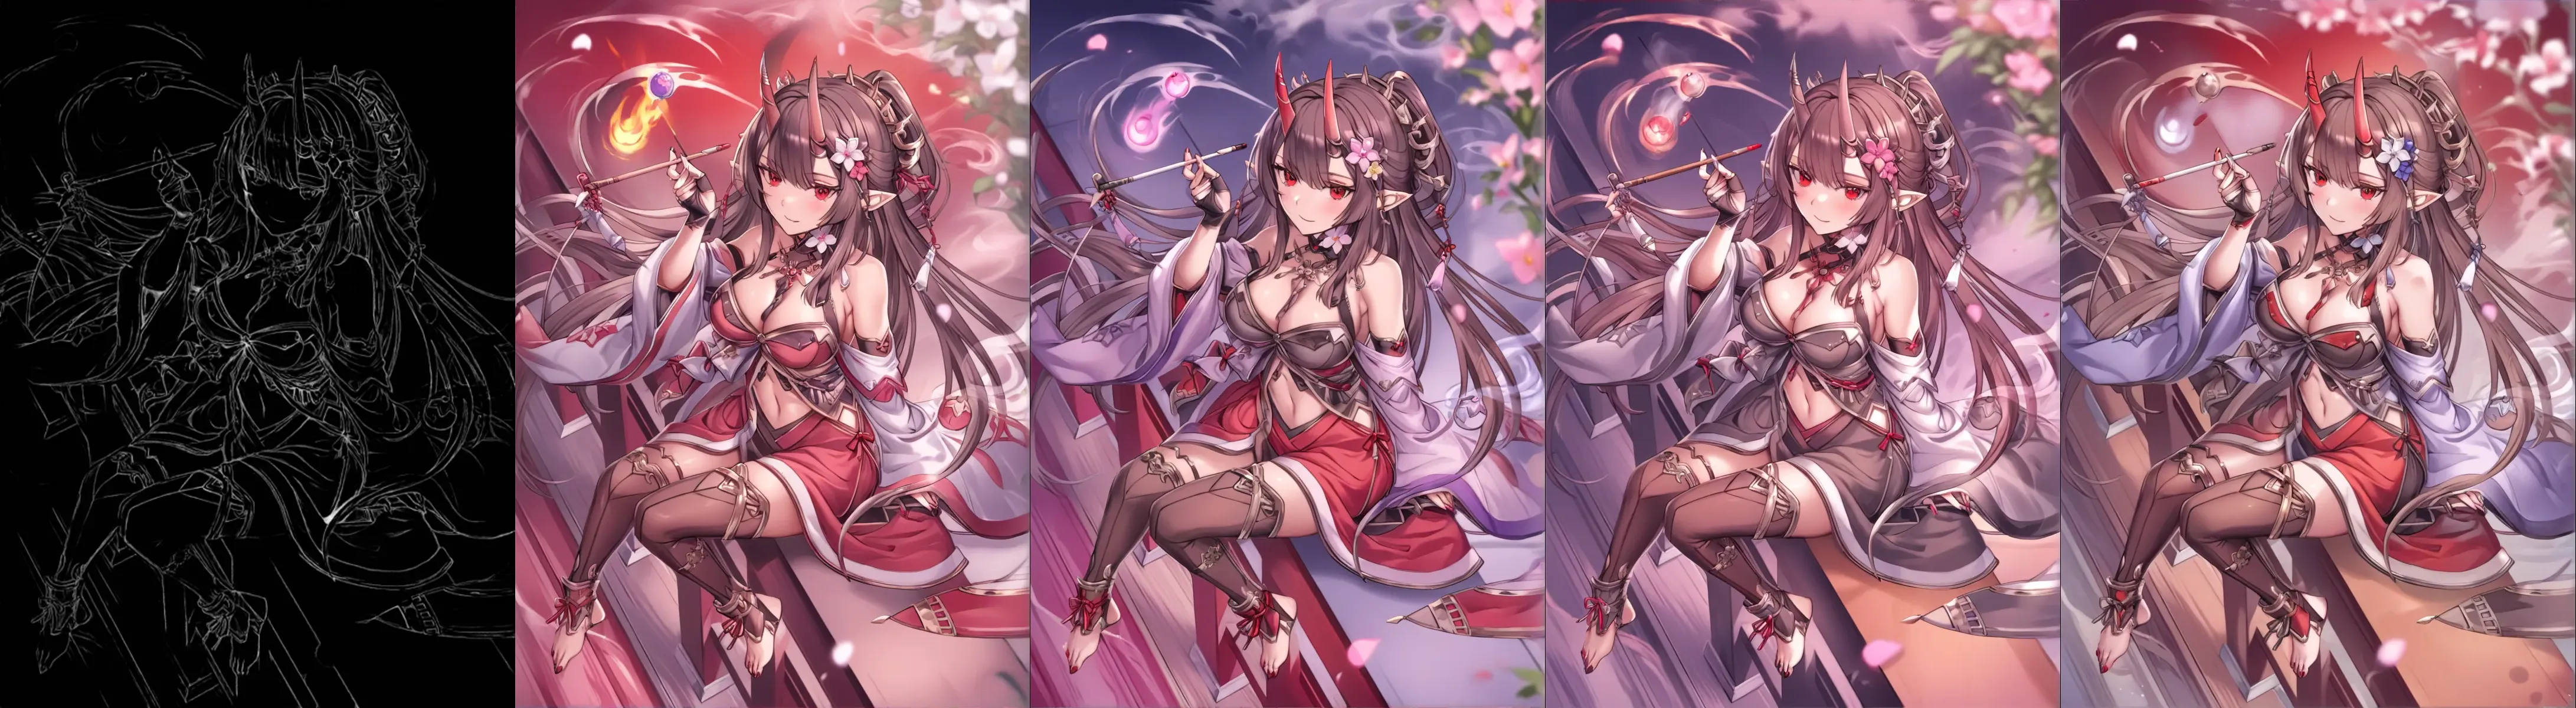
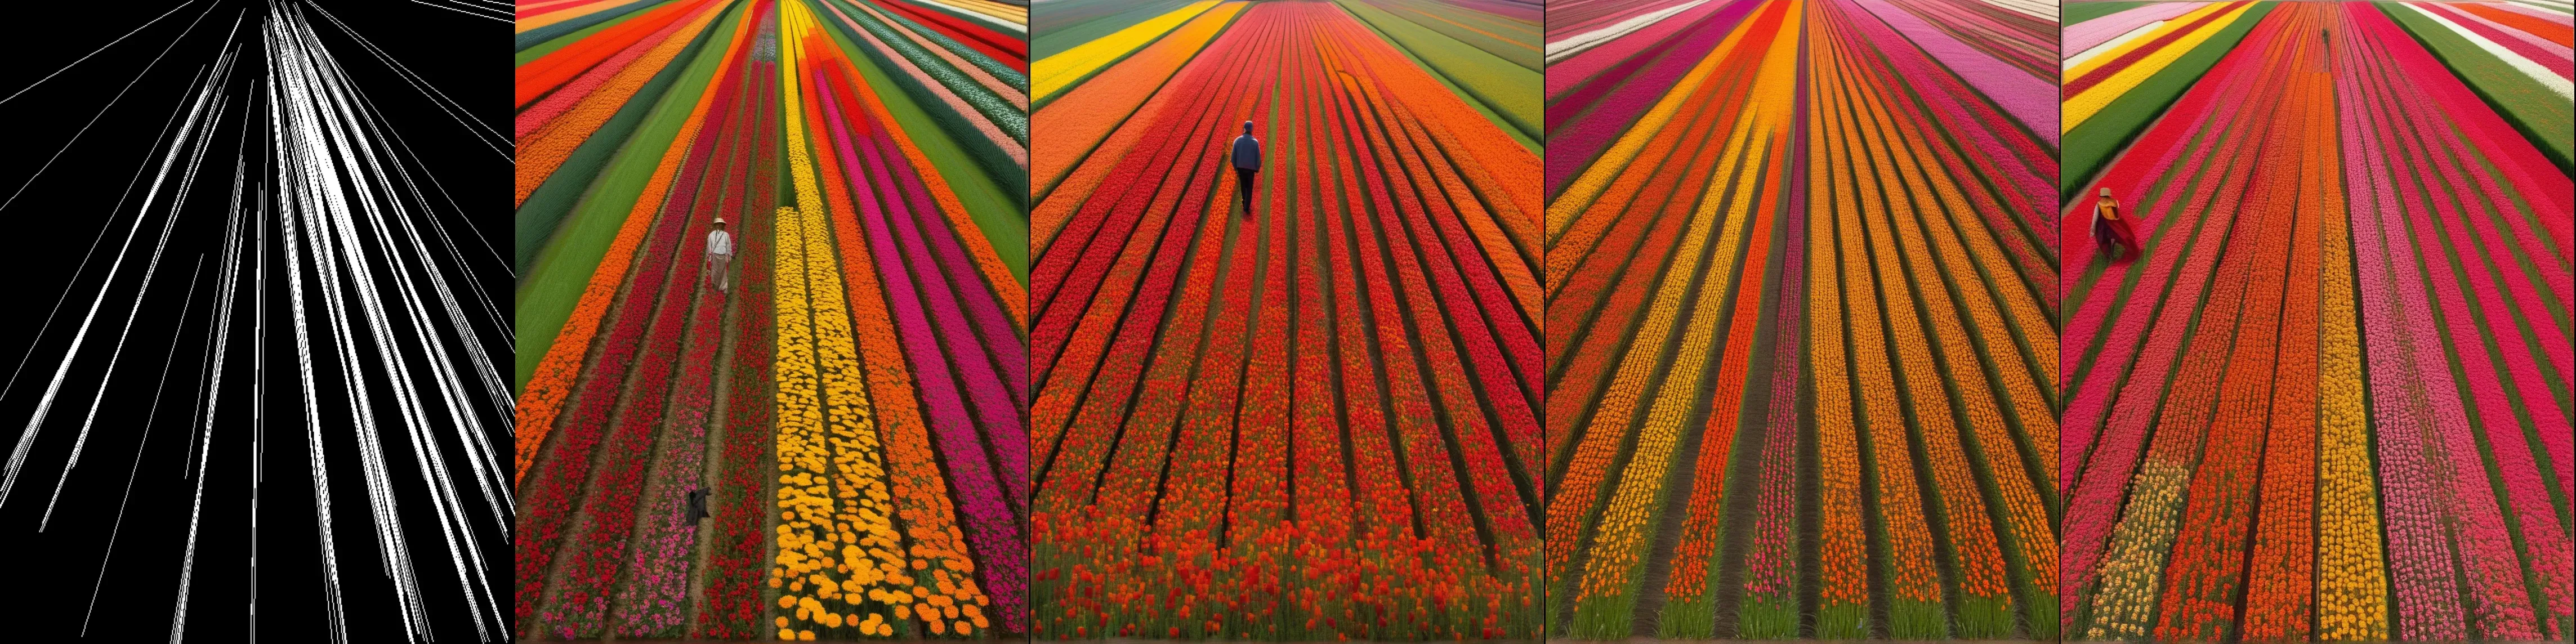
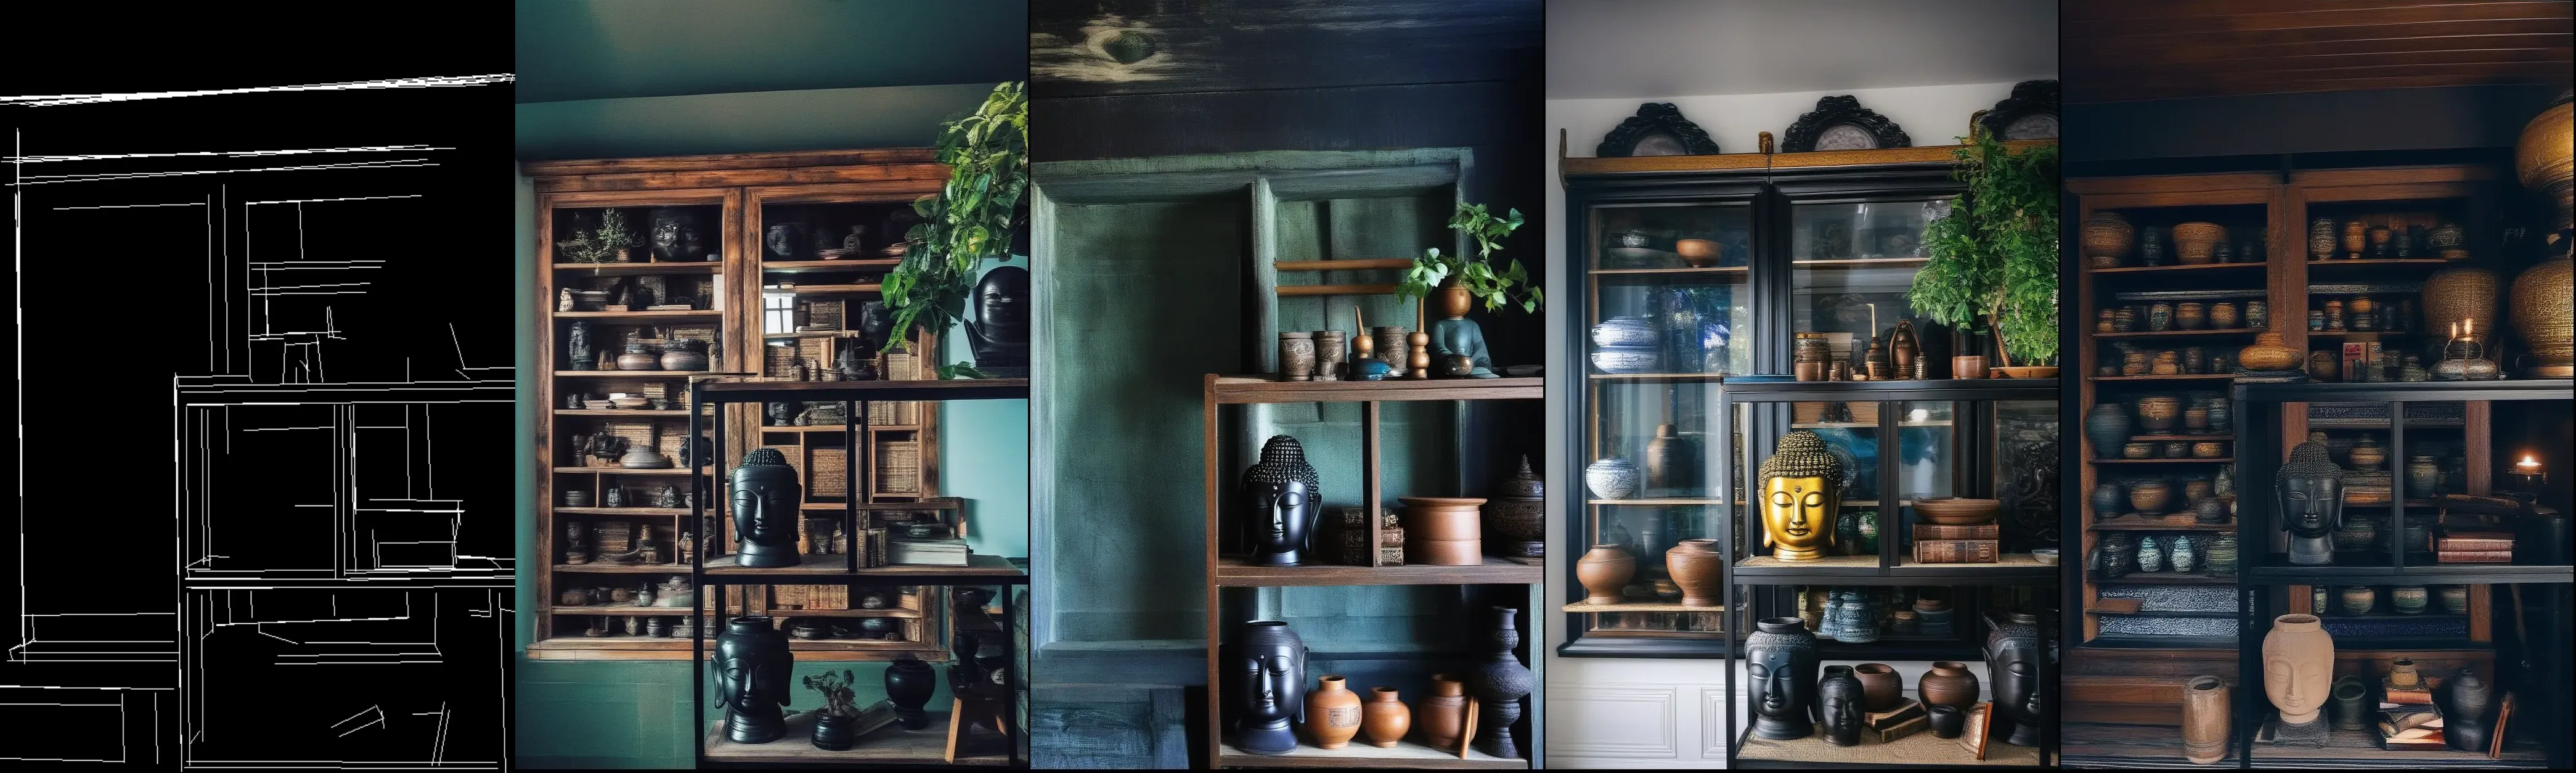
最重要的 controlnet 模型之一,canny 与 lineart、anime lineart、mlsd 进行混合训练。在处理任何细线时具有稳健的性能,该模型是降低变形率的关键,建议使用细线重绘手部/脚部。

Lineart
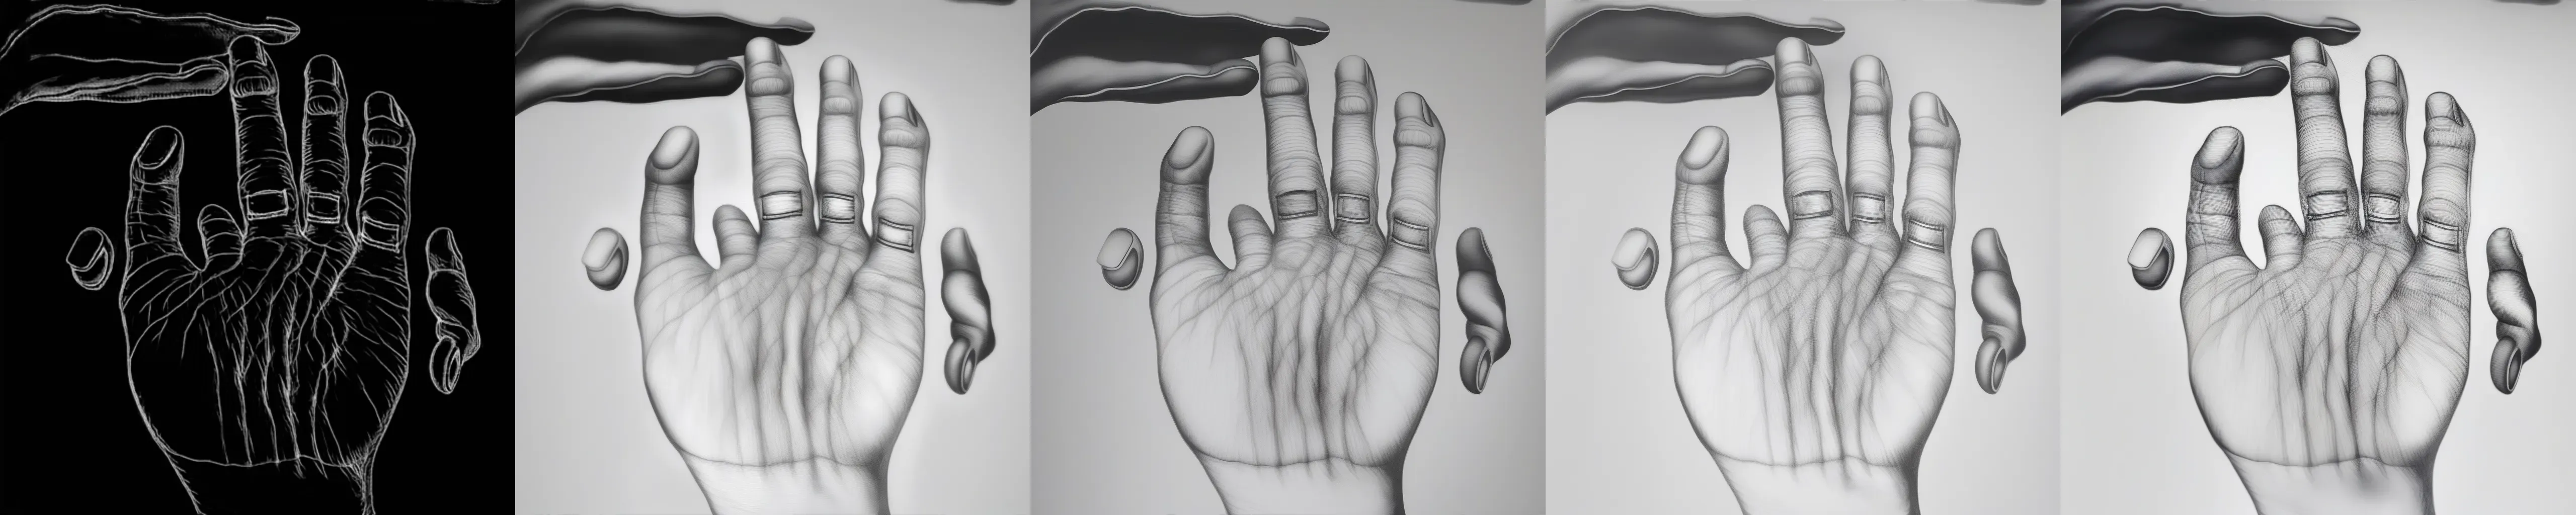
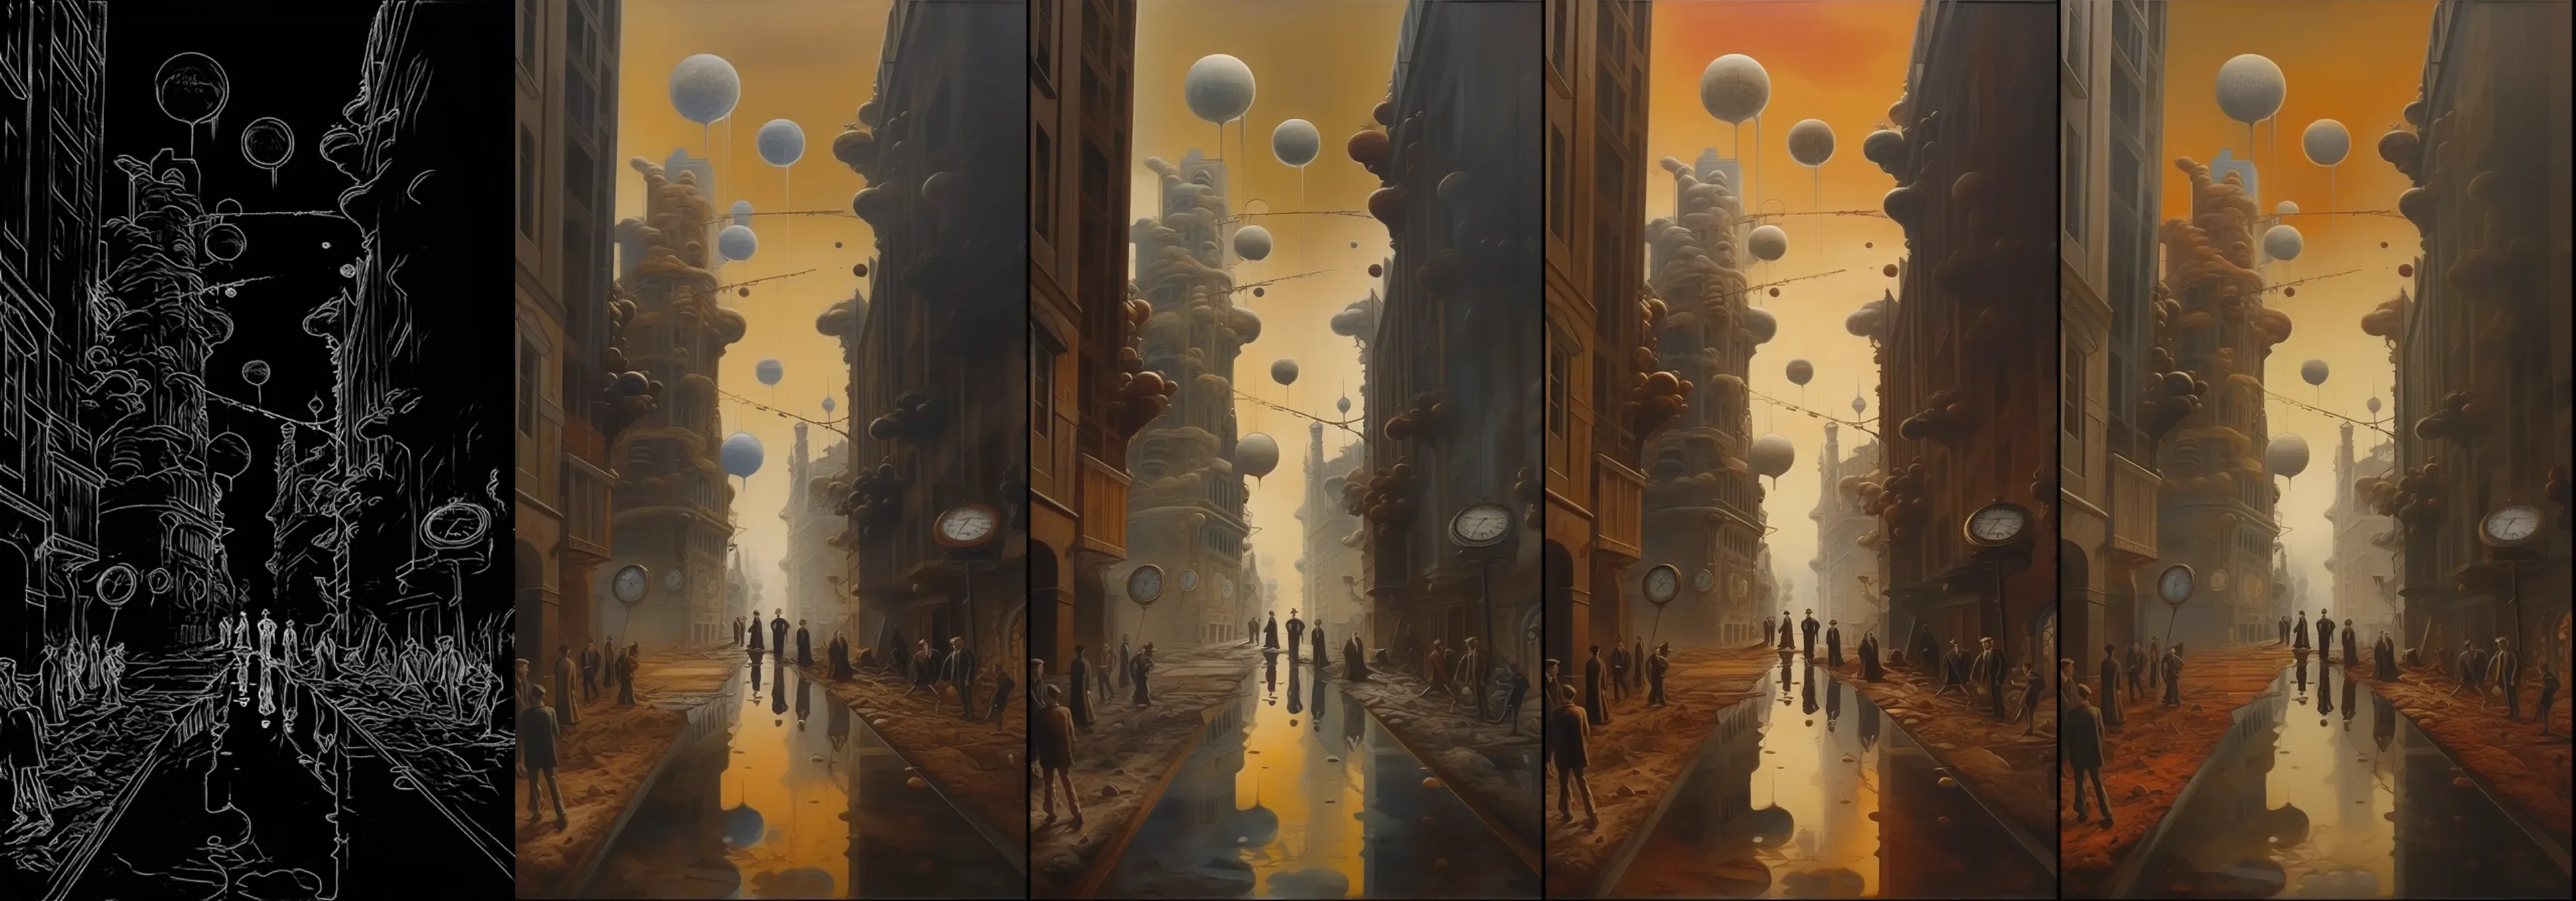
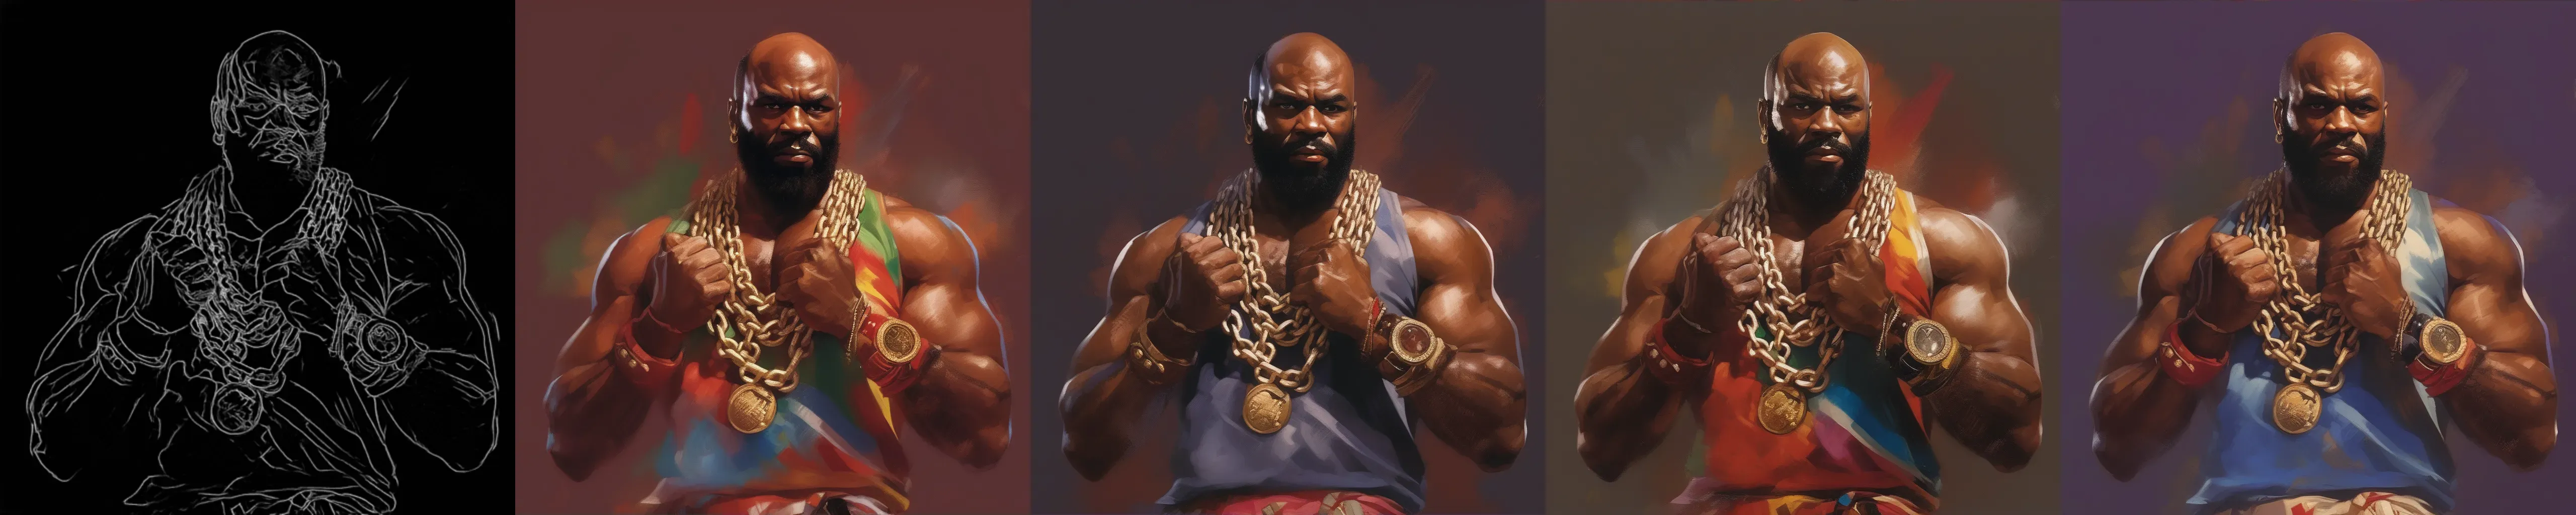
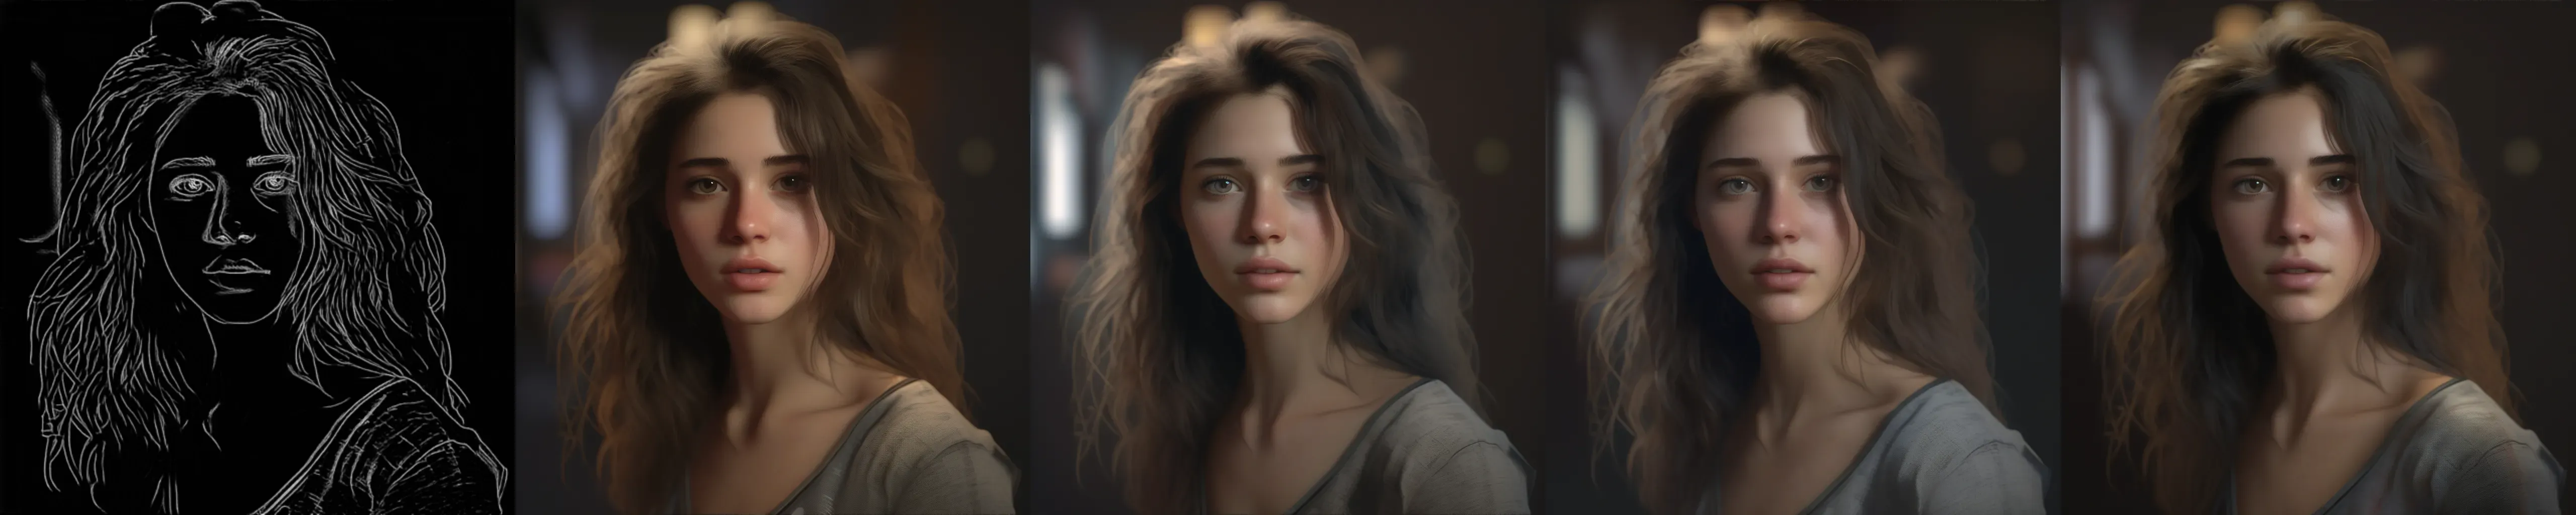
AnimeLineart
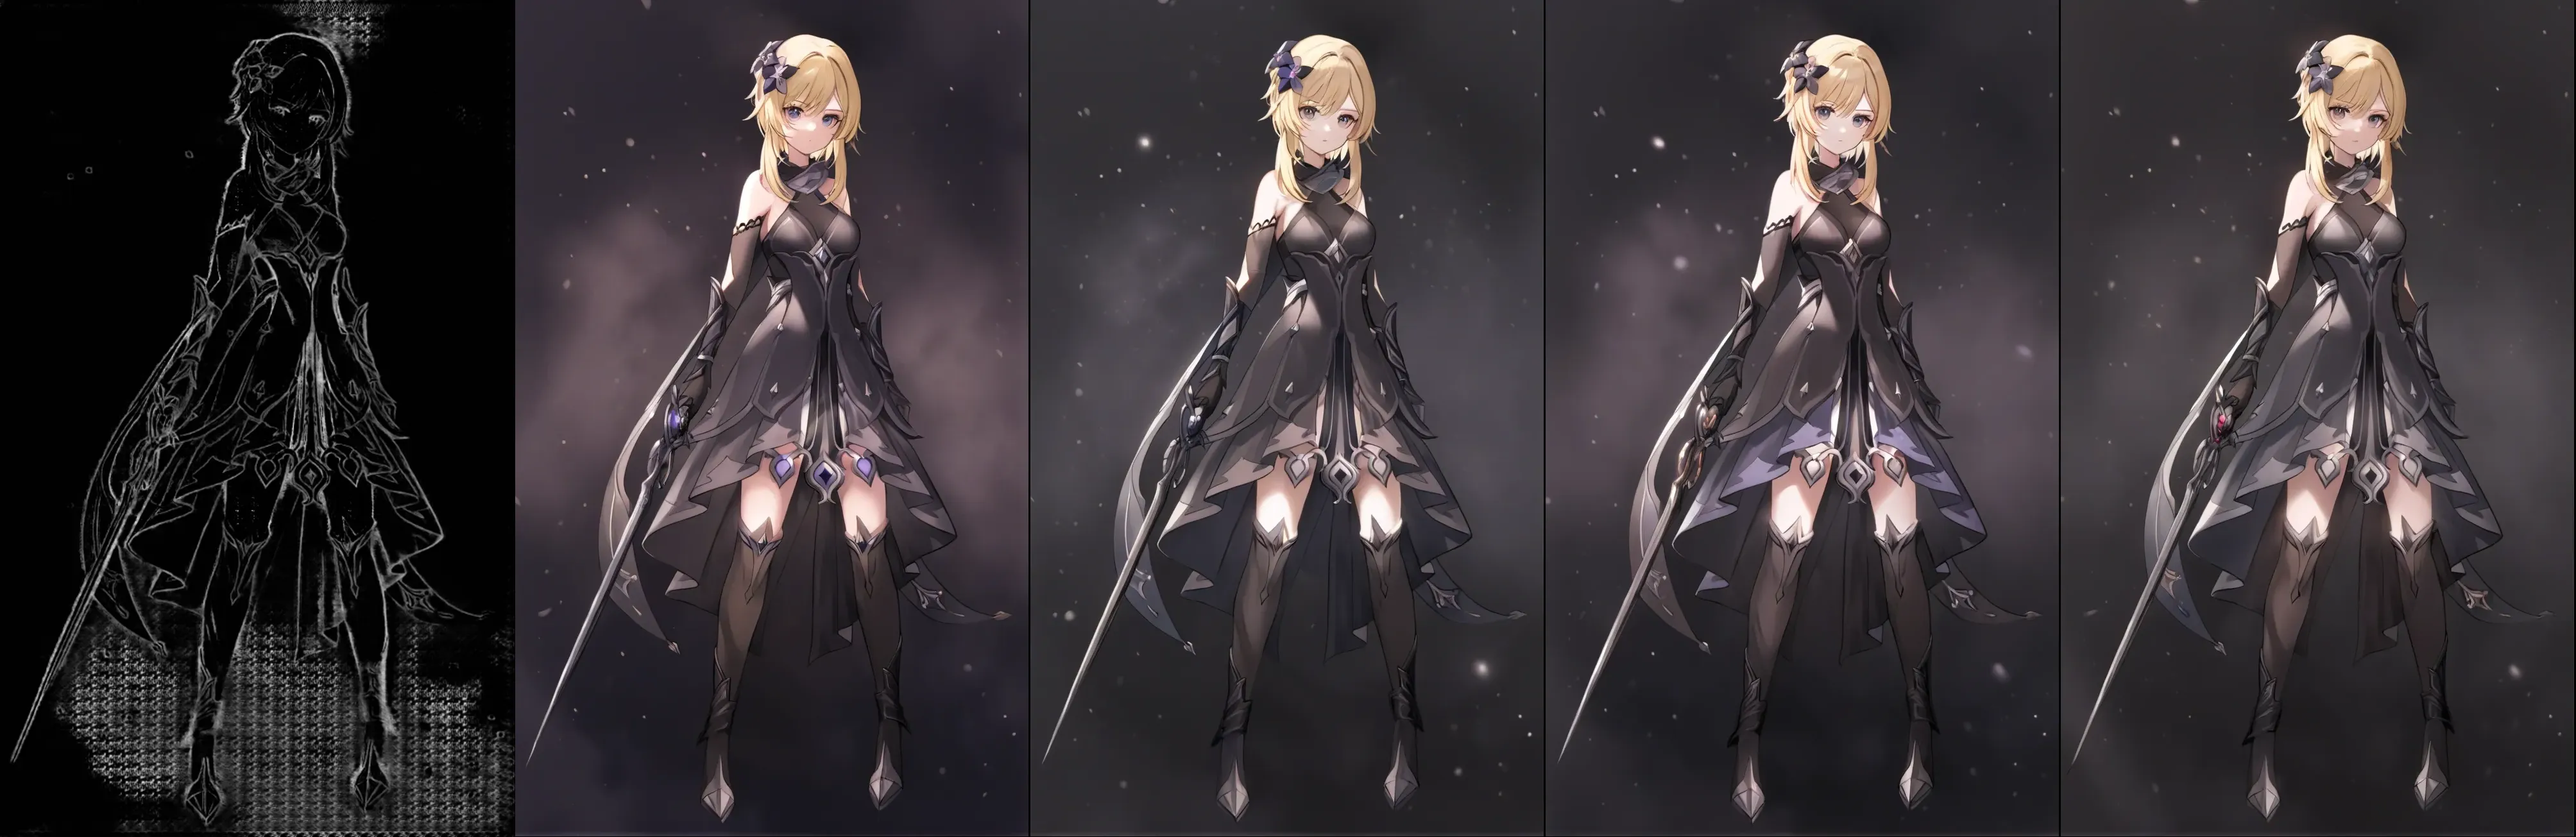
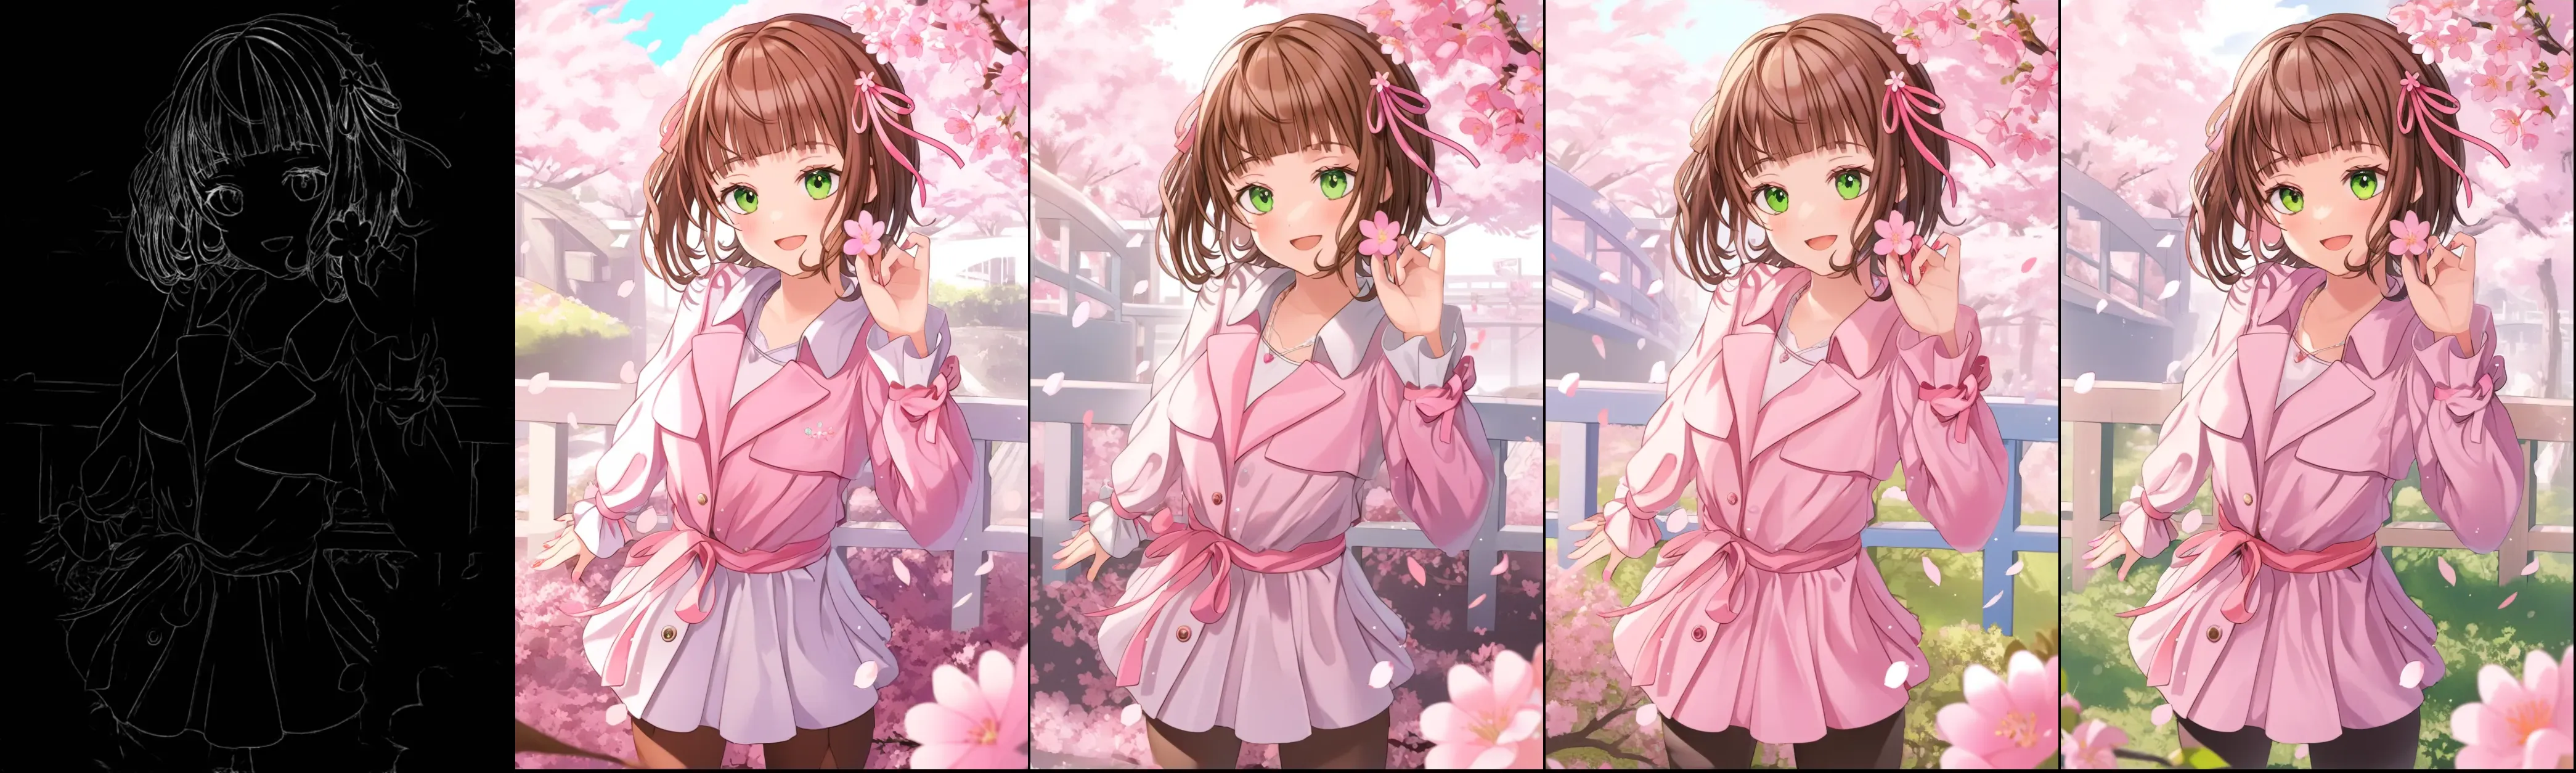
Mlsd
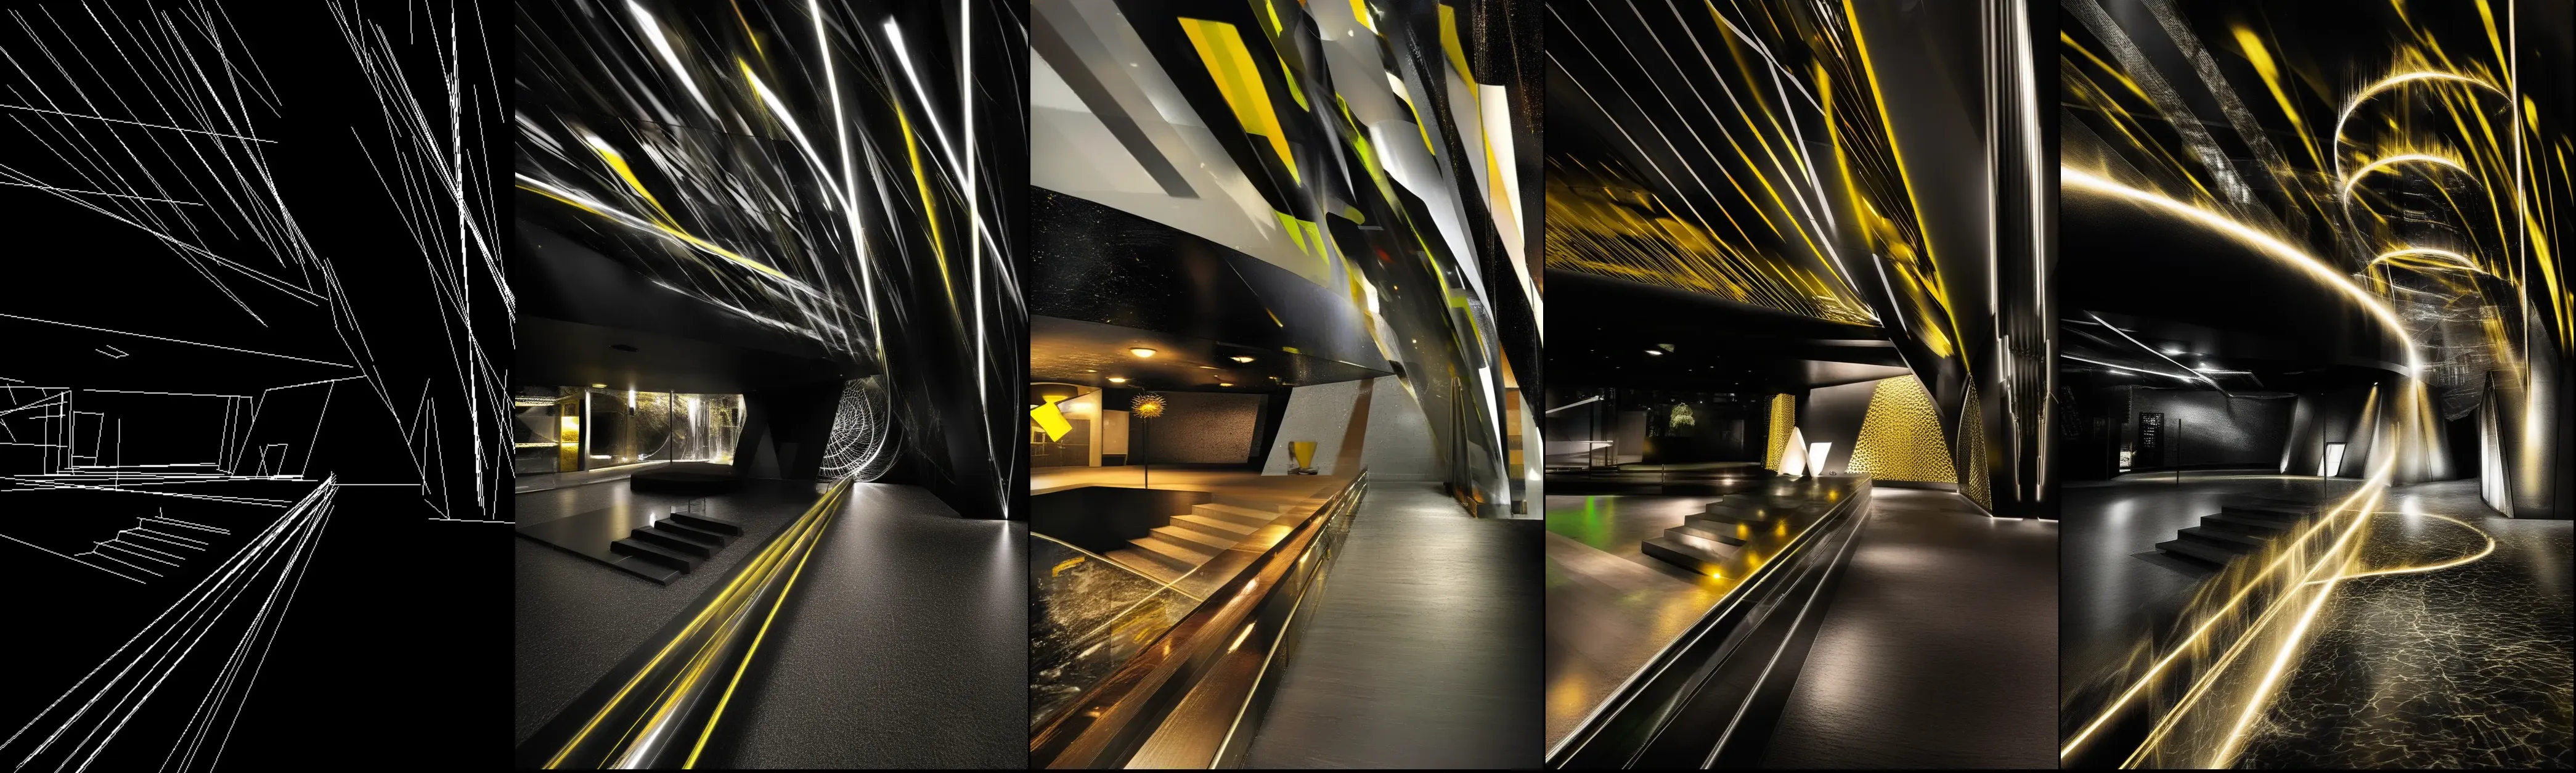
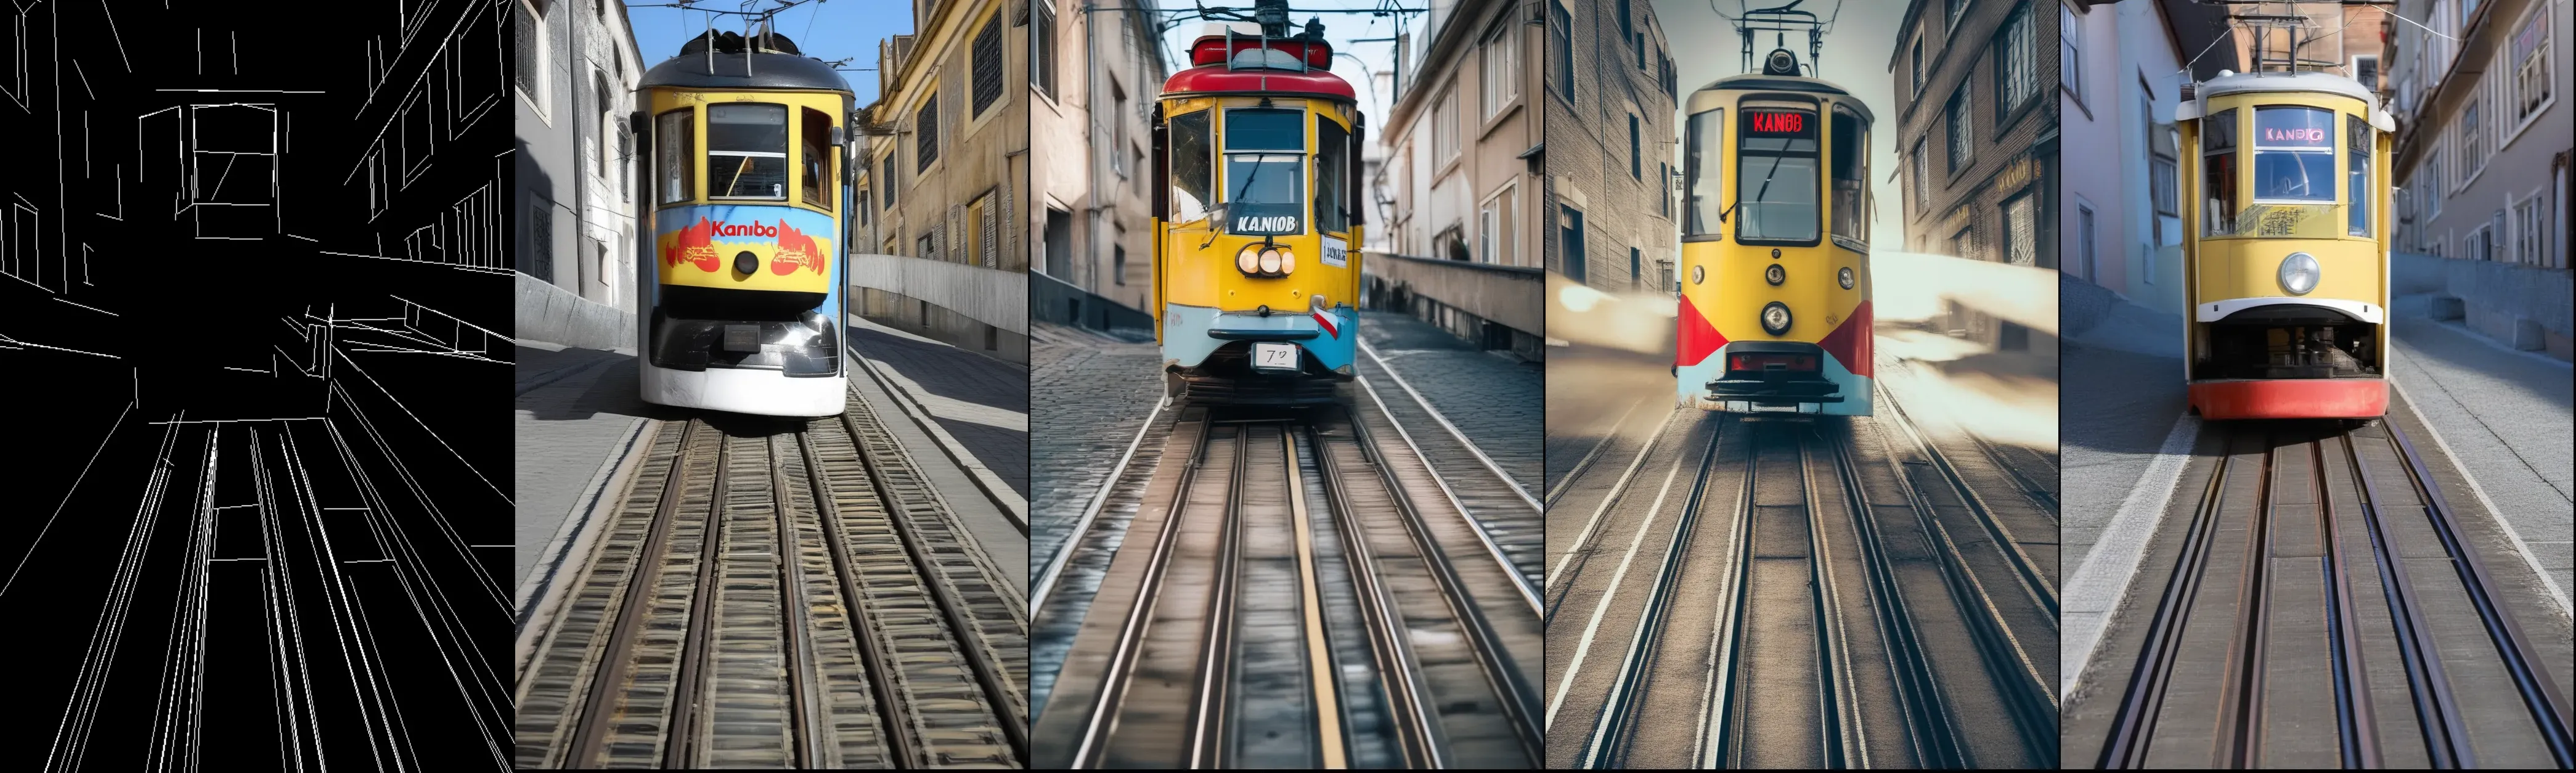

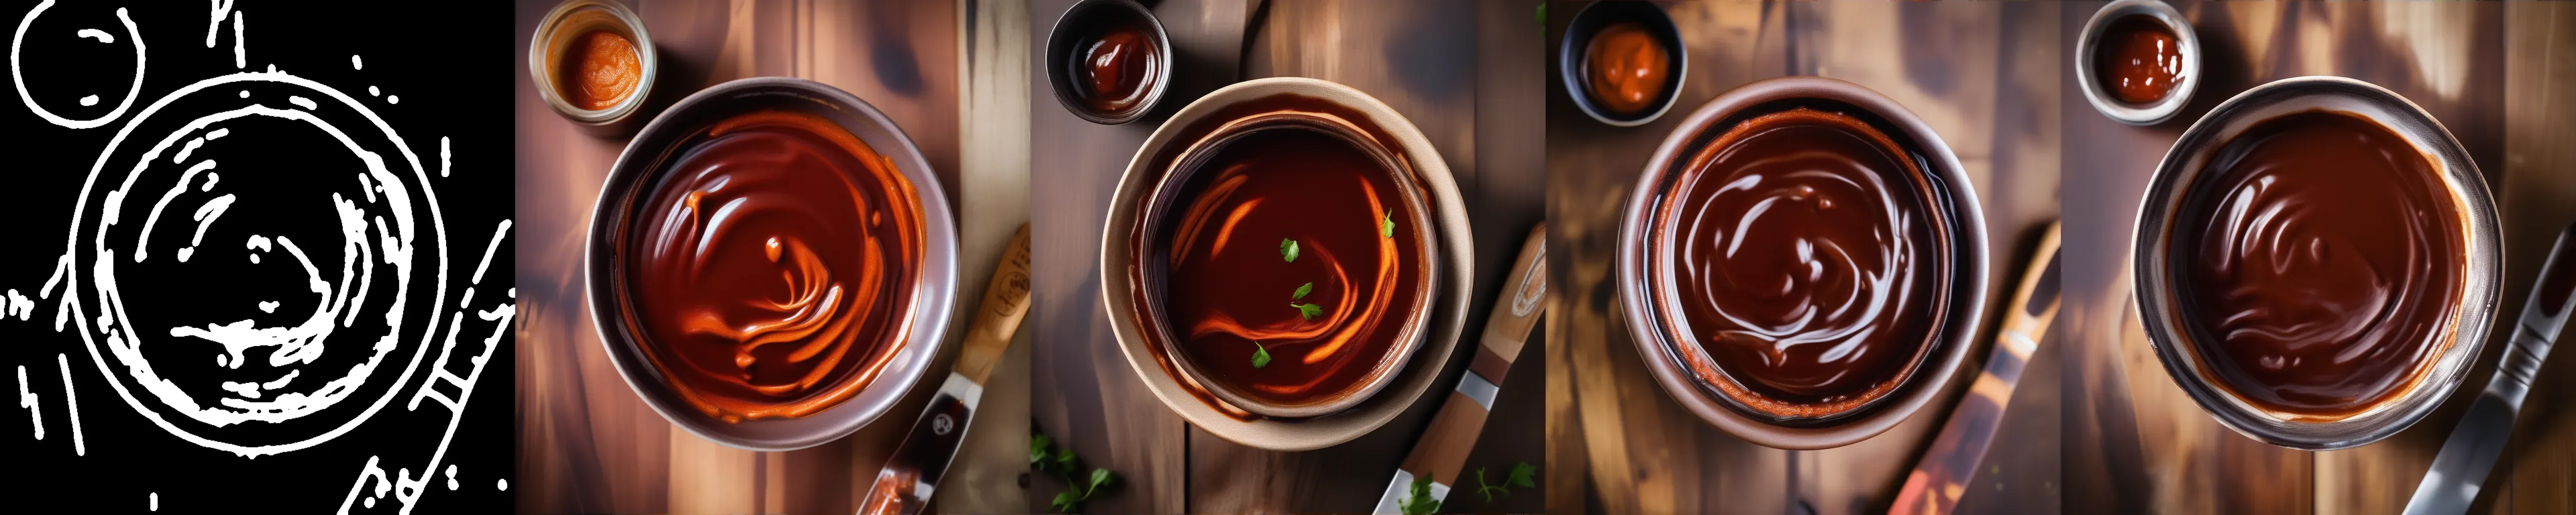
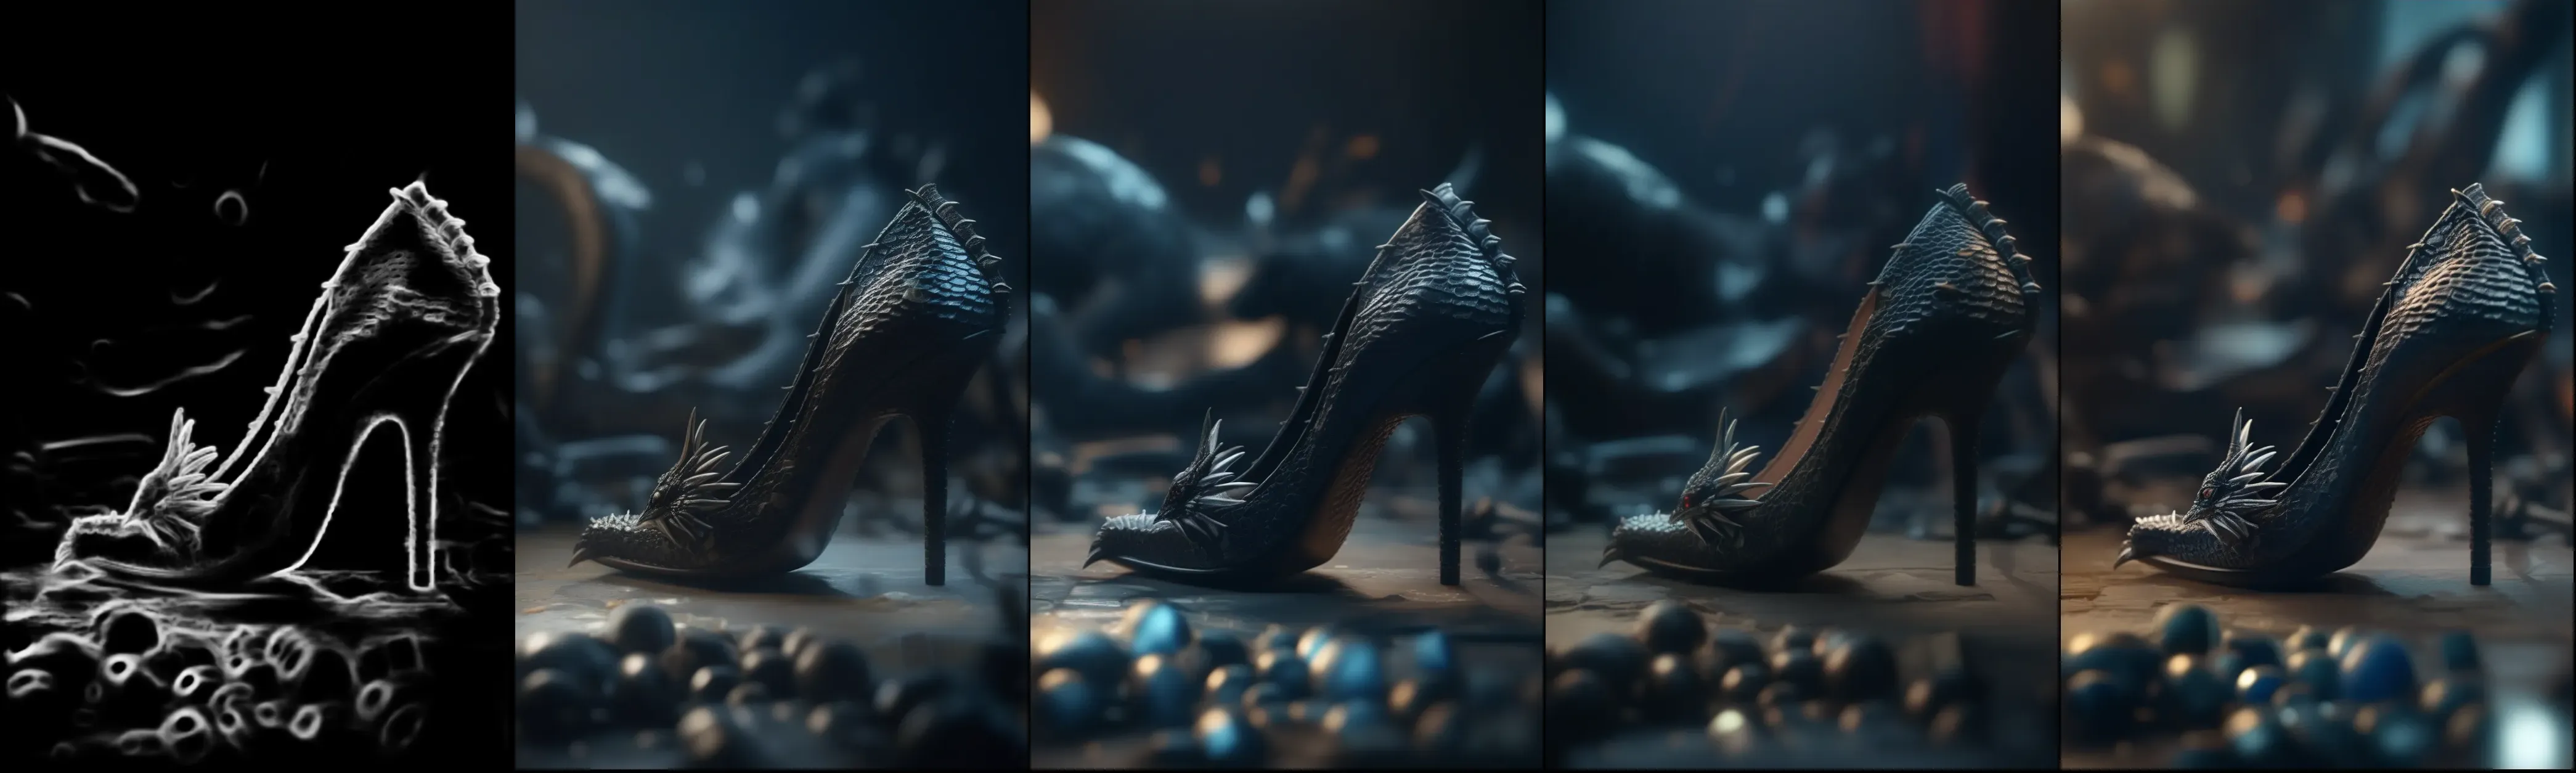
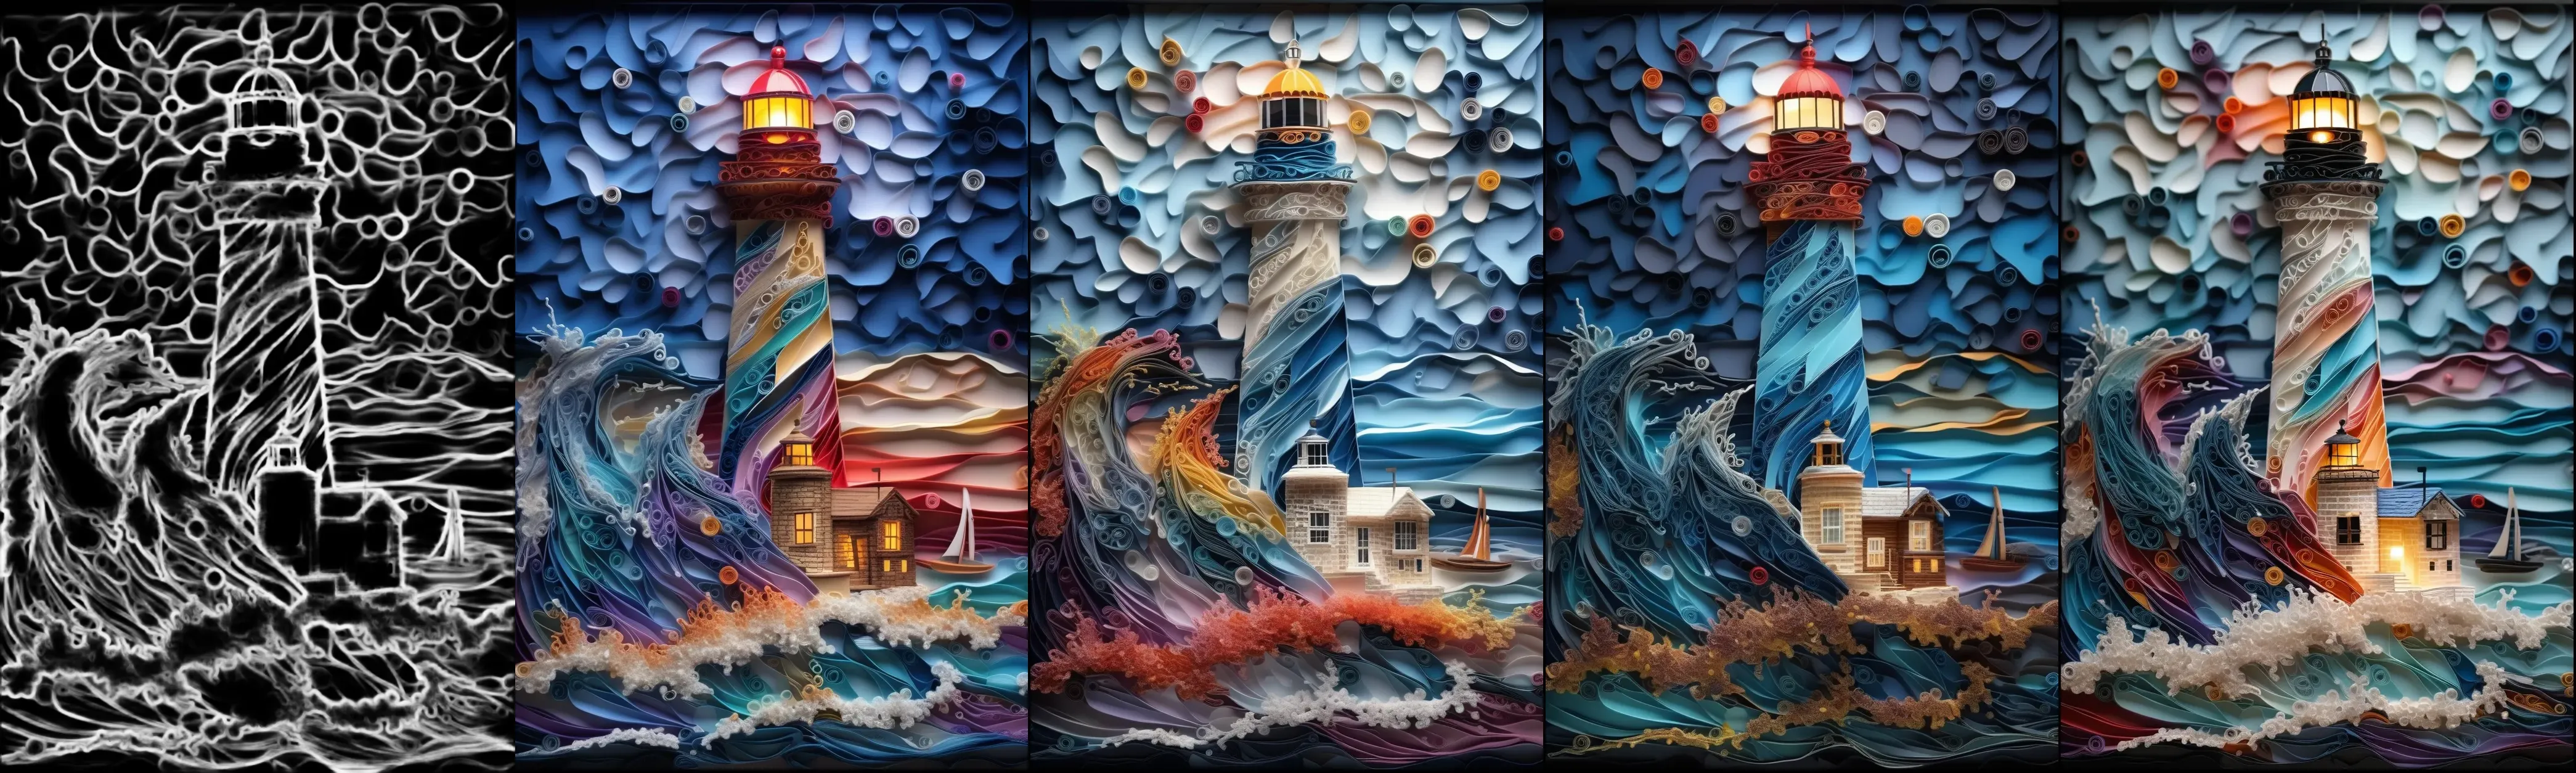
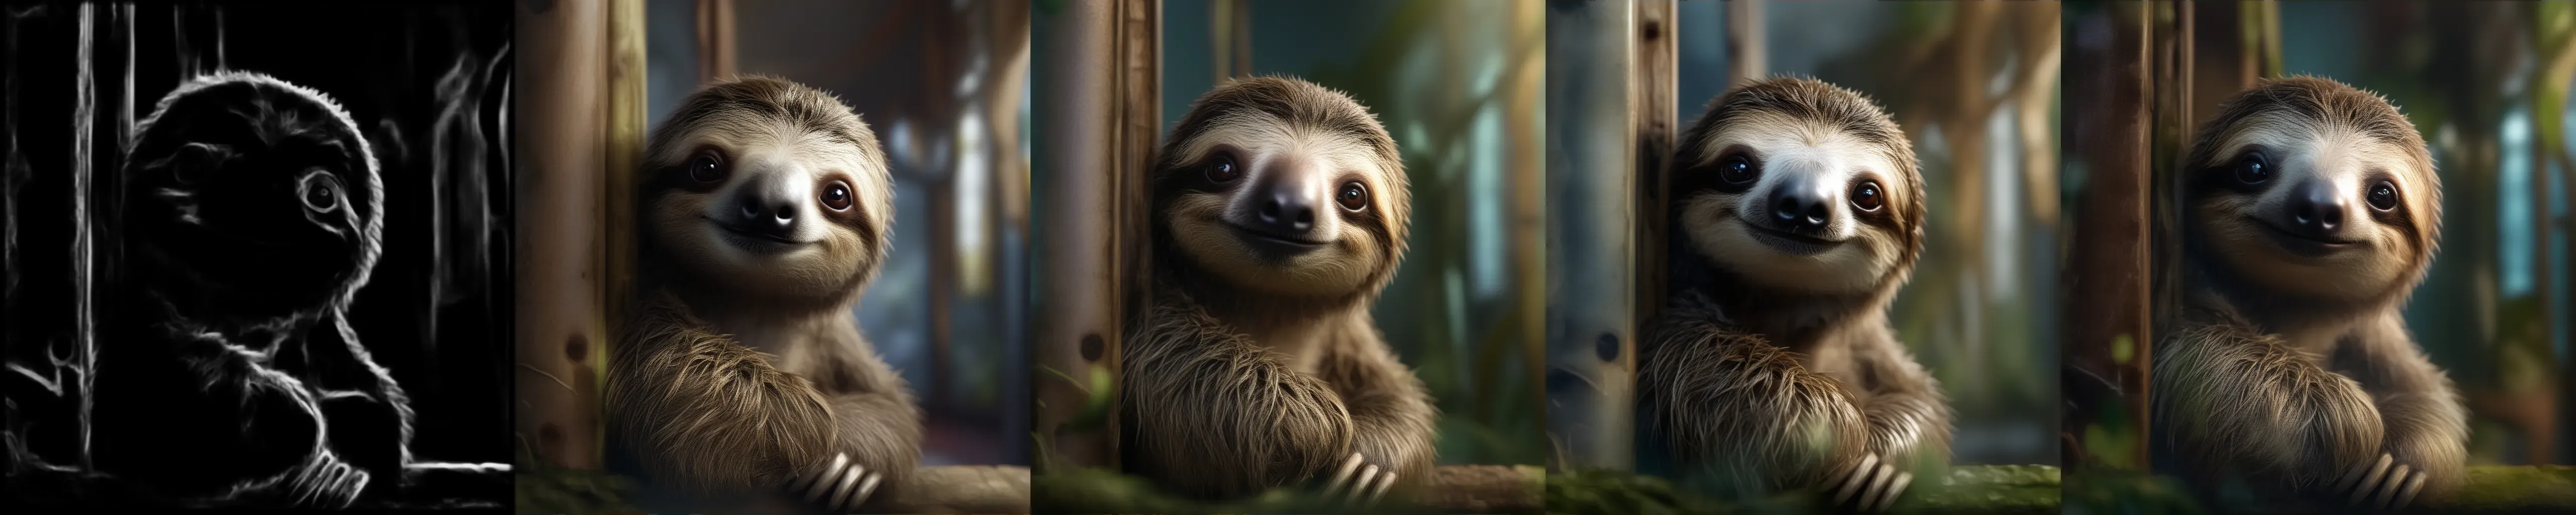
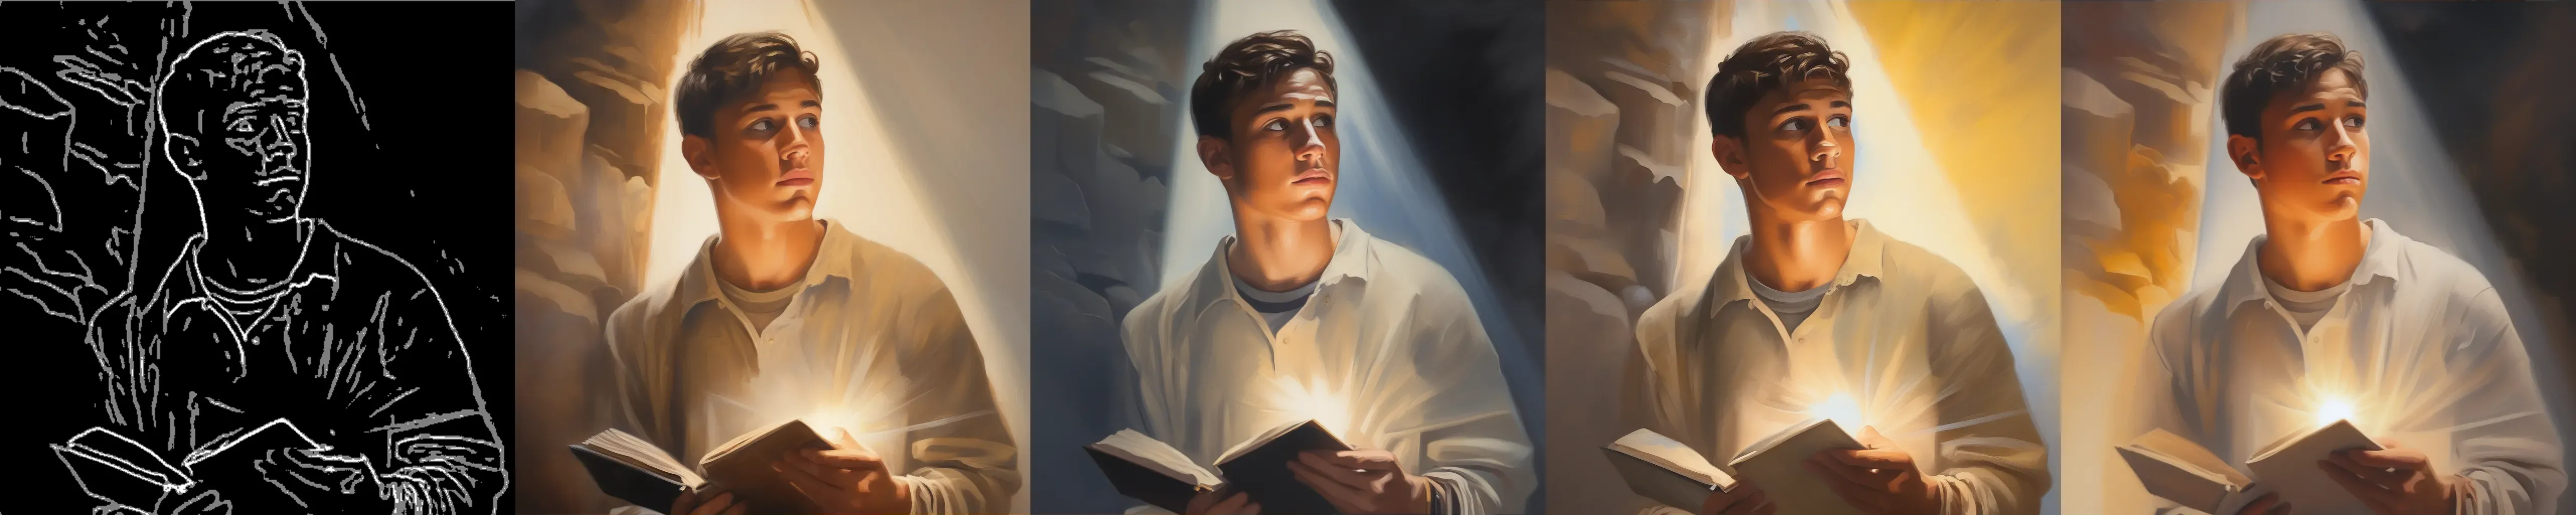
Scribble
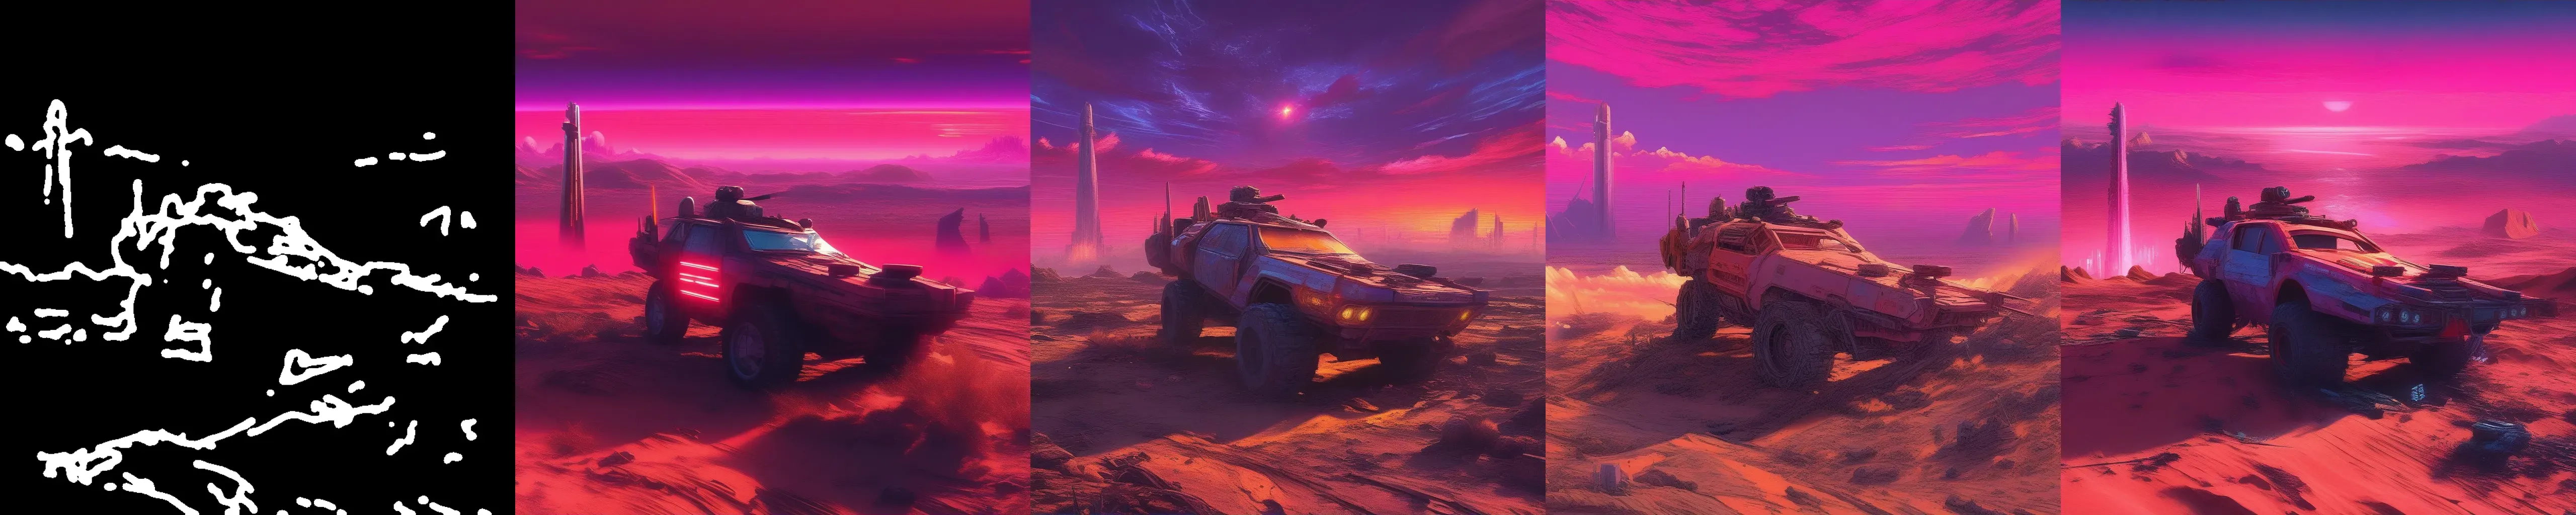
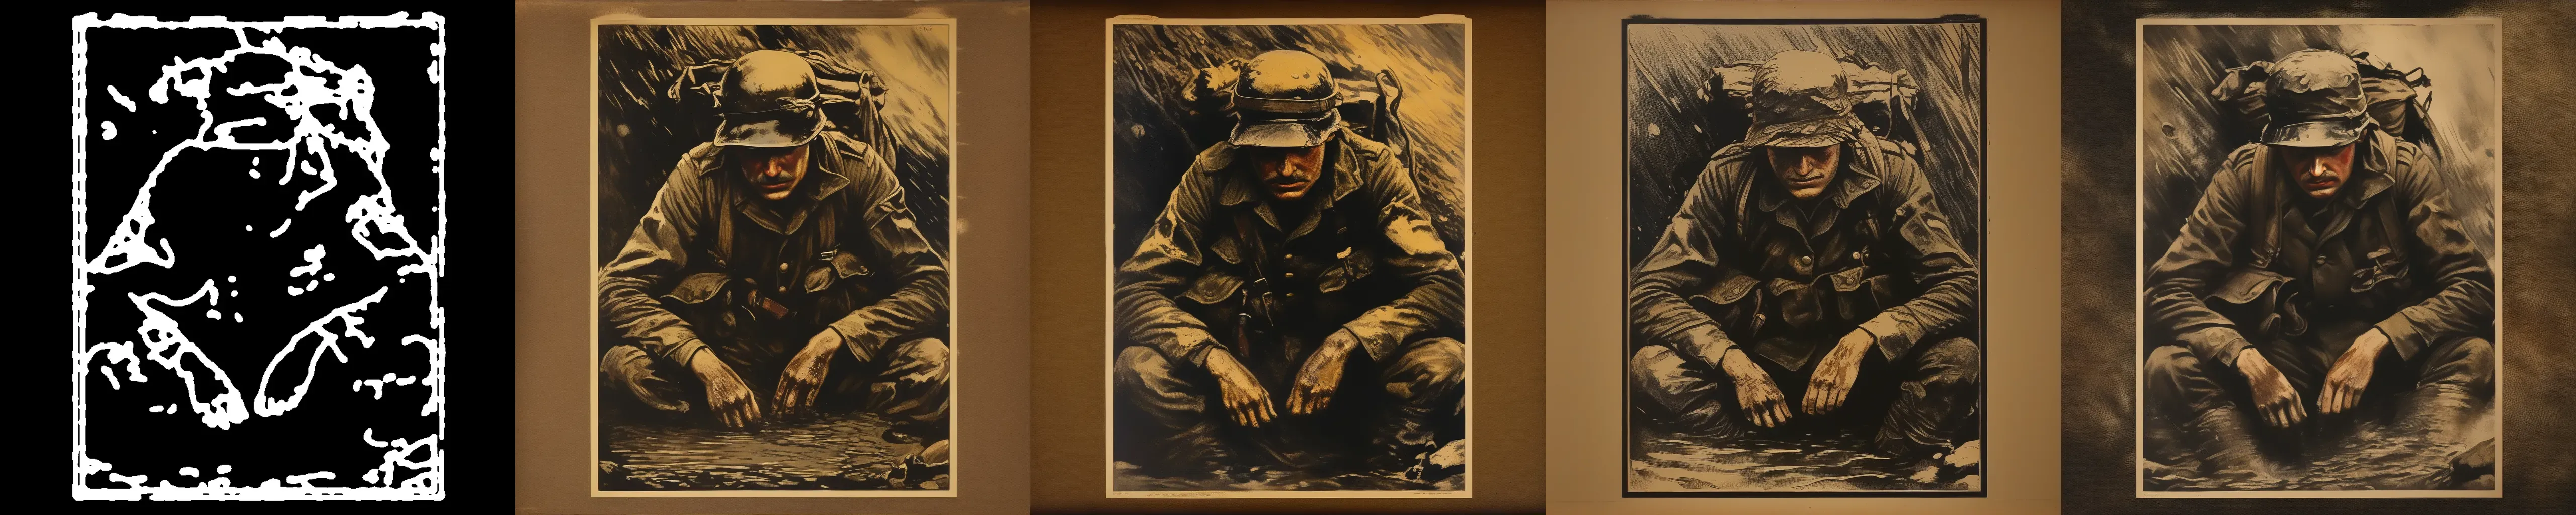
最重要的 controlnet 模型之一,scribble 模型支持任何线宽和任何线型。其效果与 https://huggingface.co/xinsir/controlnet-scribble-sdxl-1.0 相当,让每个人都成为灵魂画手。


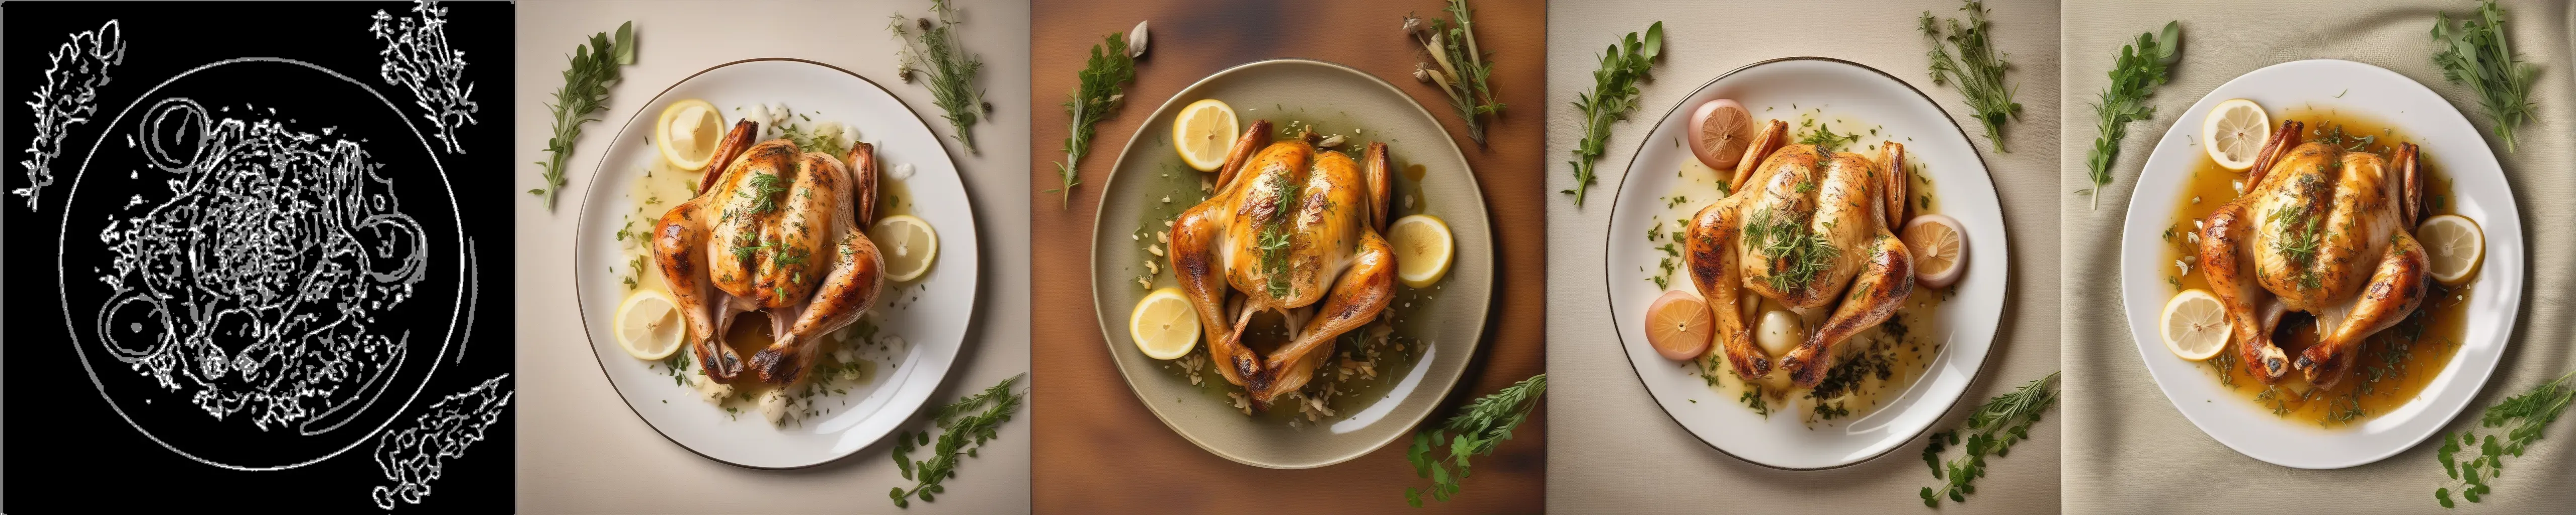
Hed


Pidi(Softedge)

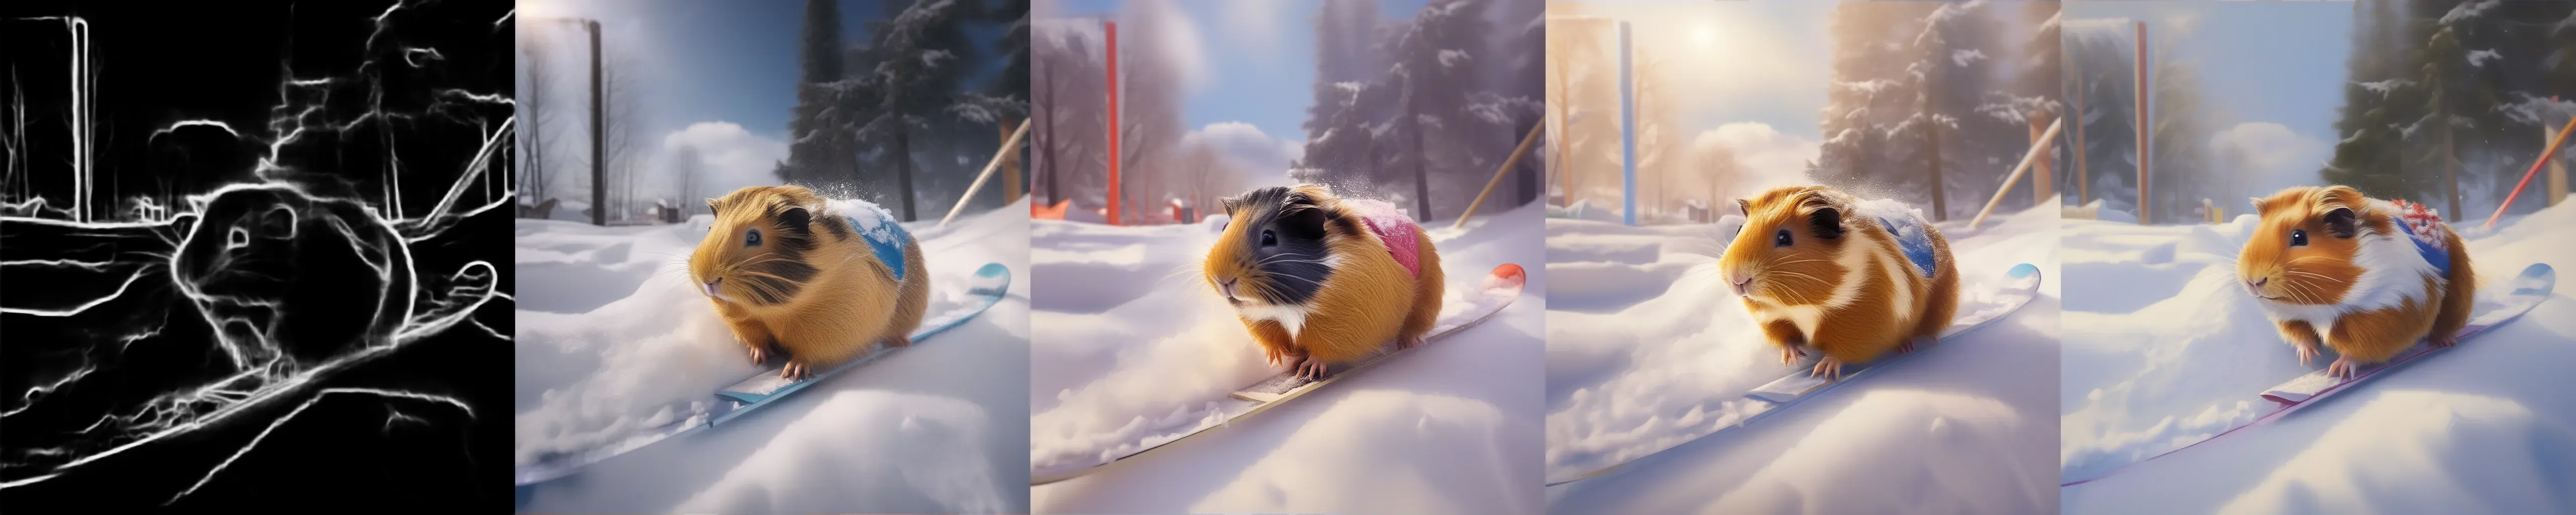
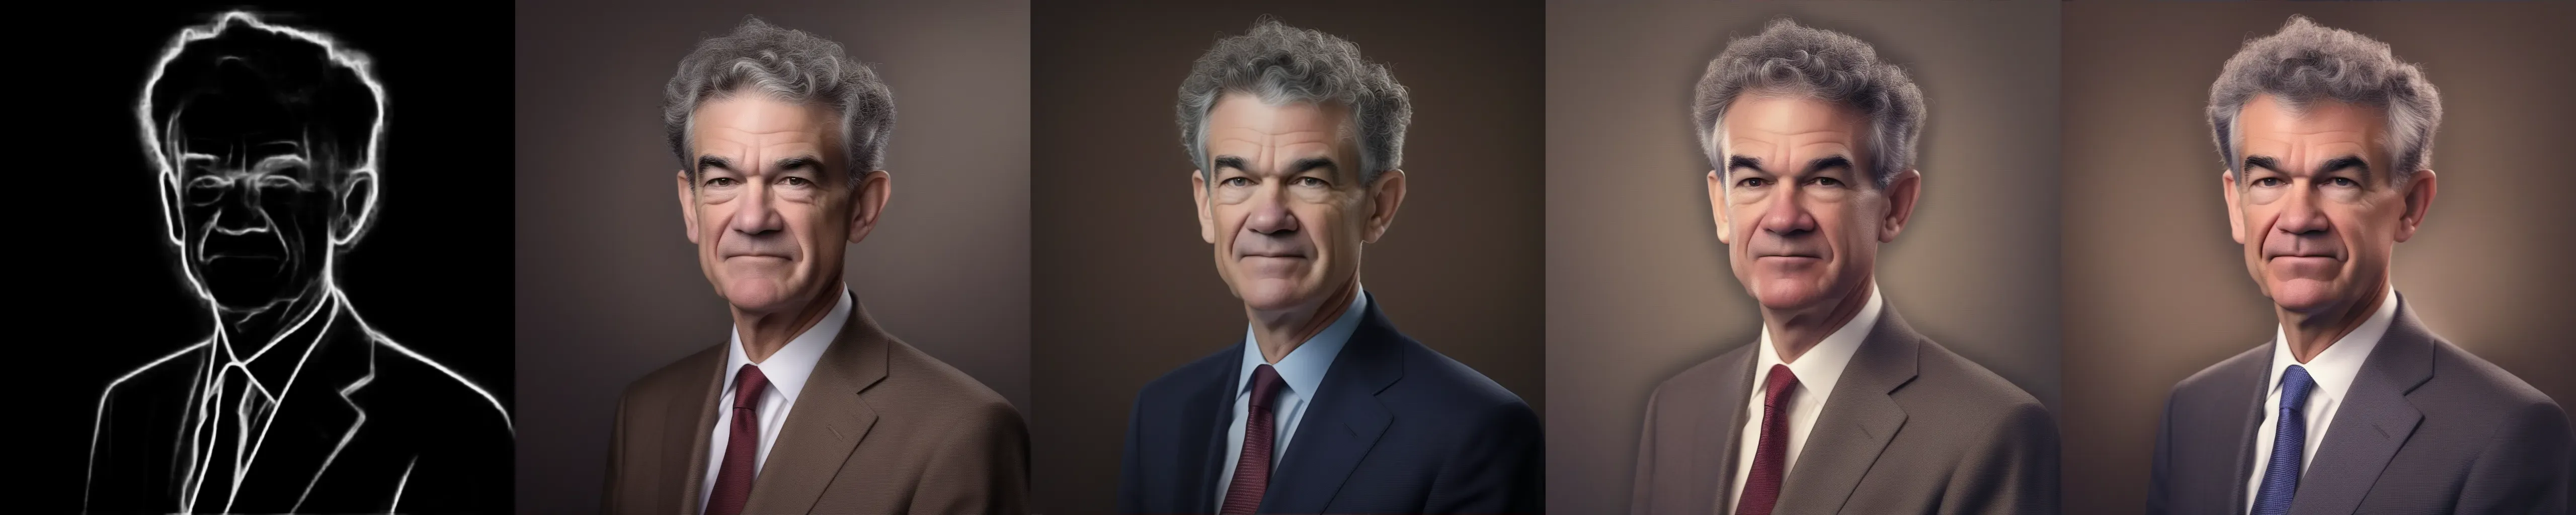
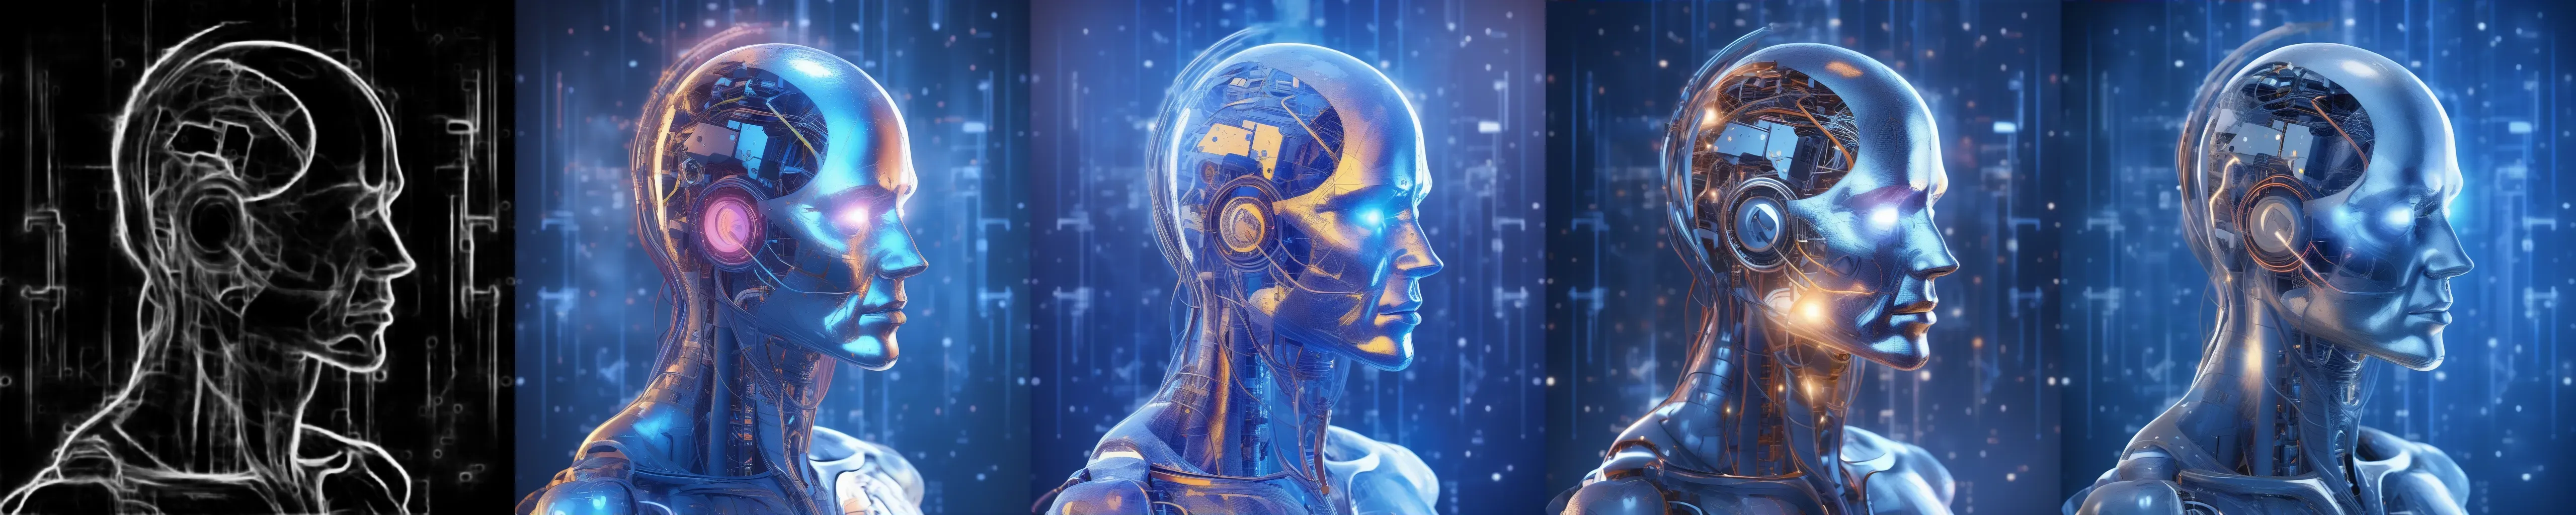

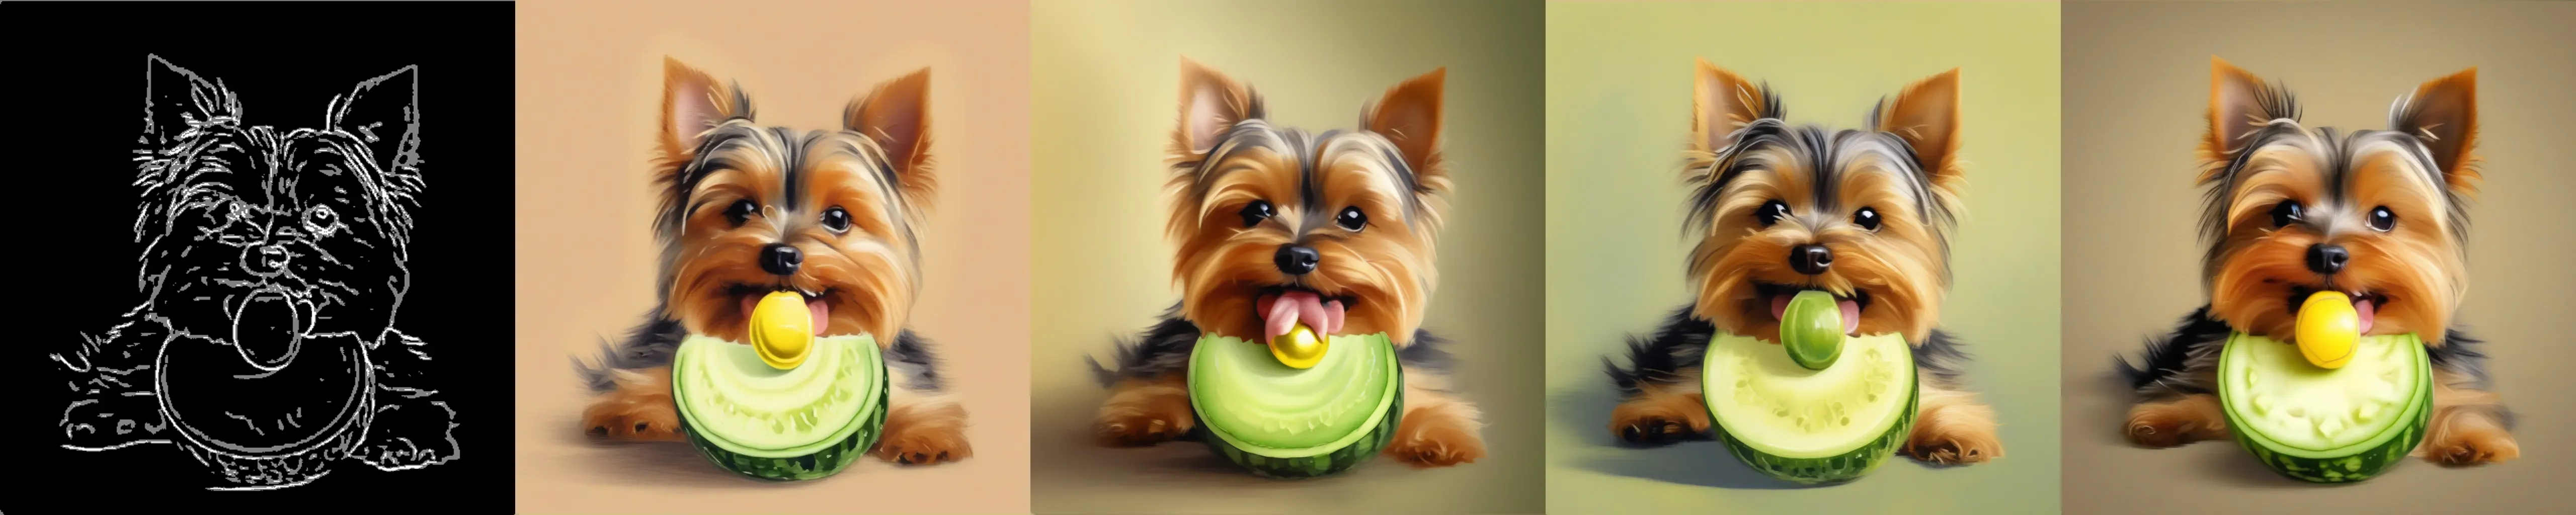
Teed(512 detect, higher resolution, thiner line)

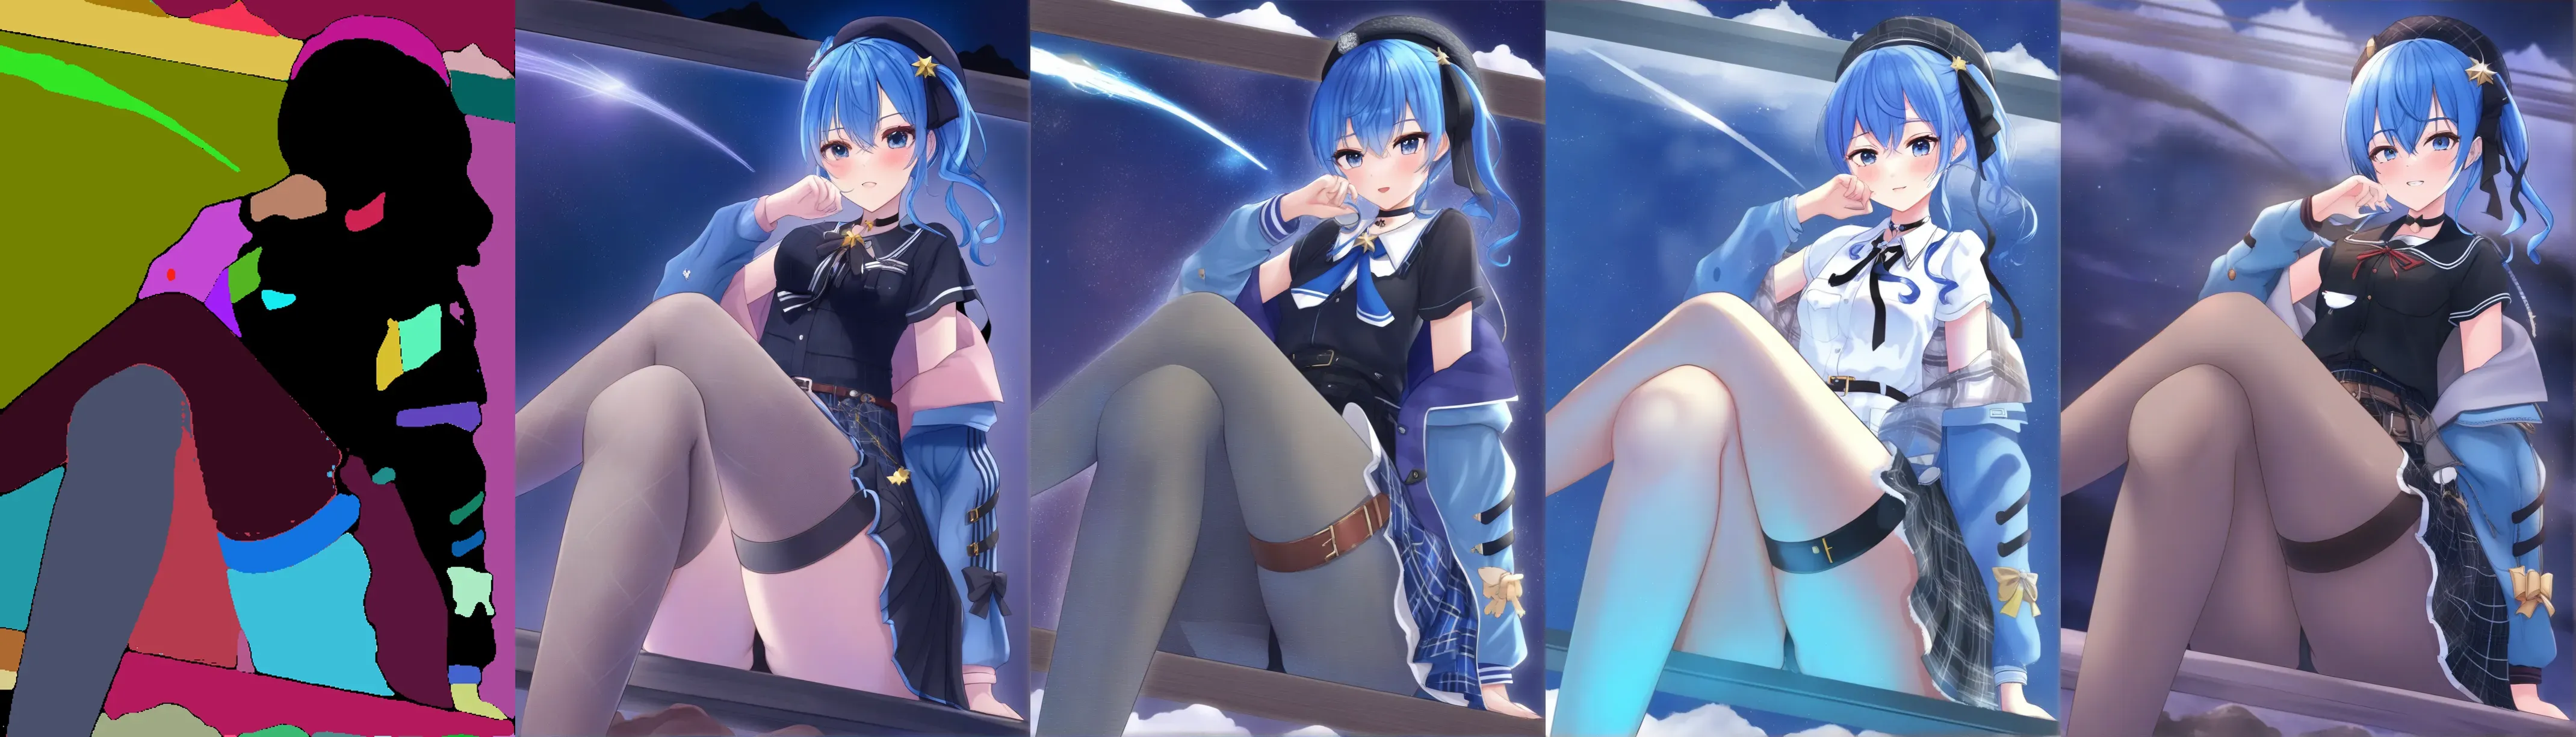
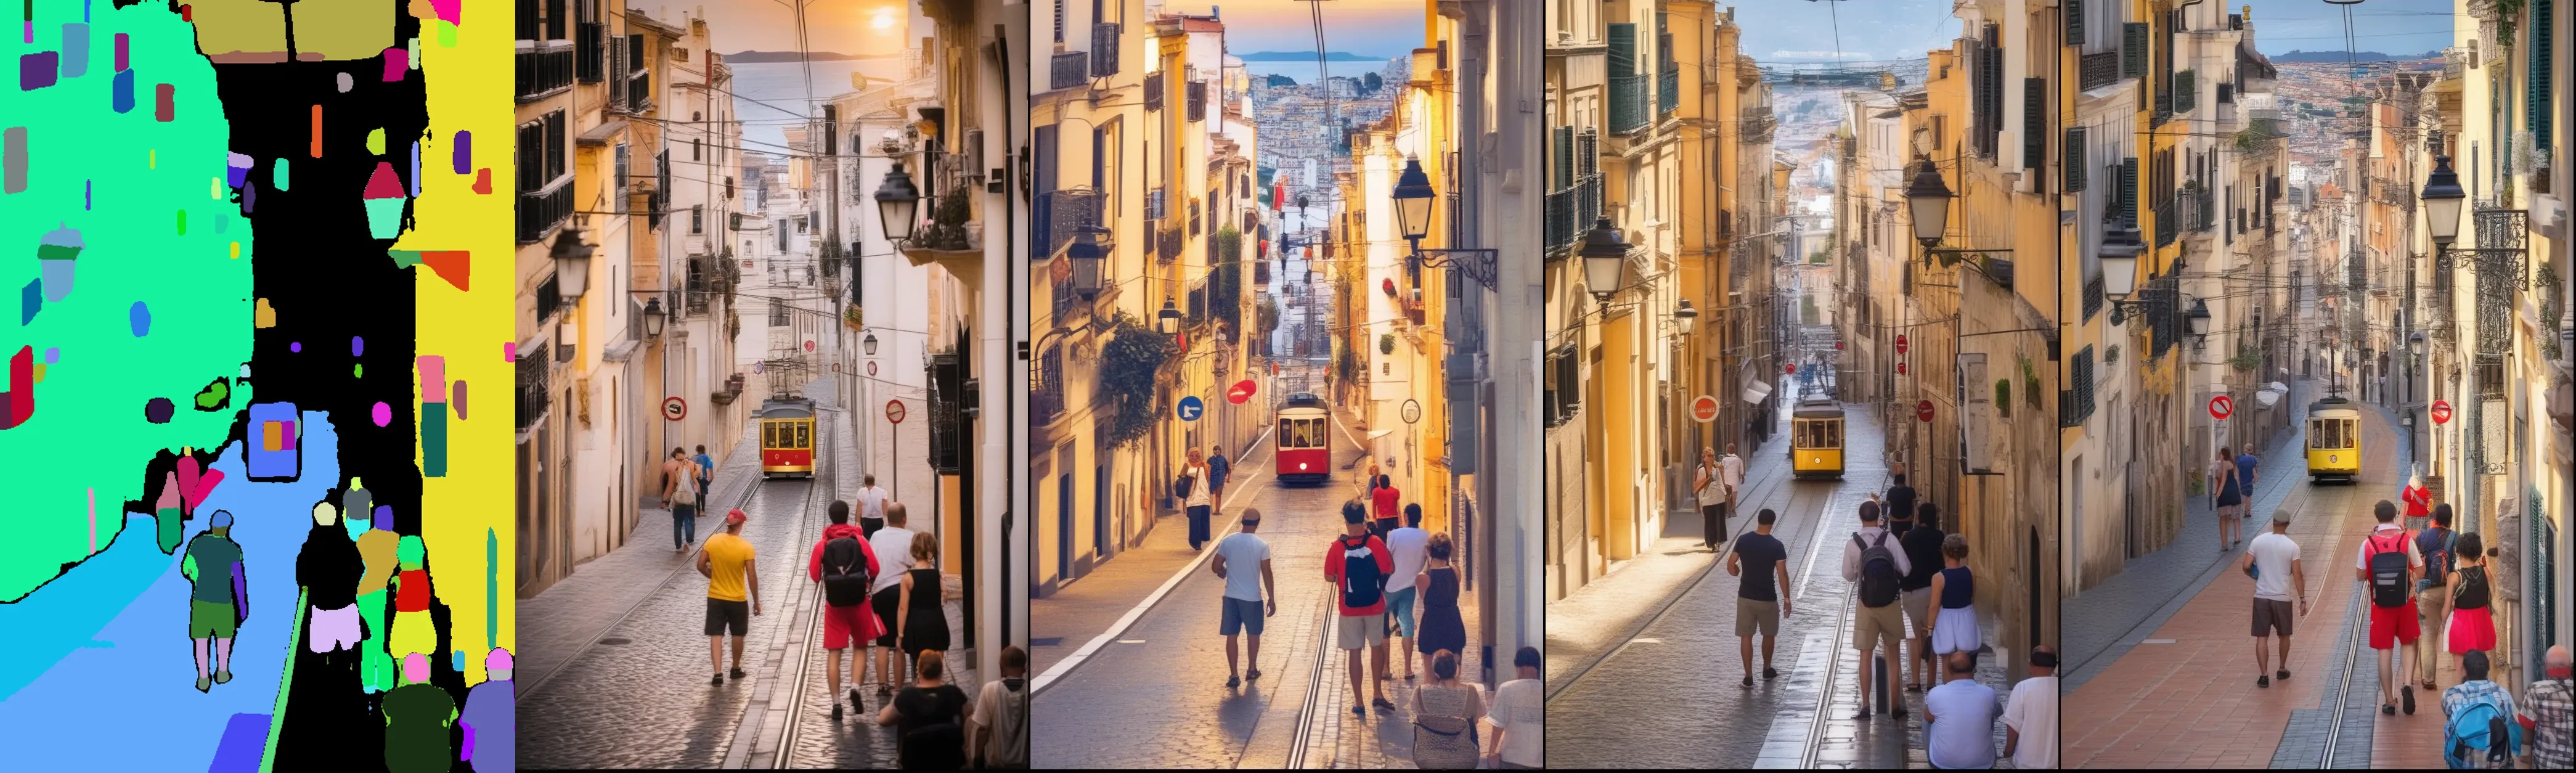
Segment



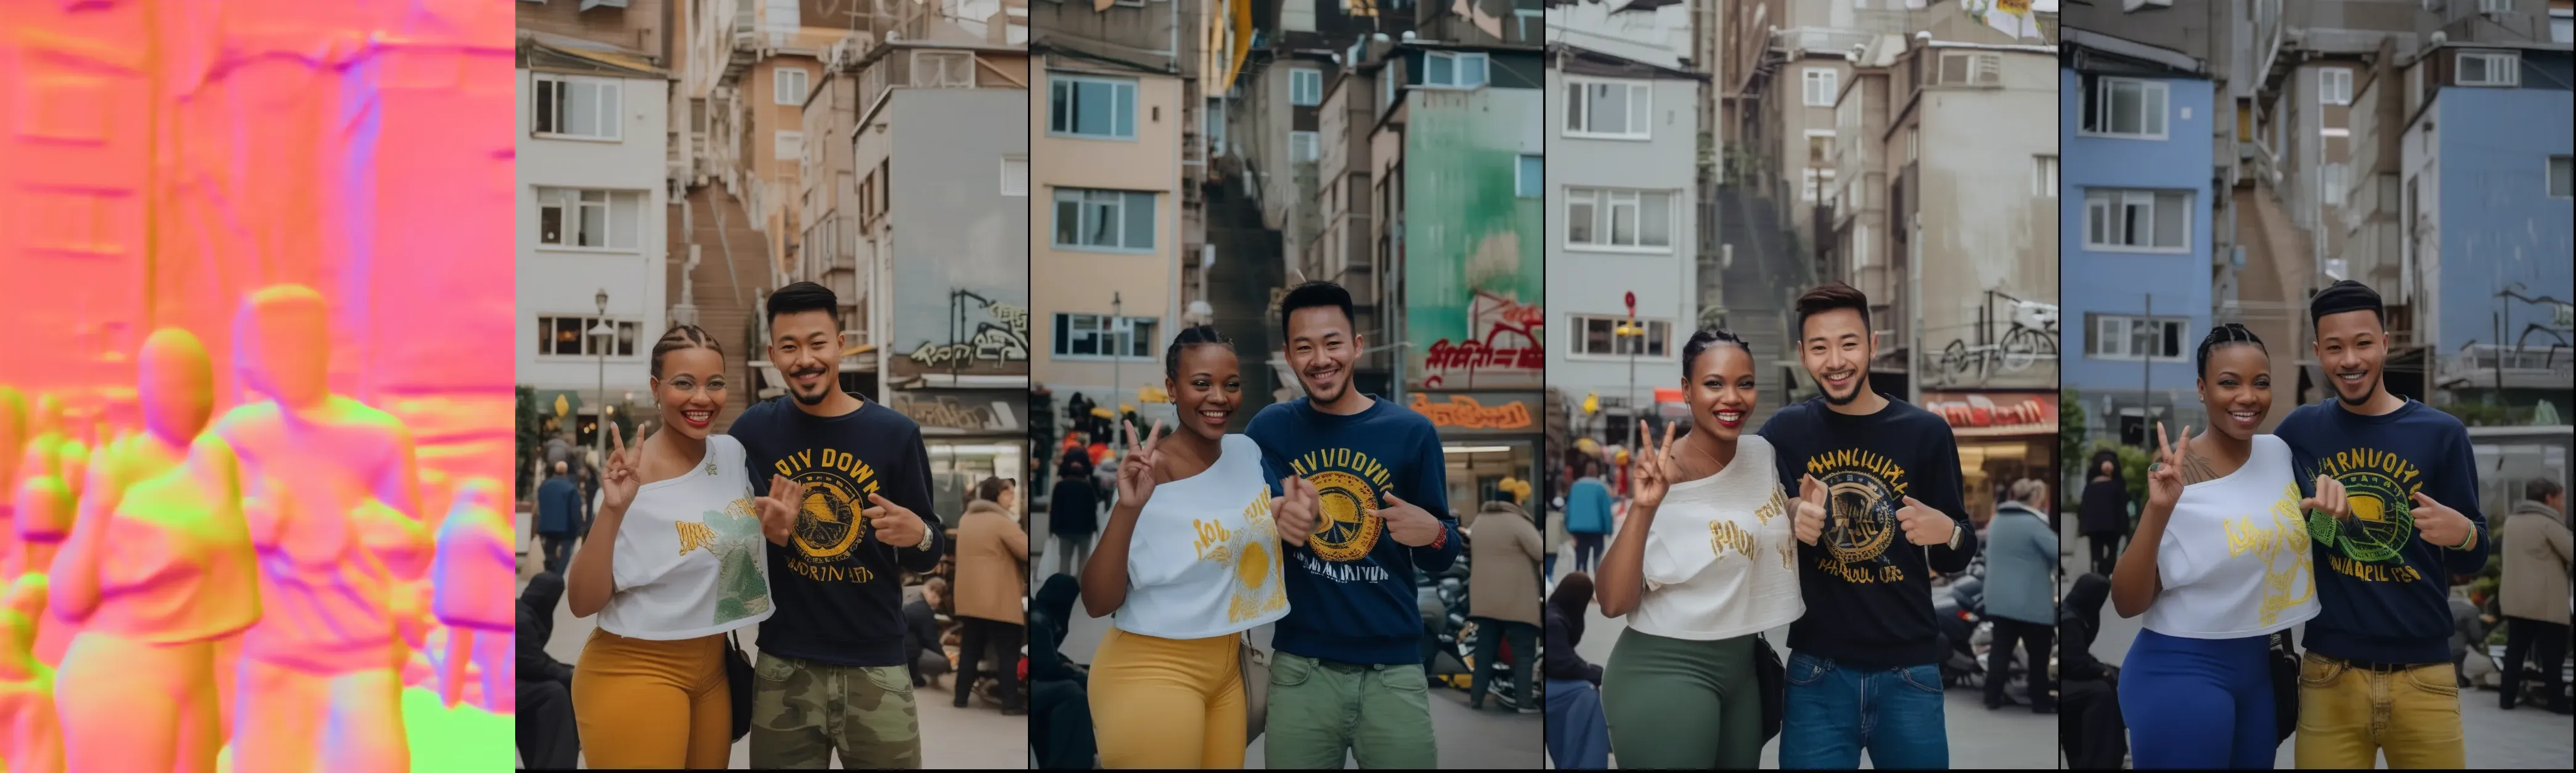
Normal

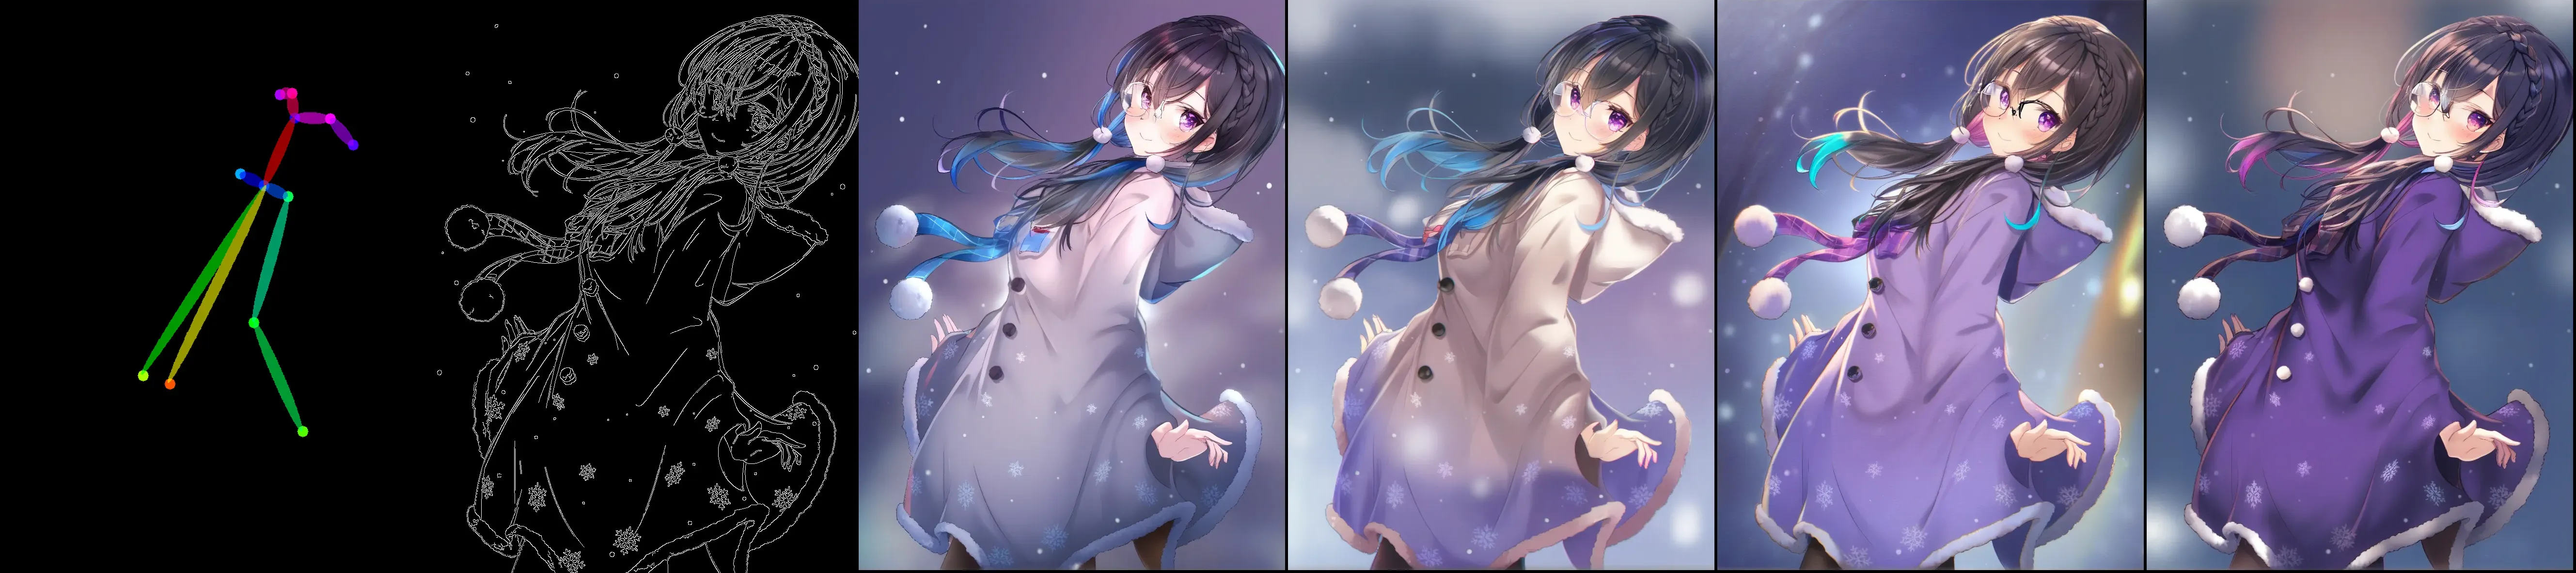
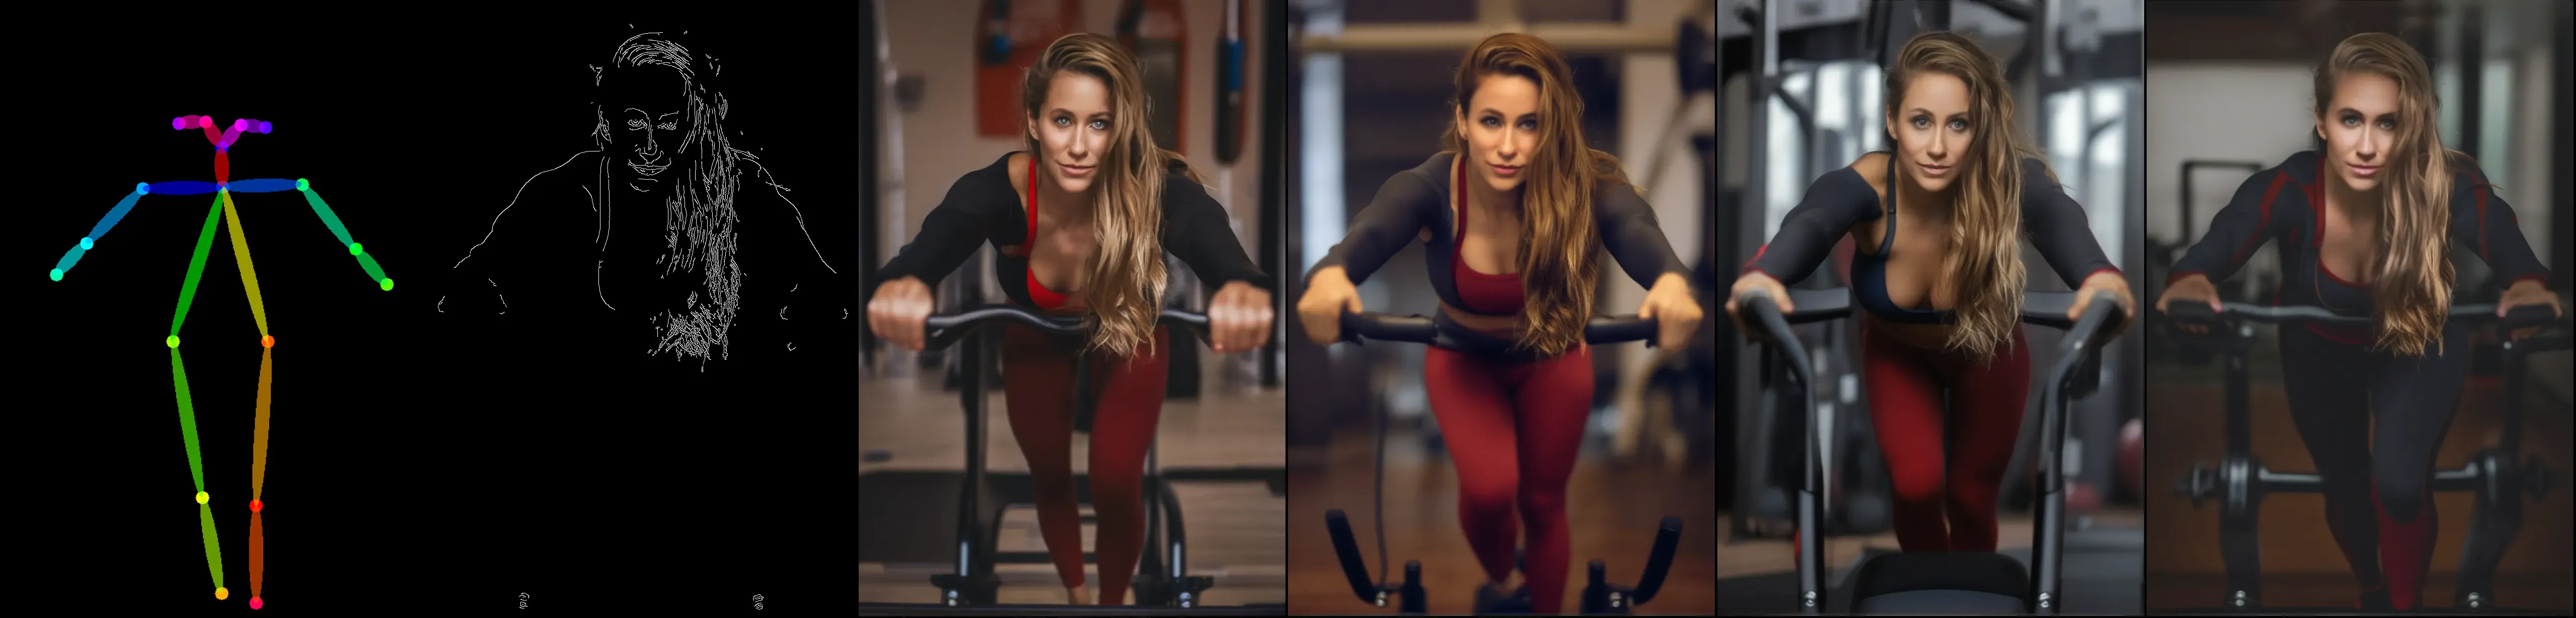
多控制视觉示例
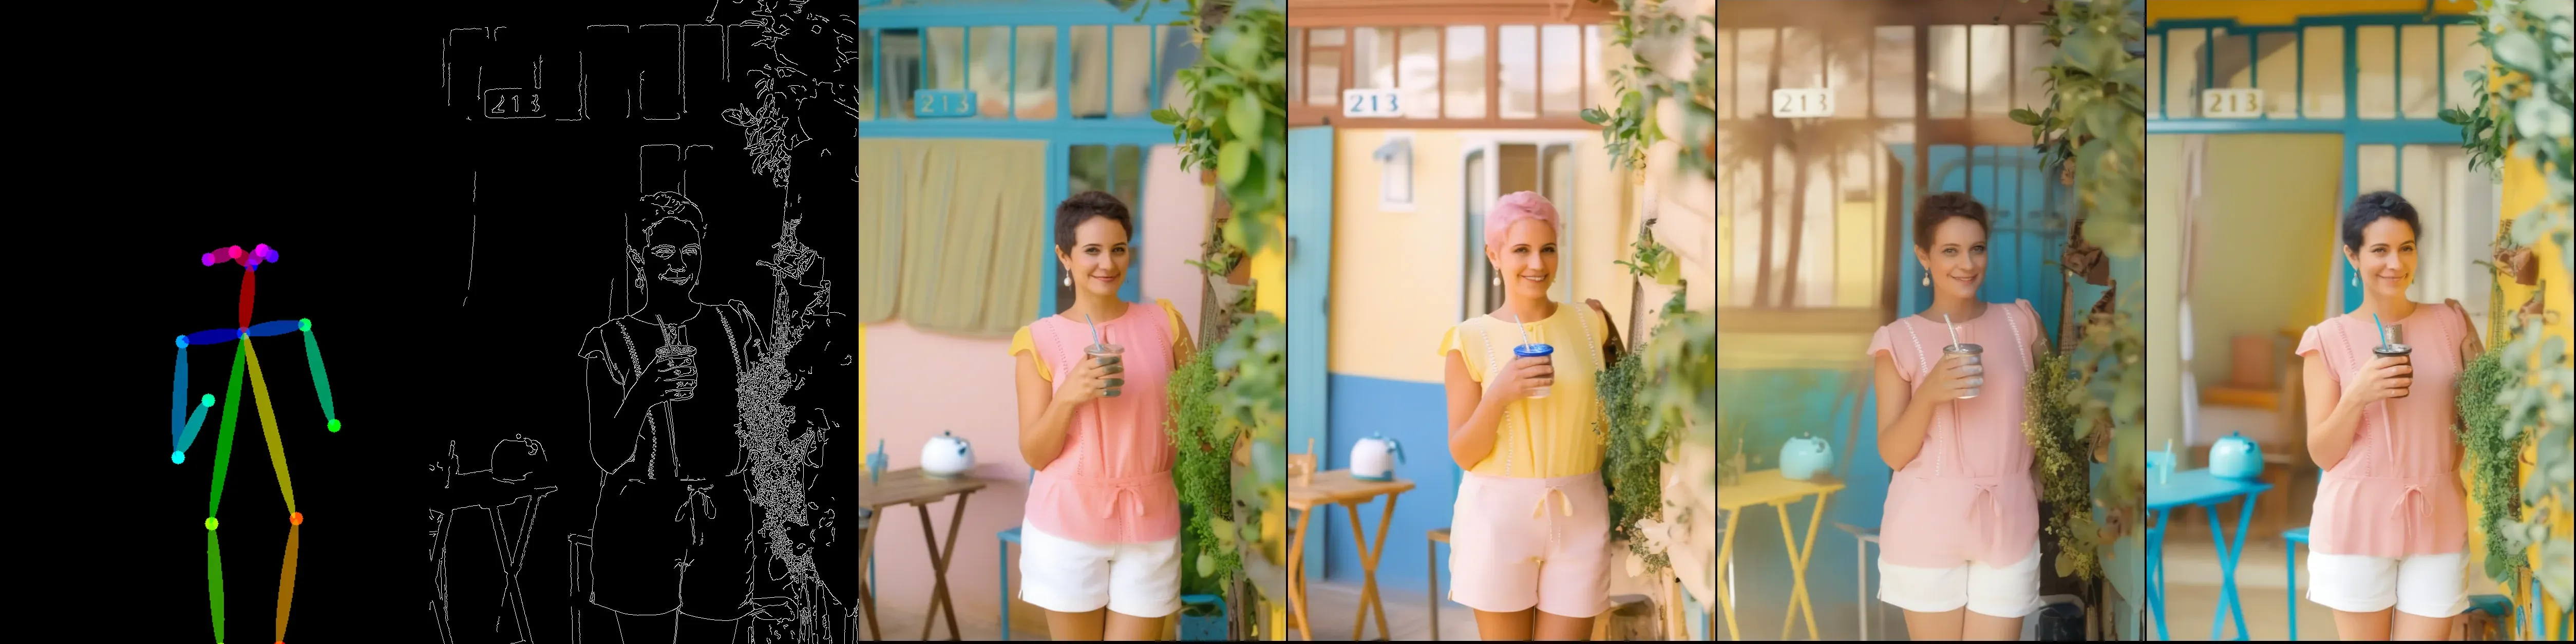
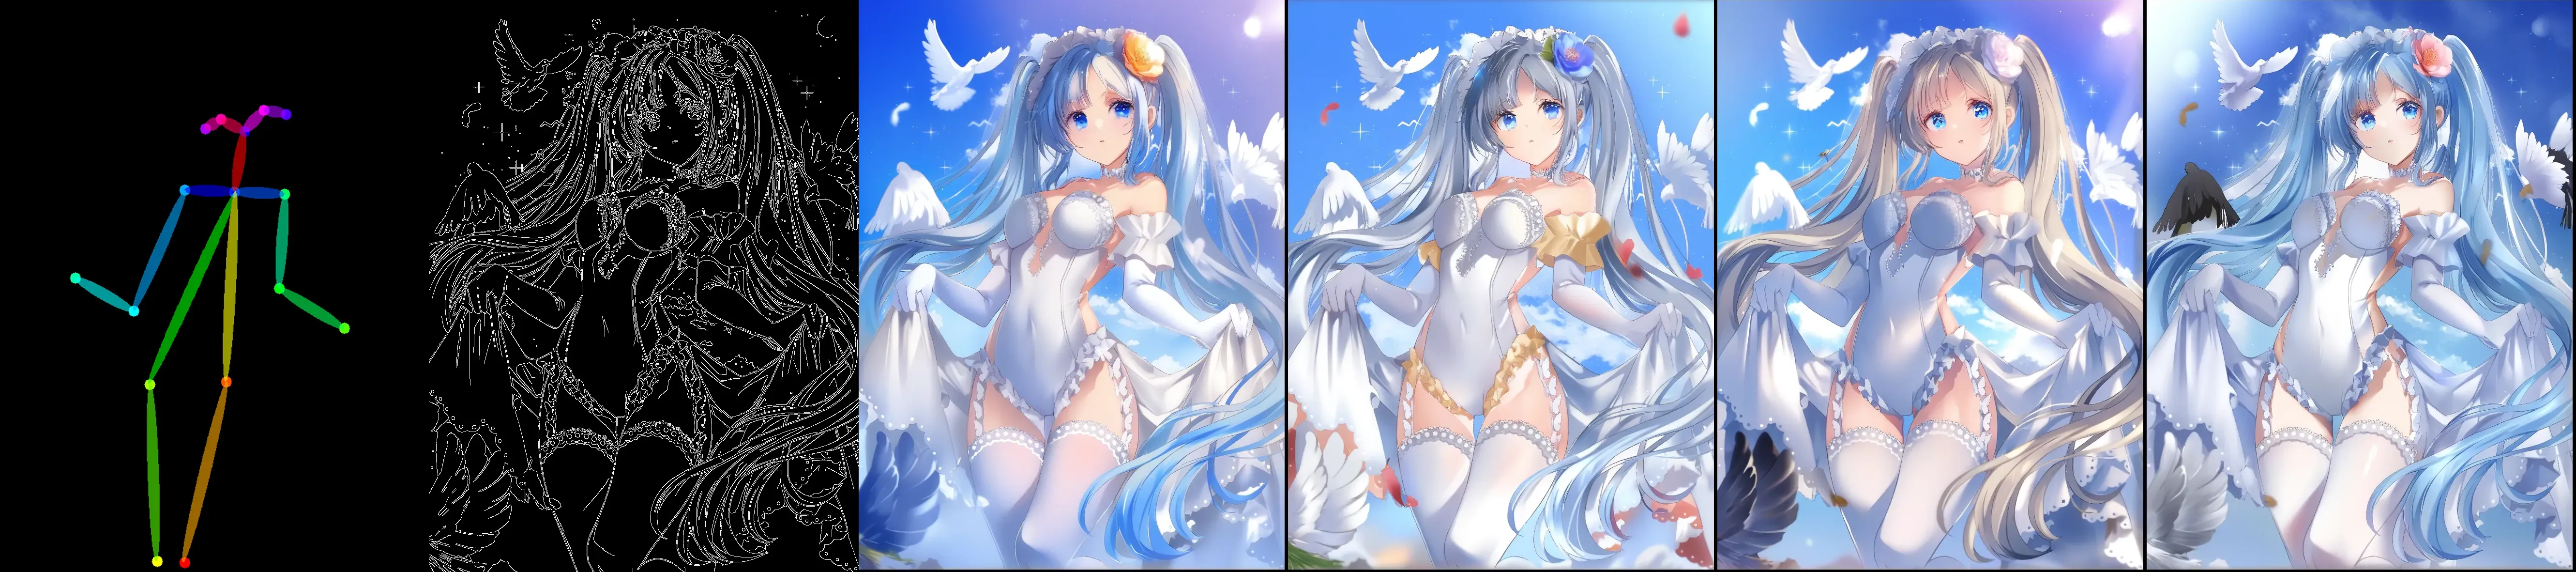
Openpose + Canny
注意:使用姿态骨架来控制人体姿态,使用细线绘制手部/脚部细节以避免变形
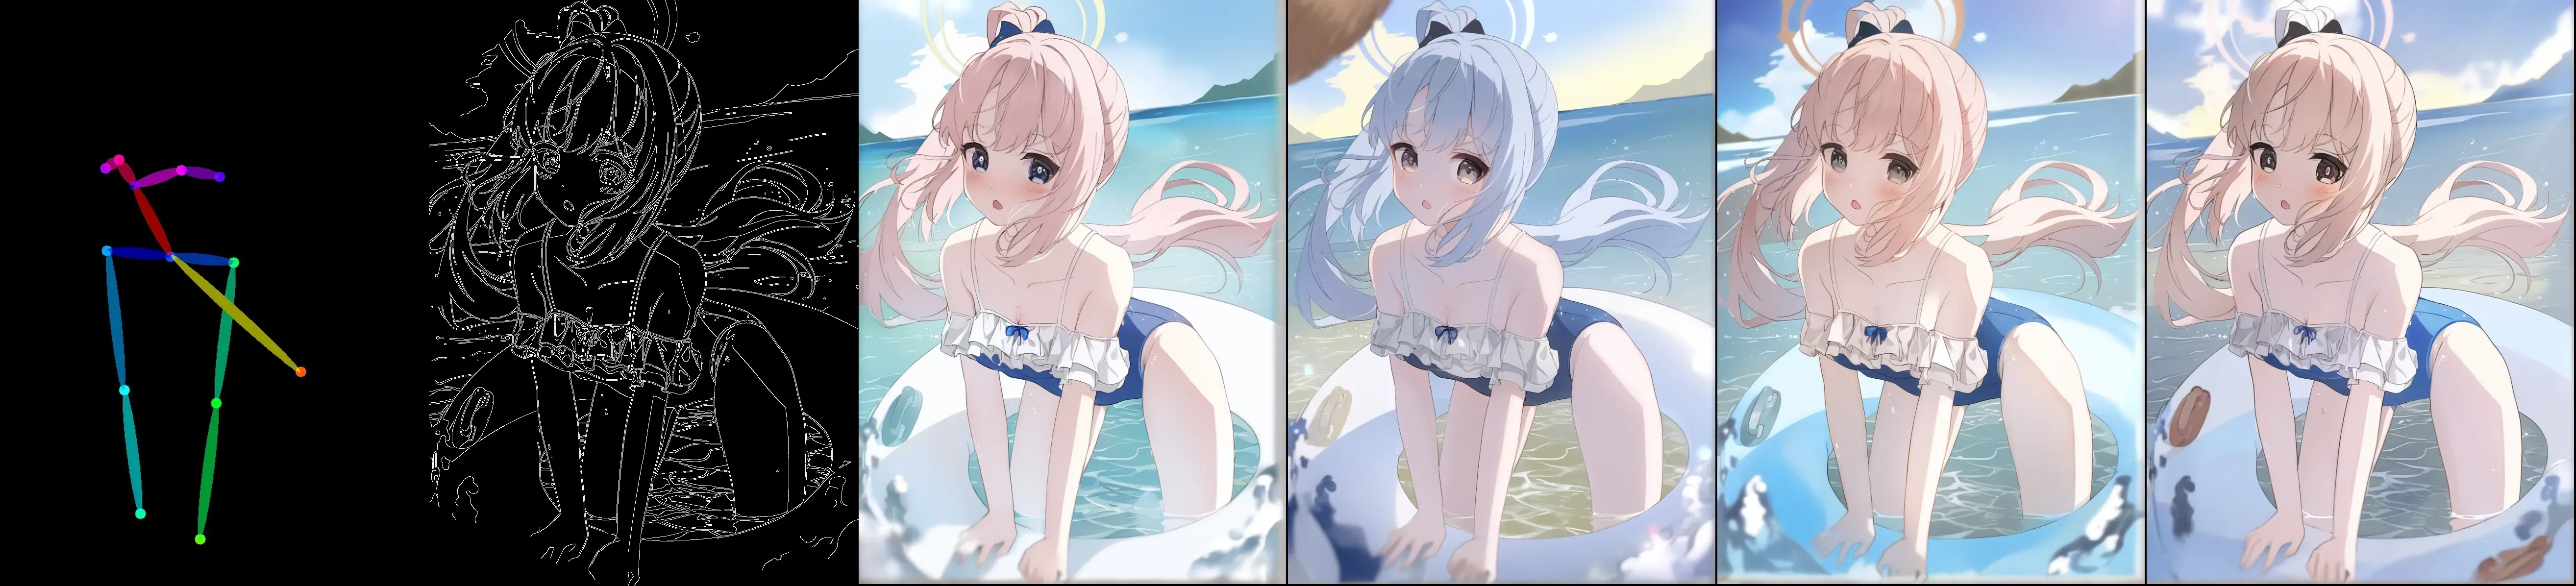

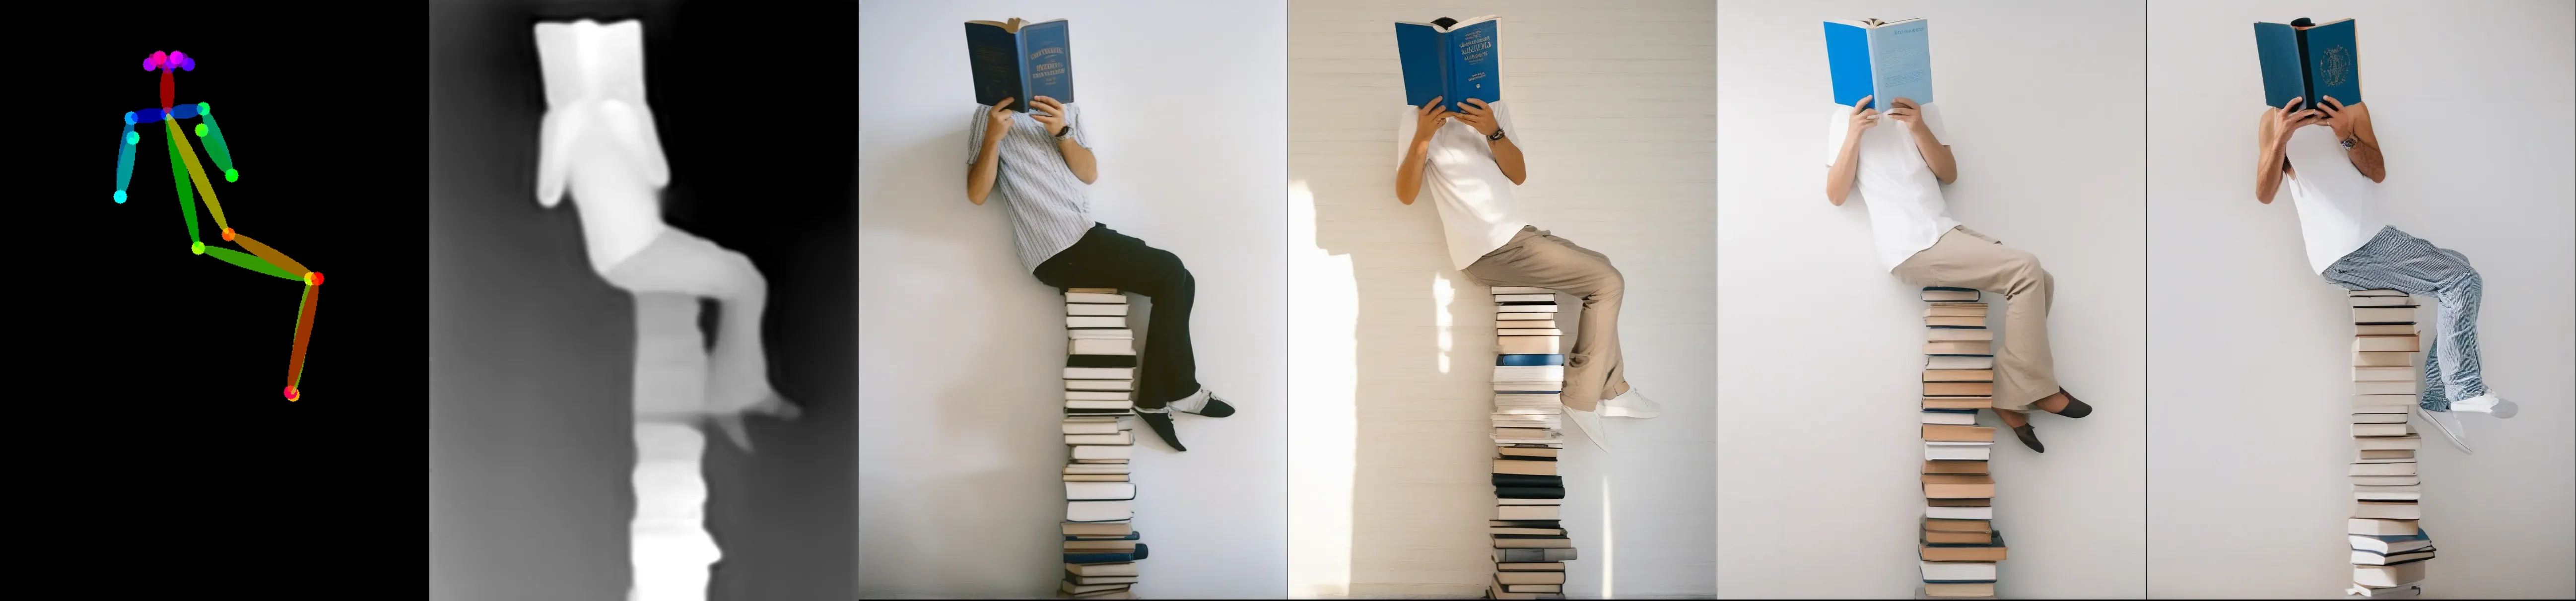
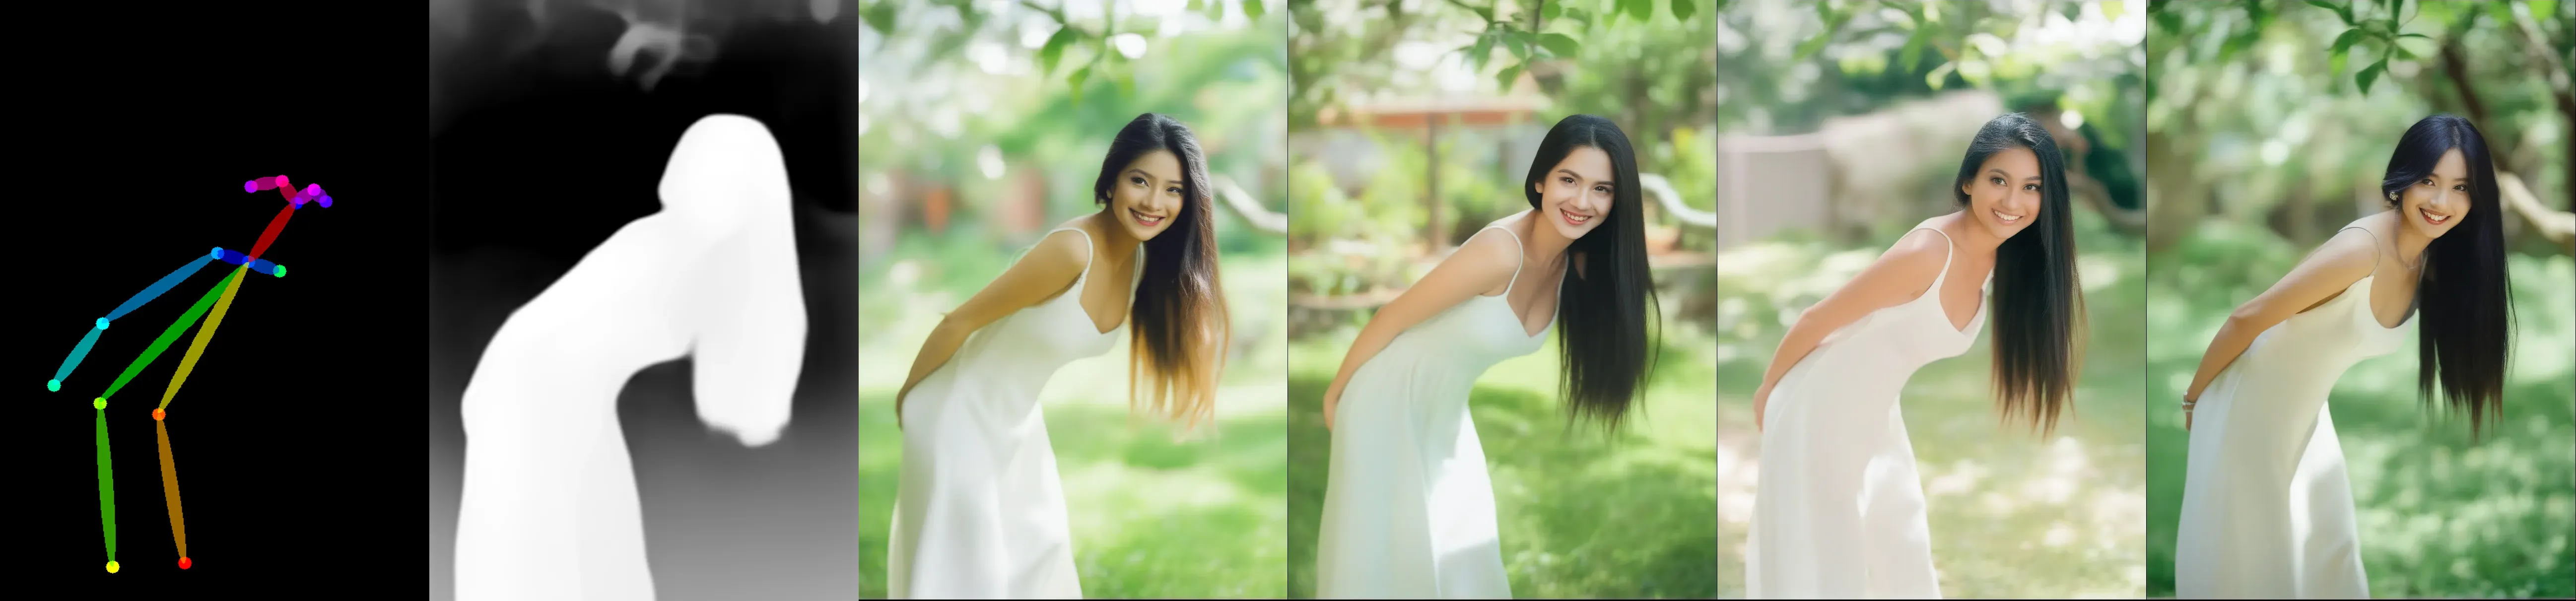
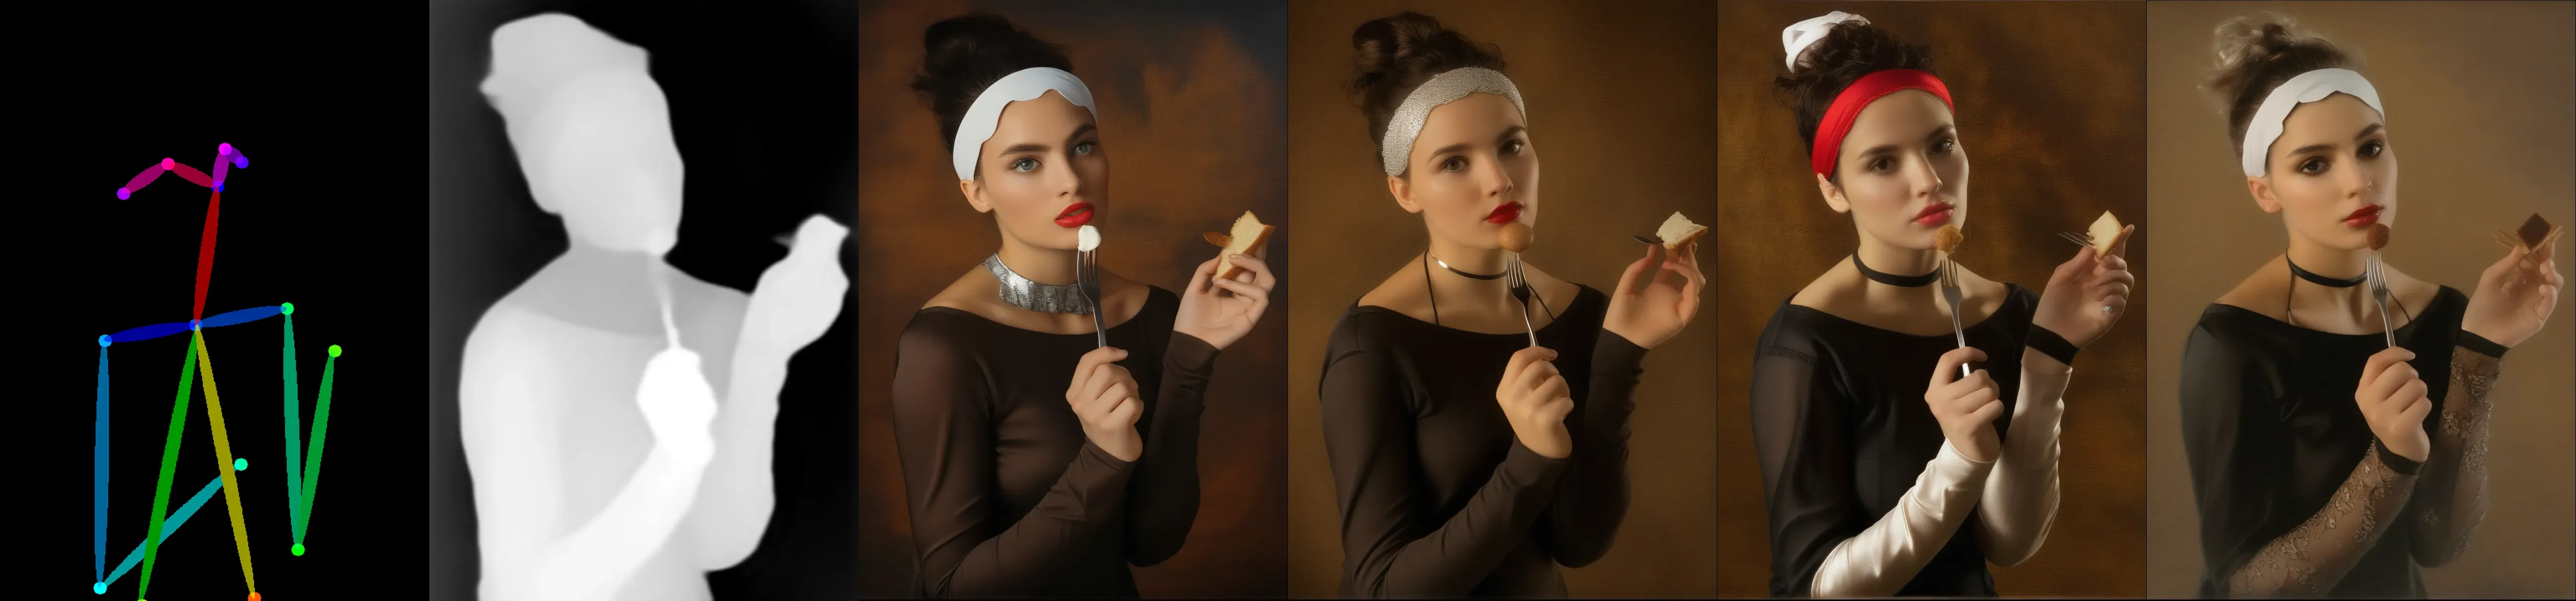
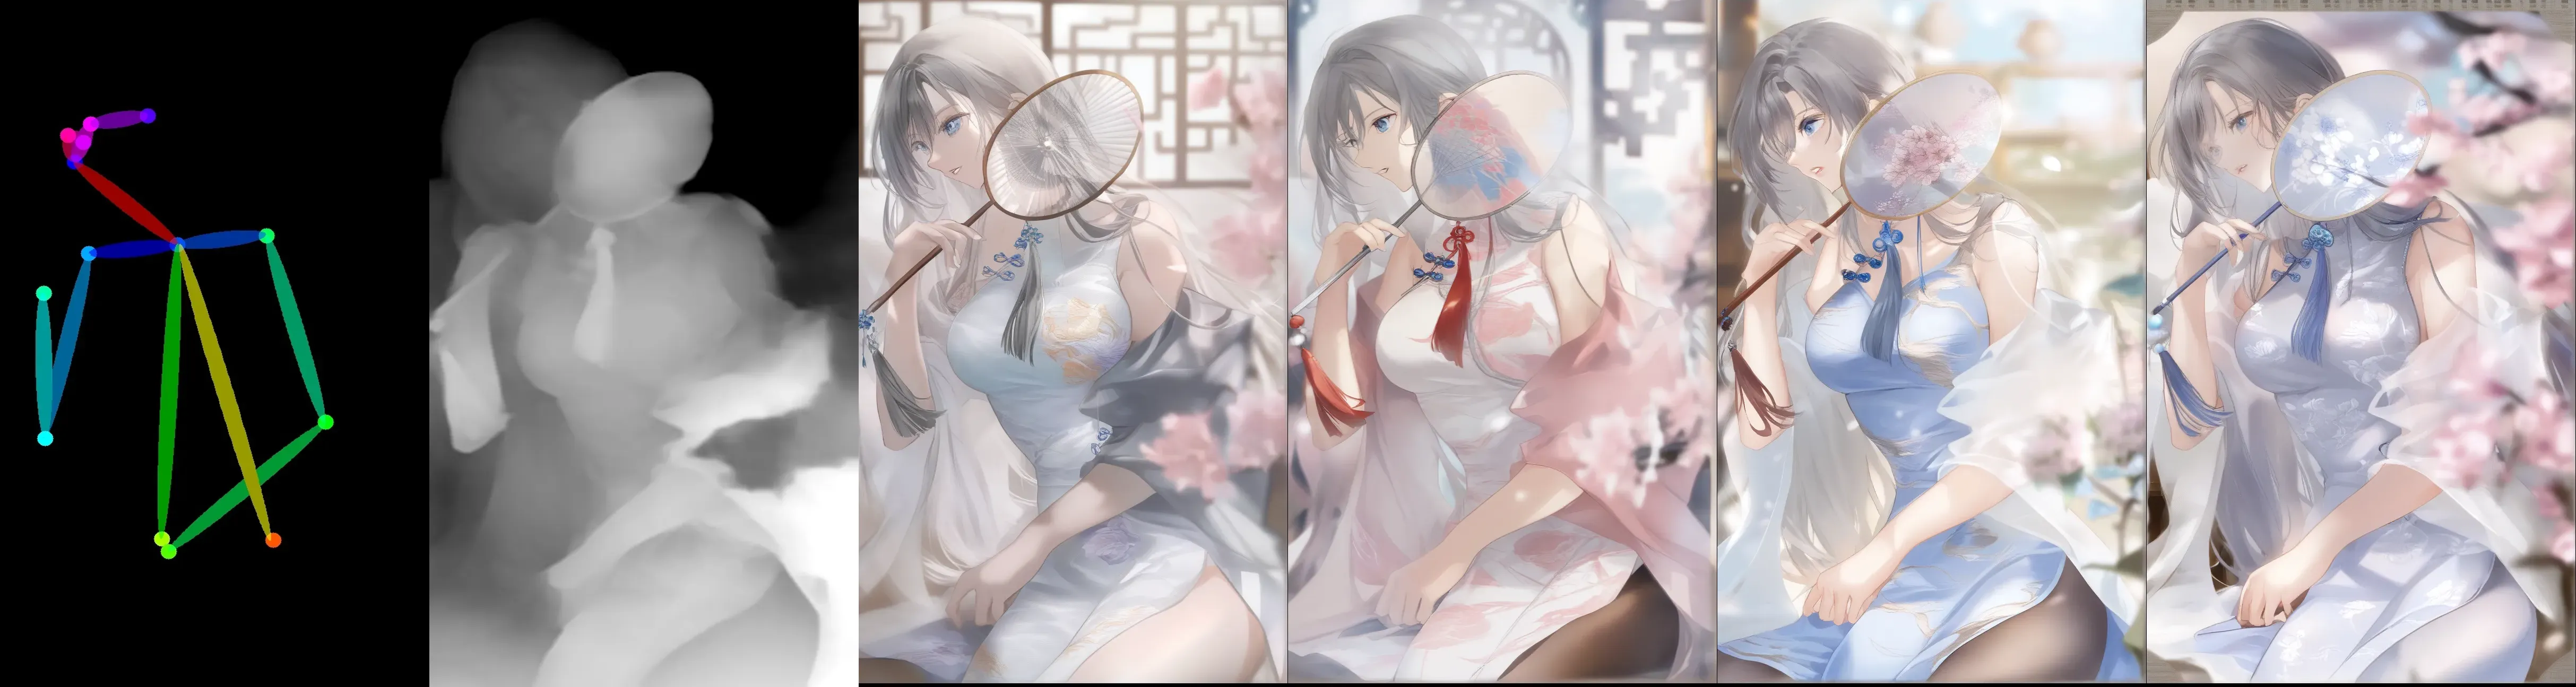
Openpose + Depth
注意:深度图像包含细节信息,建议使用深度图处理背景,使用姿态骨架处理前景


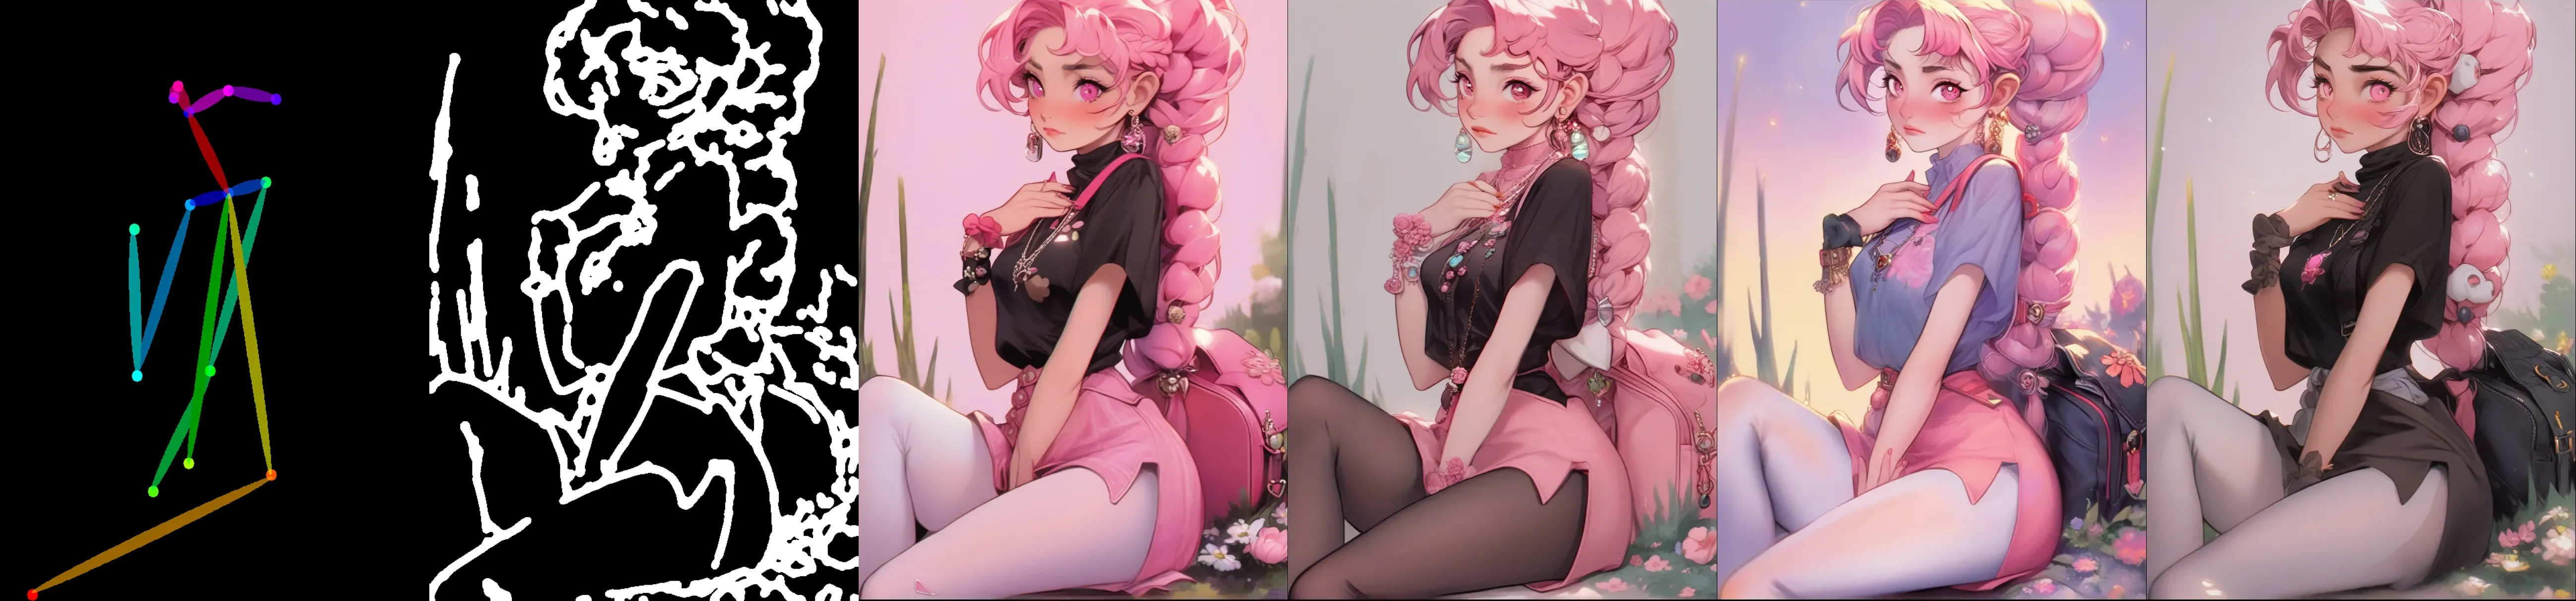
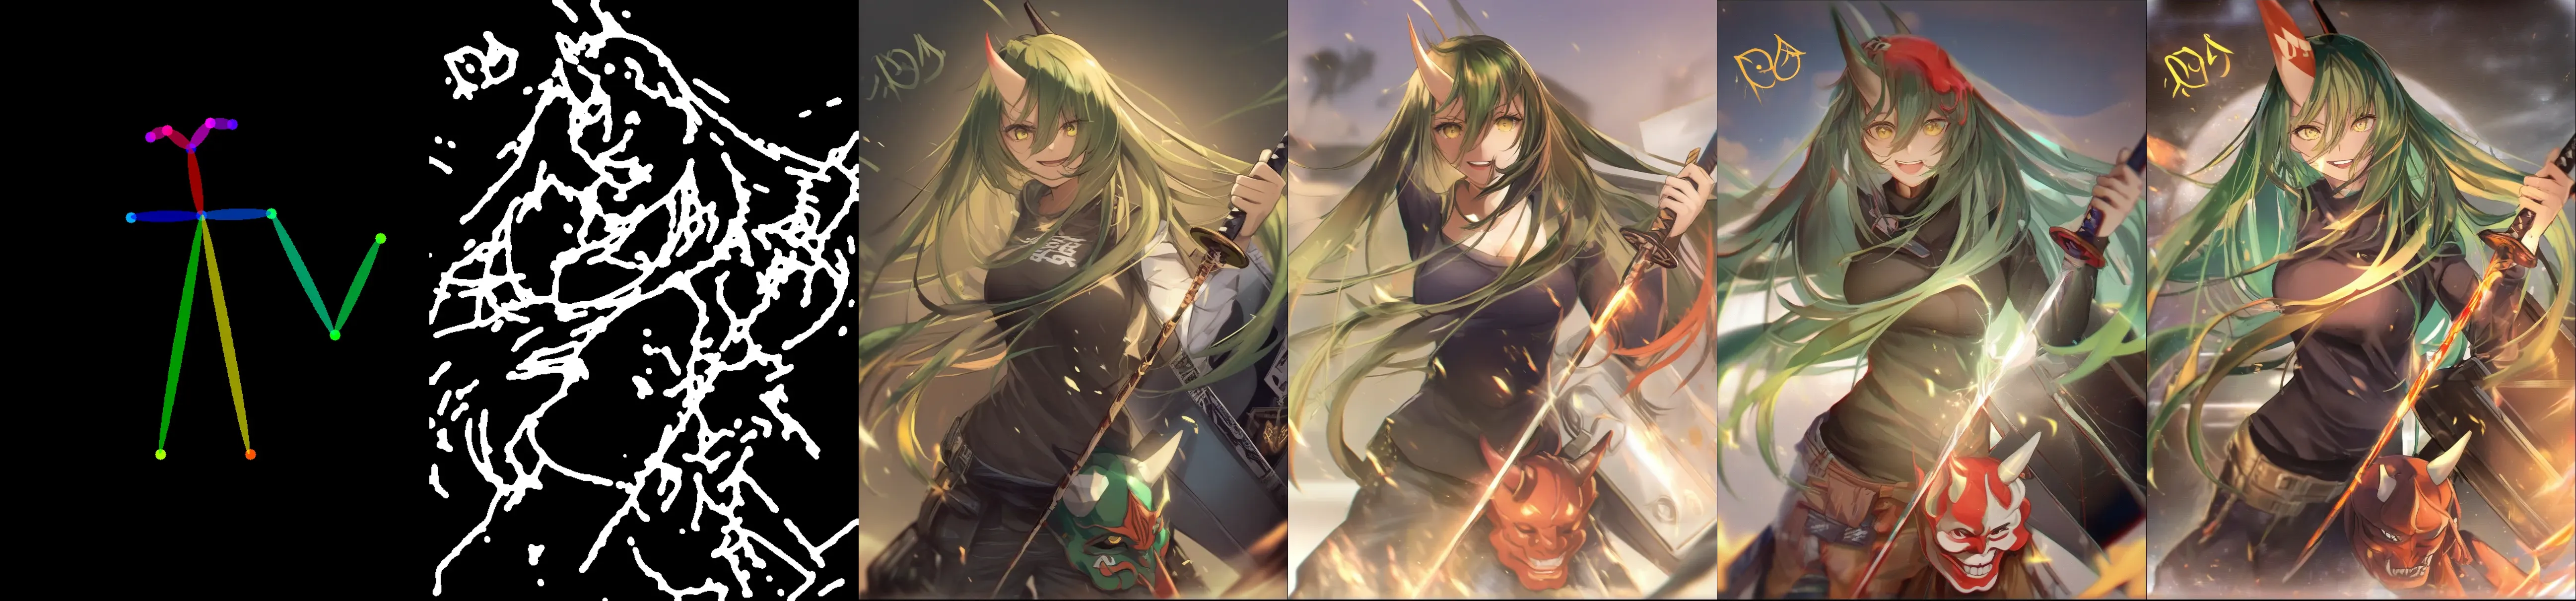
Openpose + Scribble
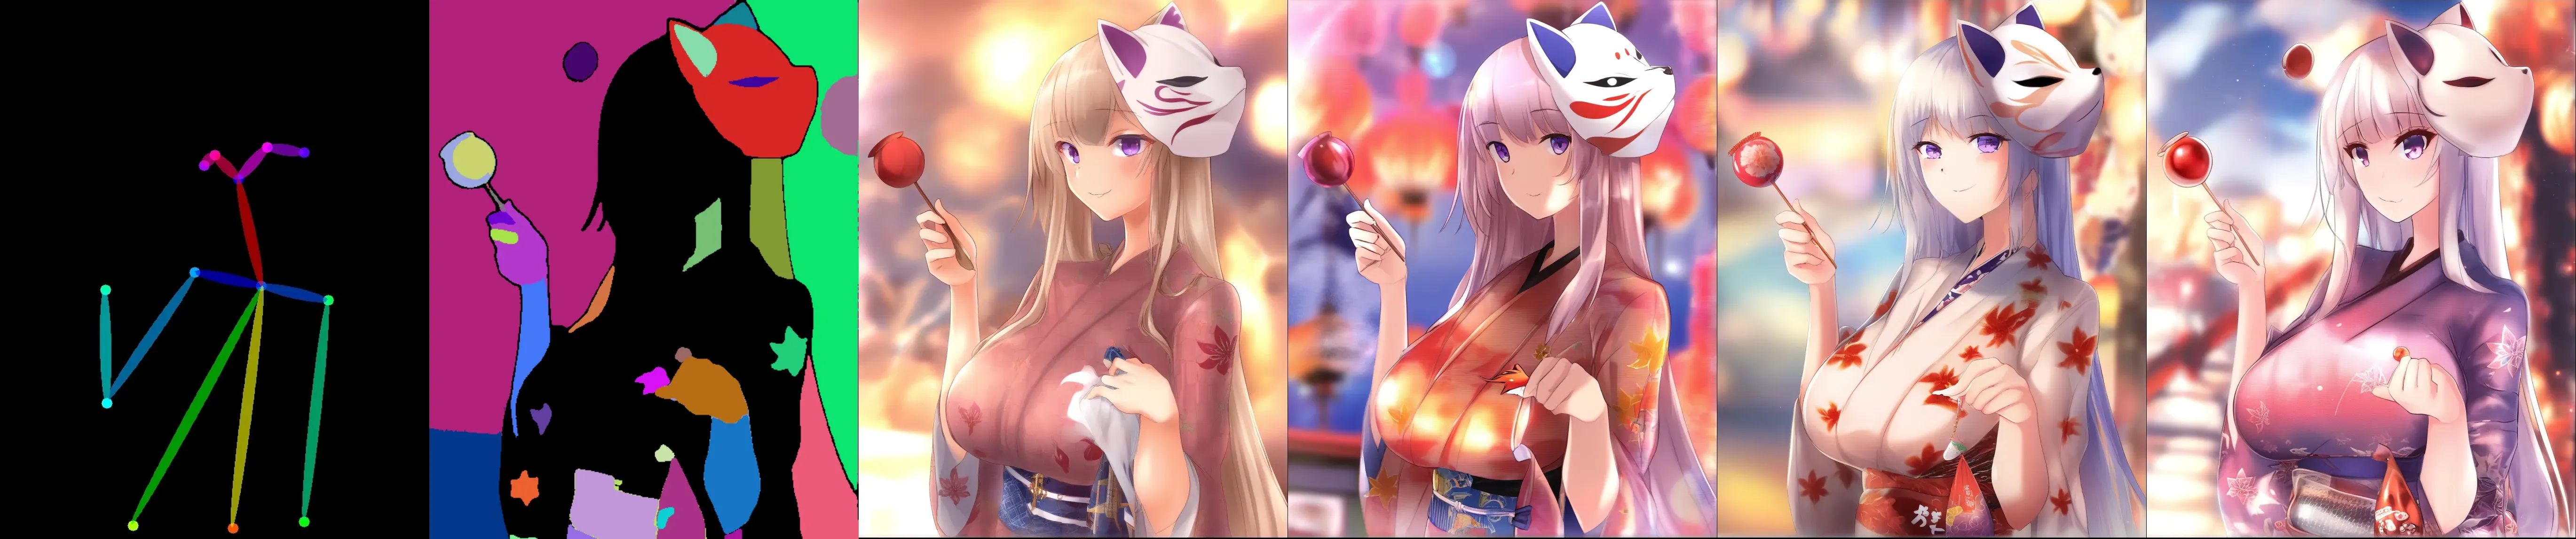
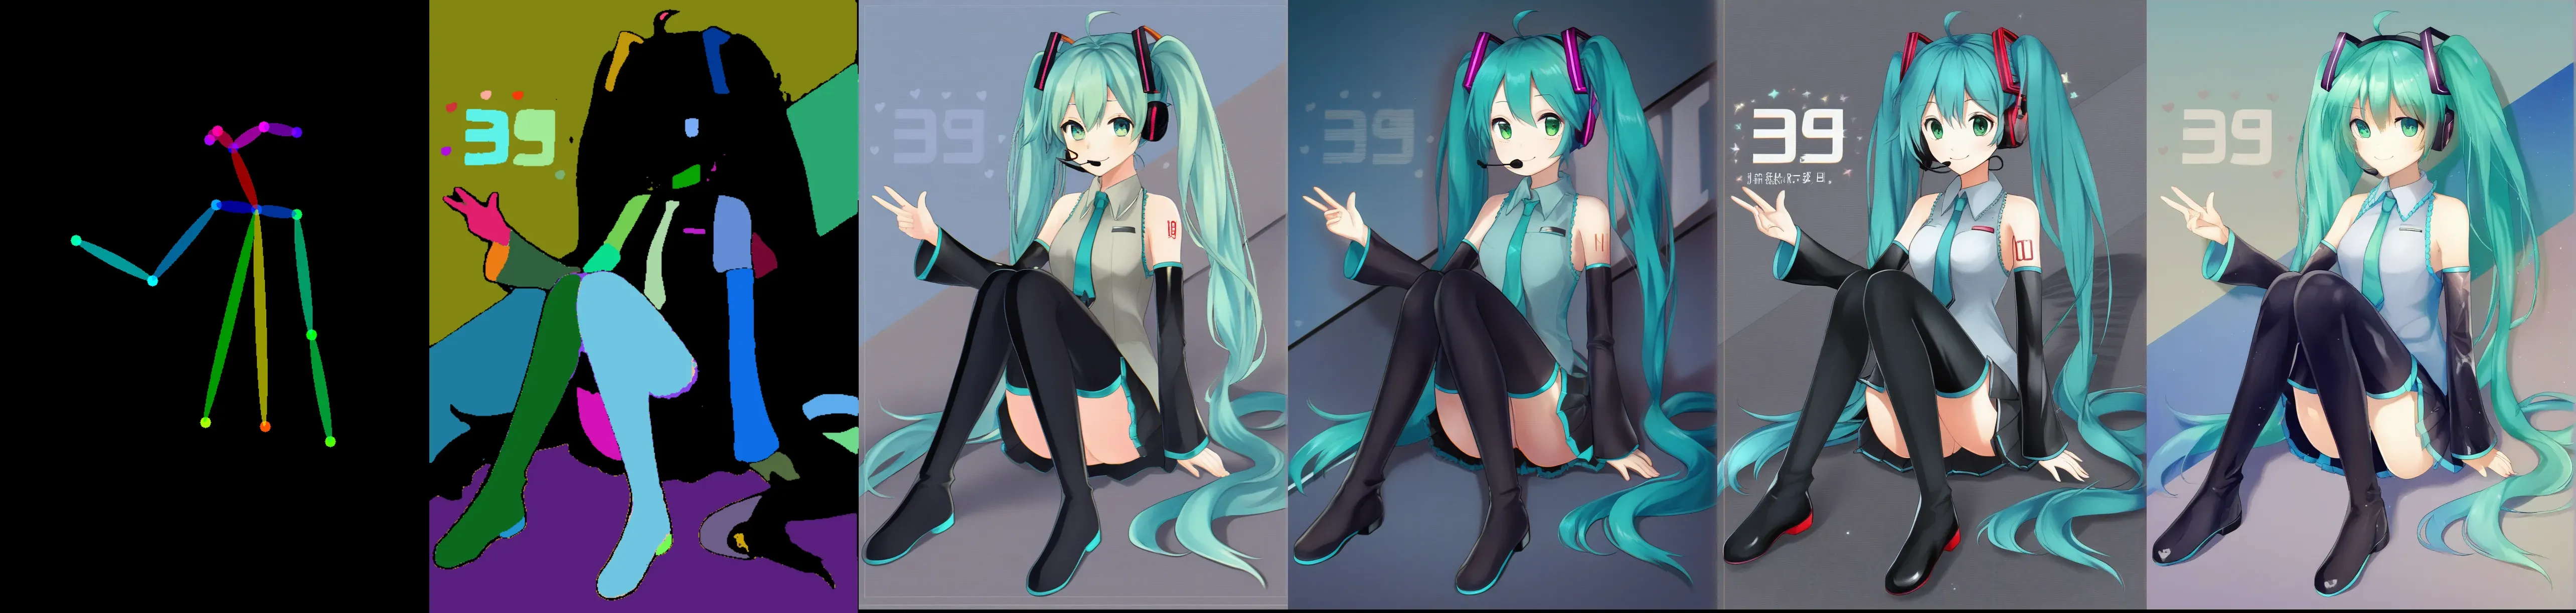
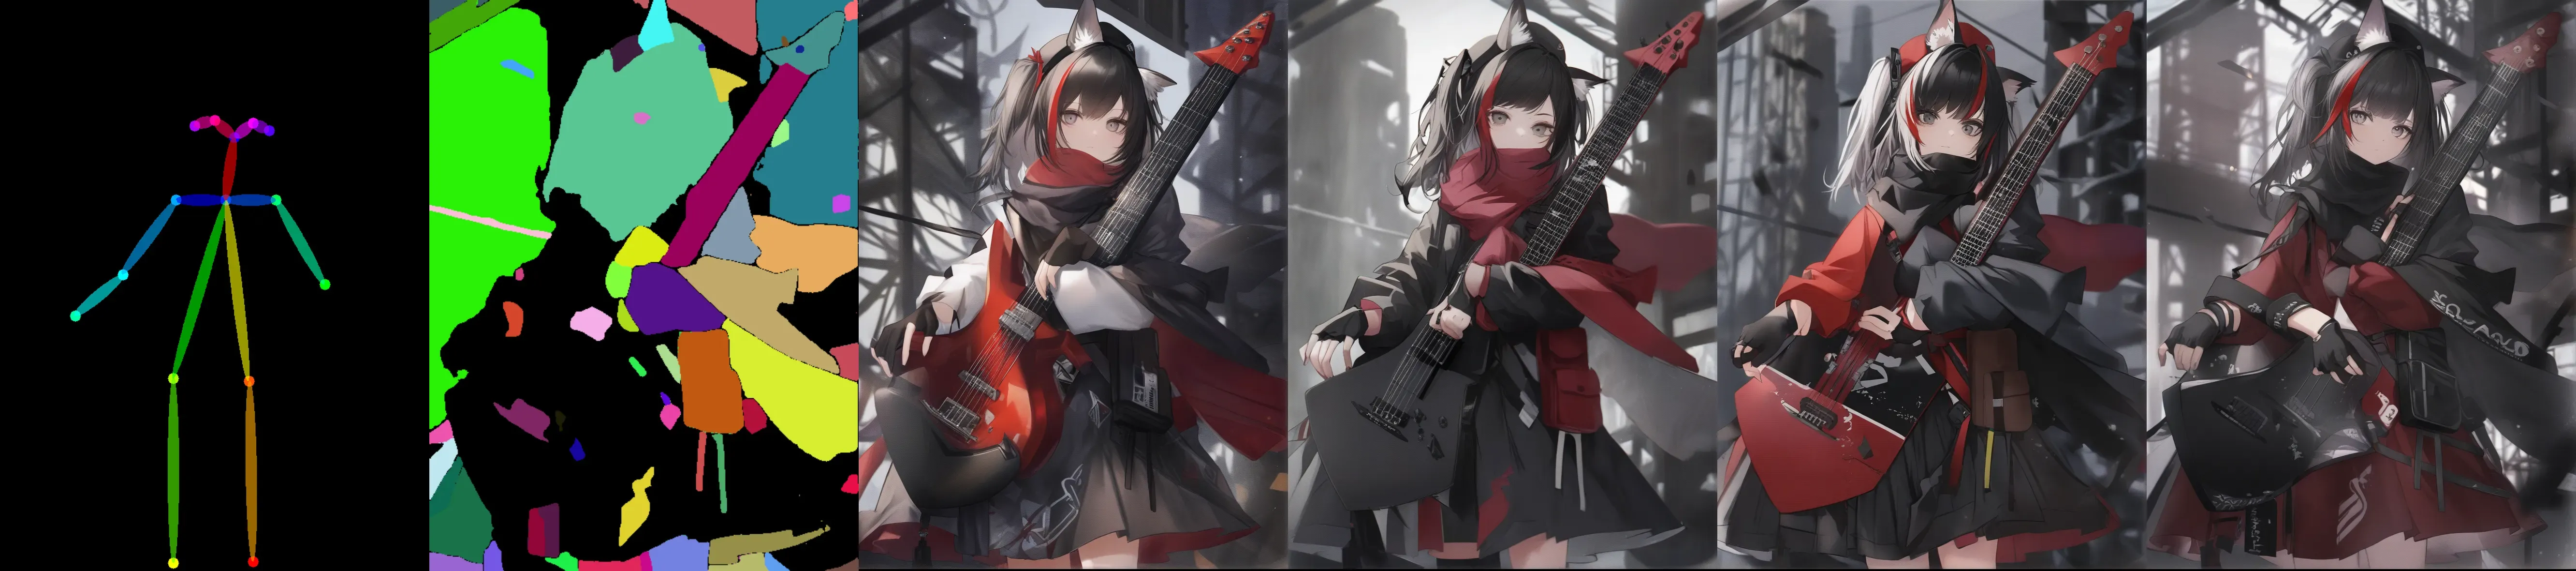
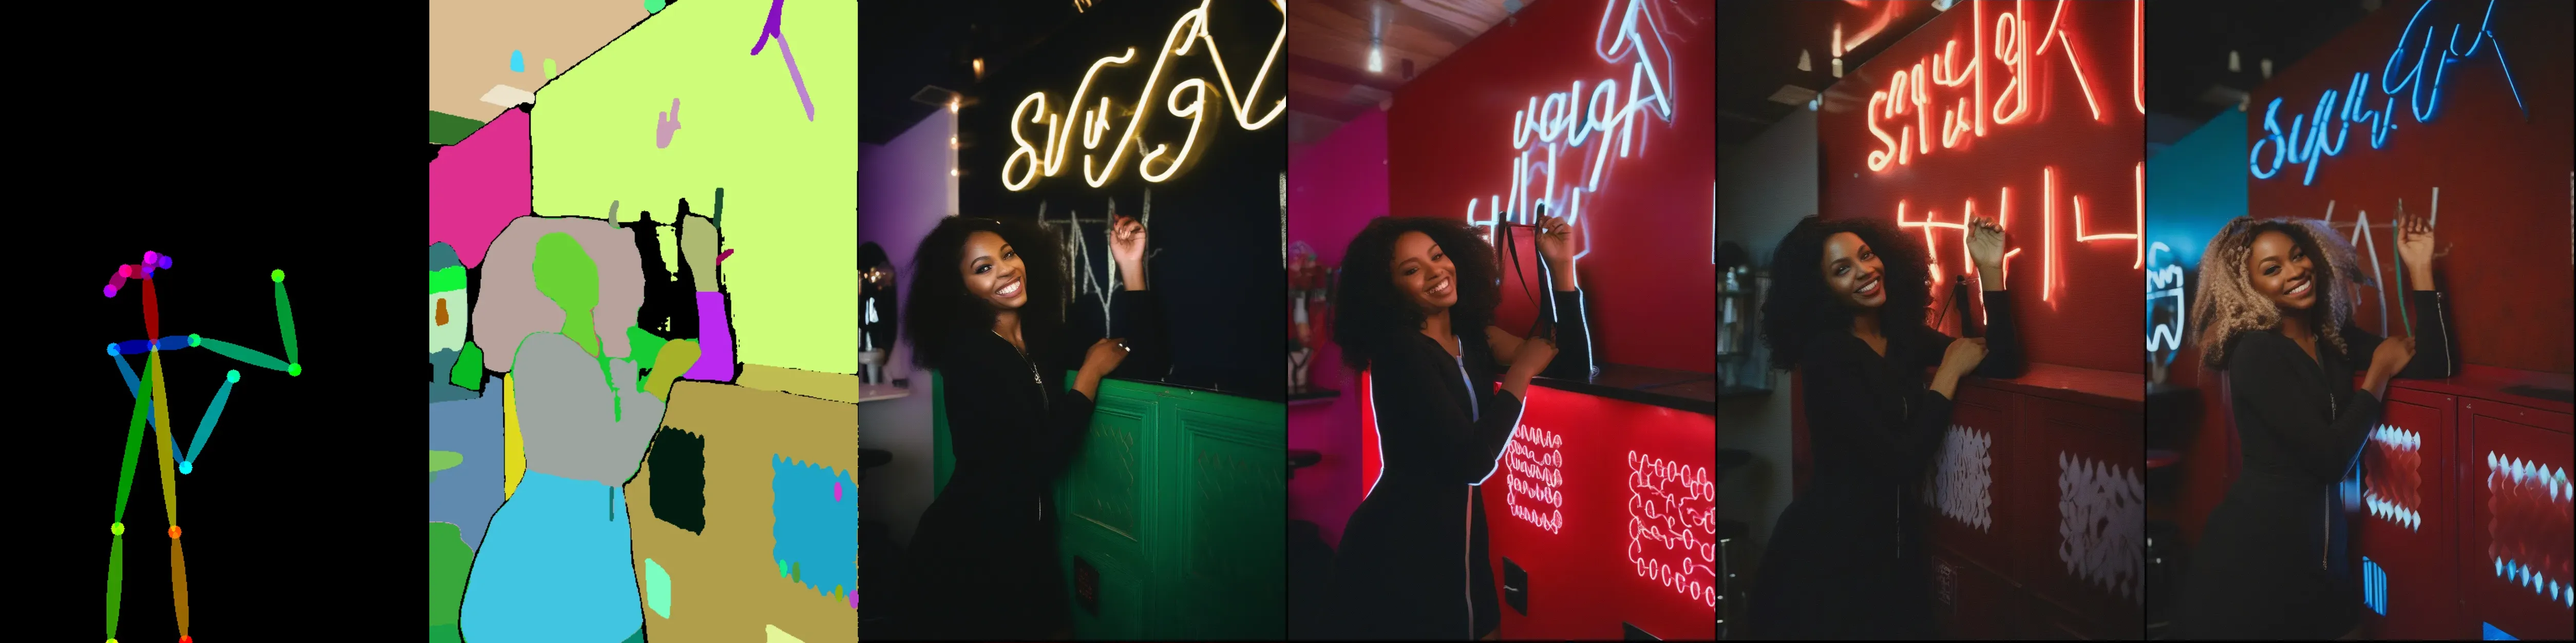
注意:Scribble 是一种强线条模型,如果你想绘制轮廓不严格的内容,可以使用它。Openpose + Scribble 为你生成初始图像提供了更多自由度,然后你可以使用细线来编辑细节。

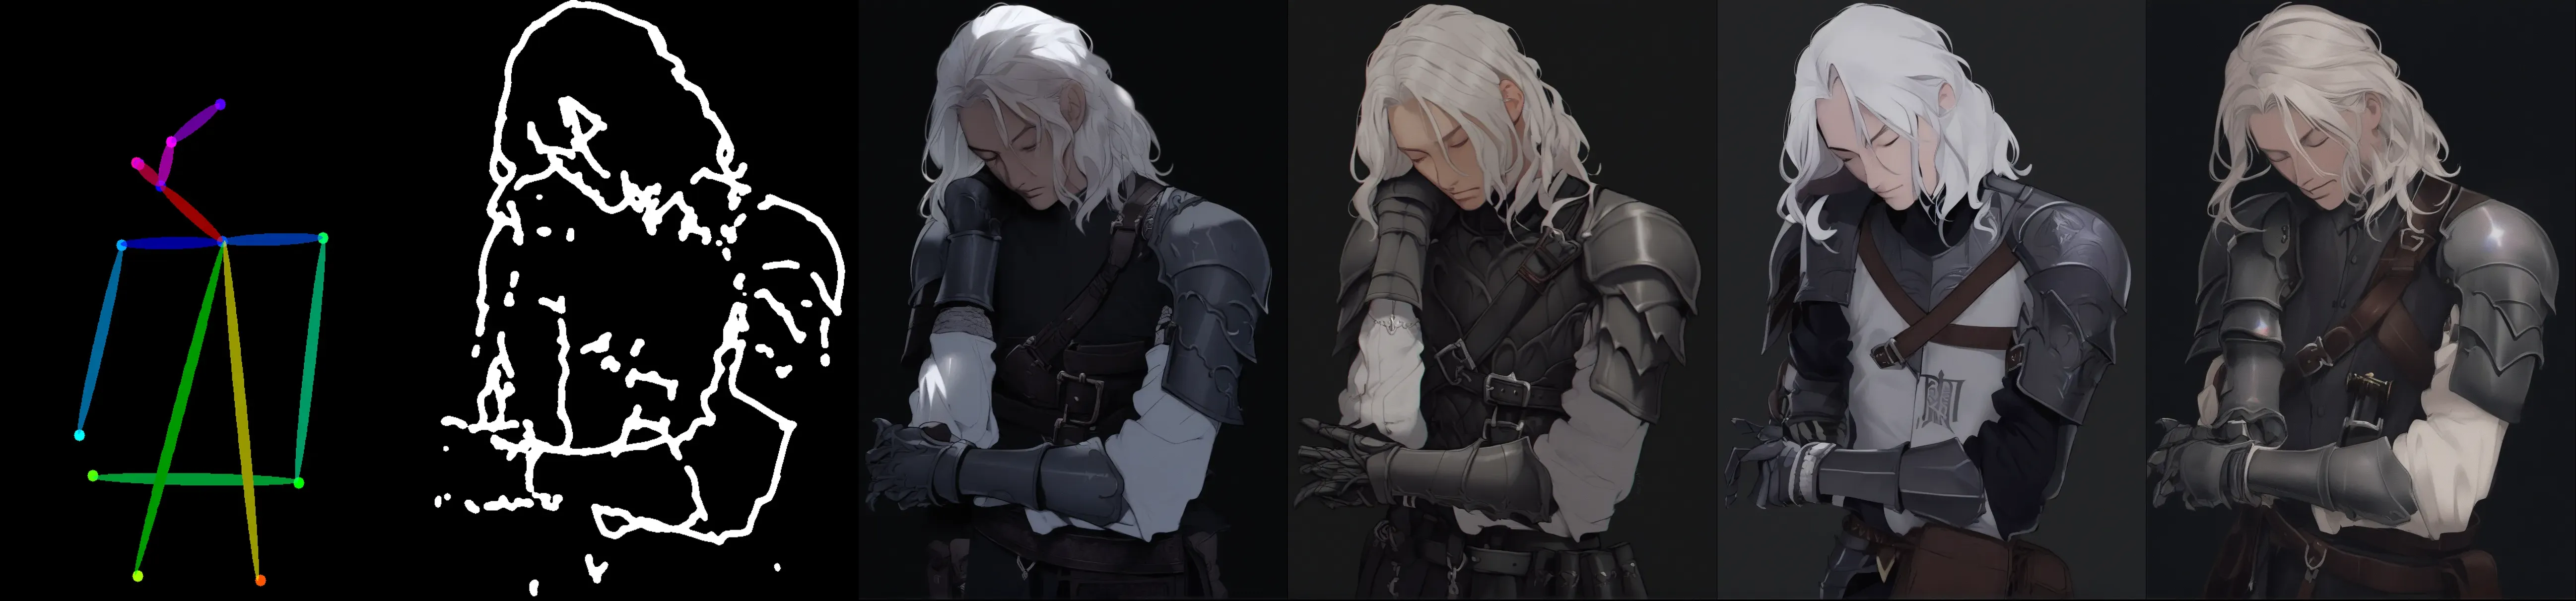

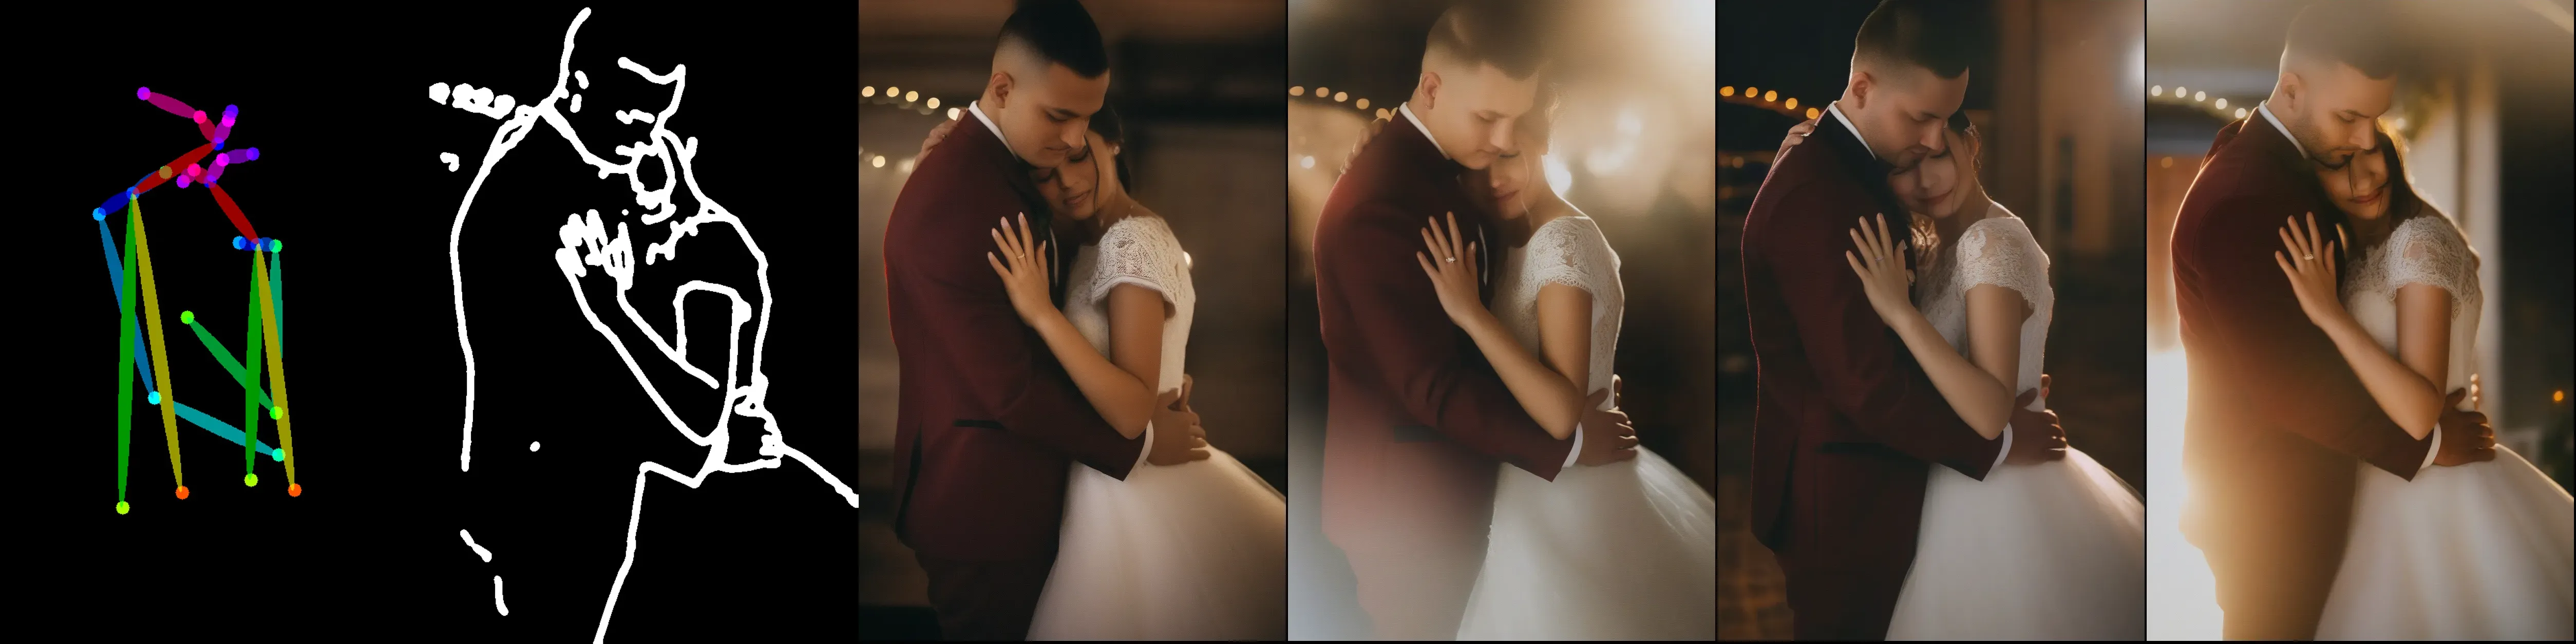
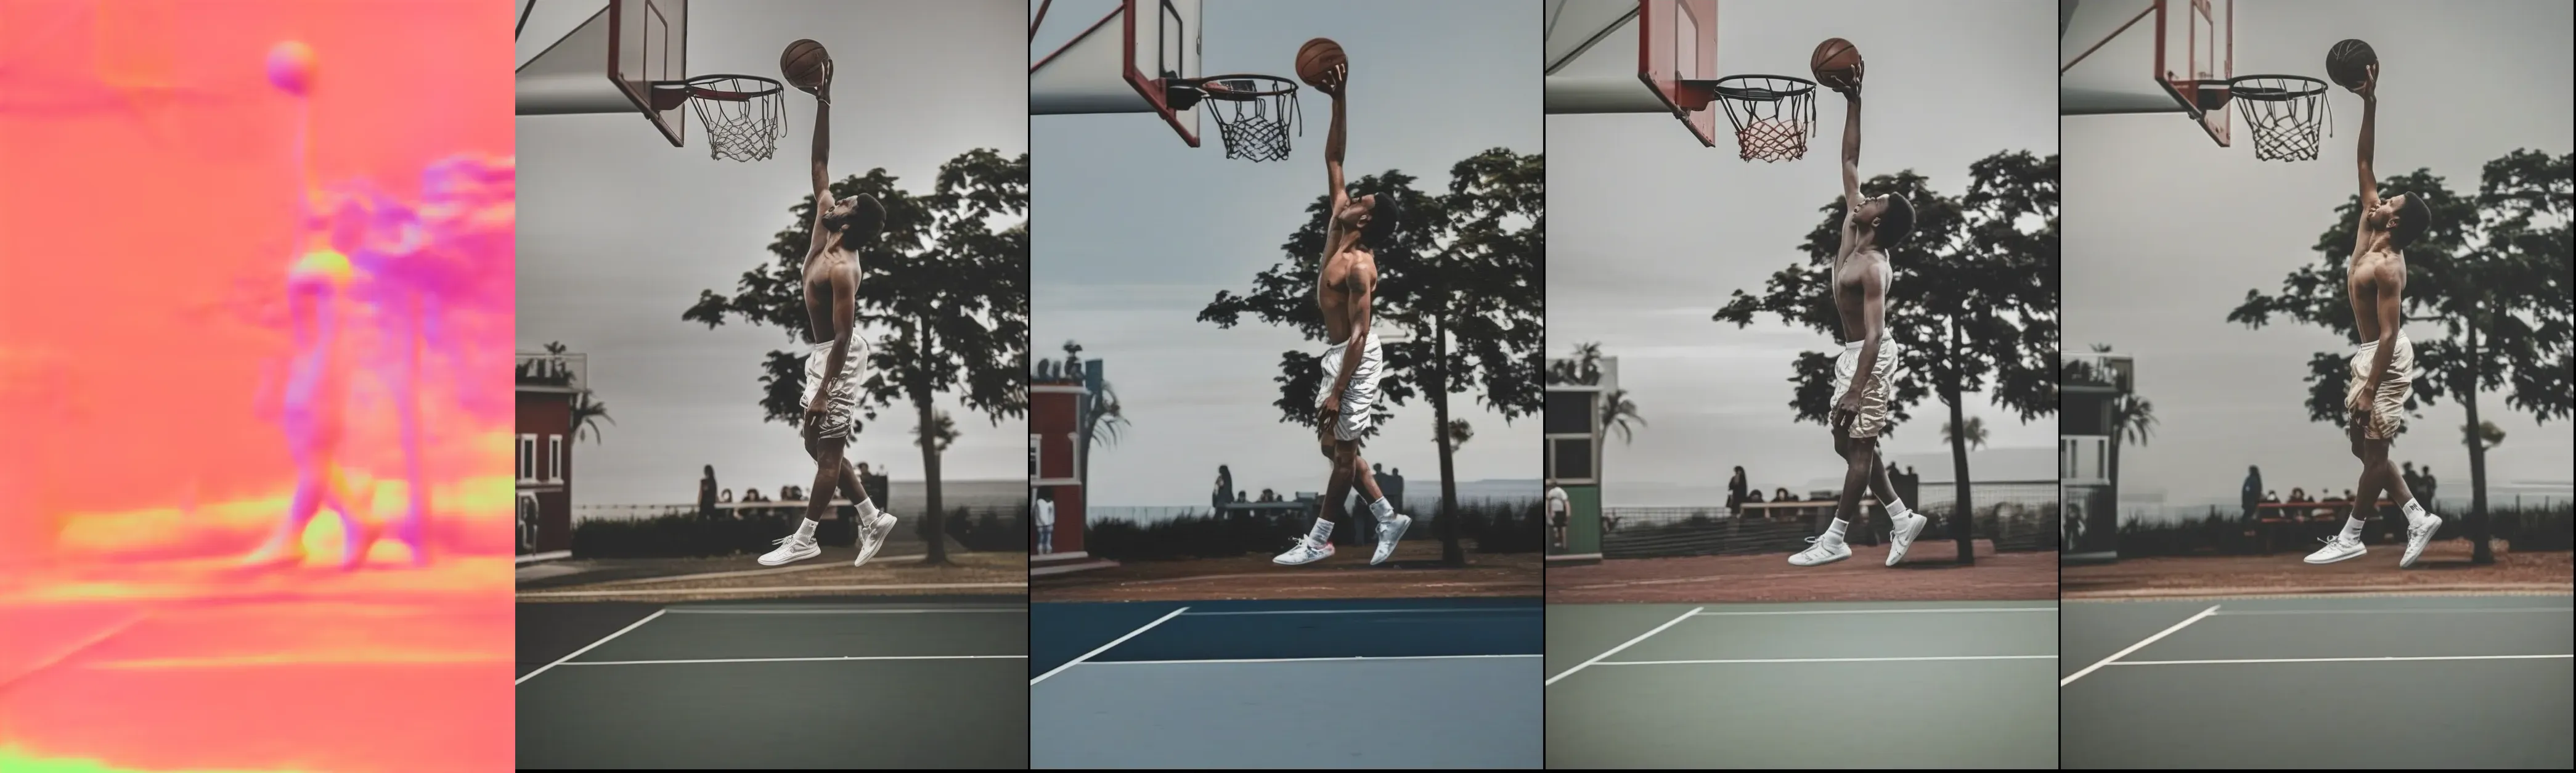
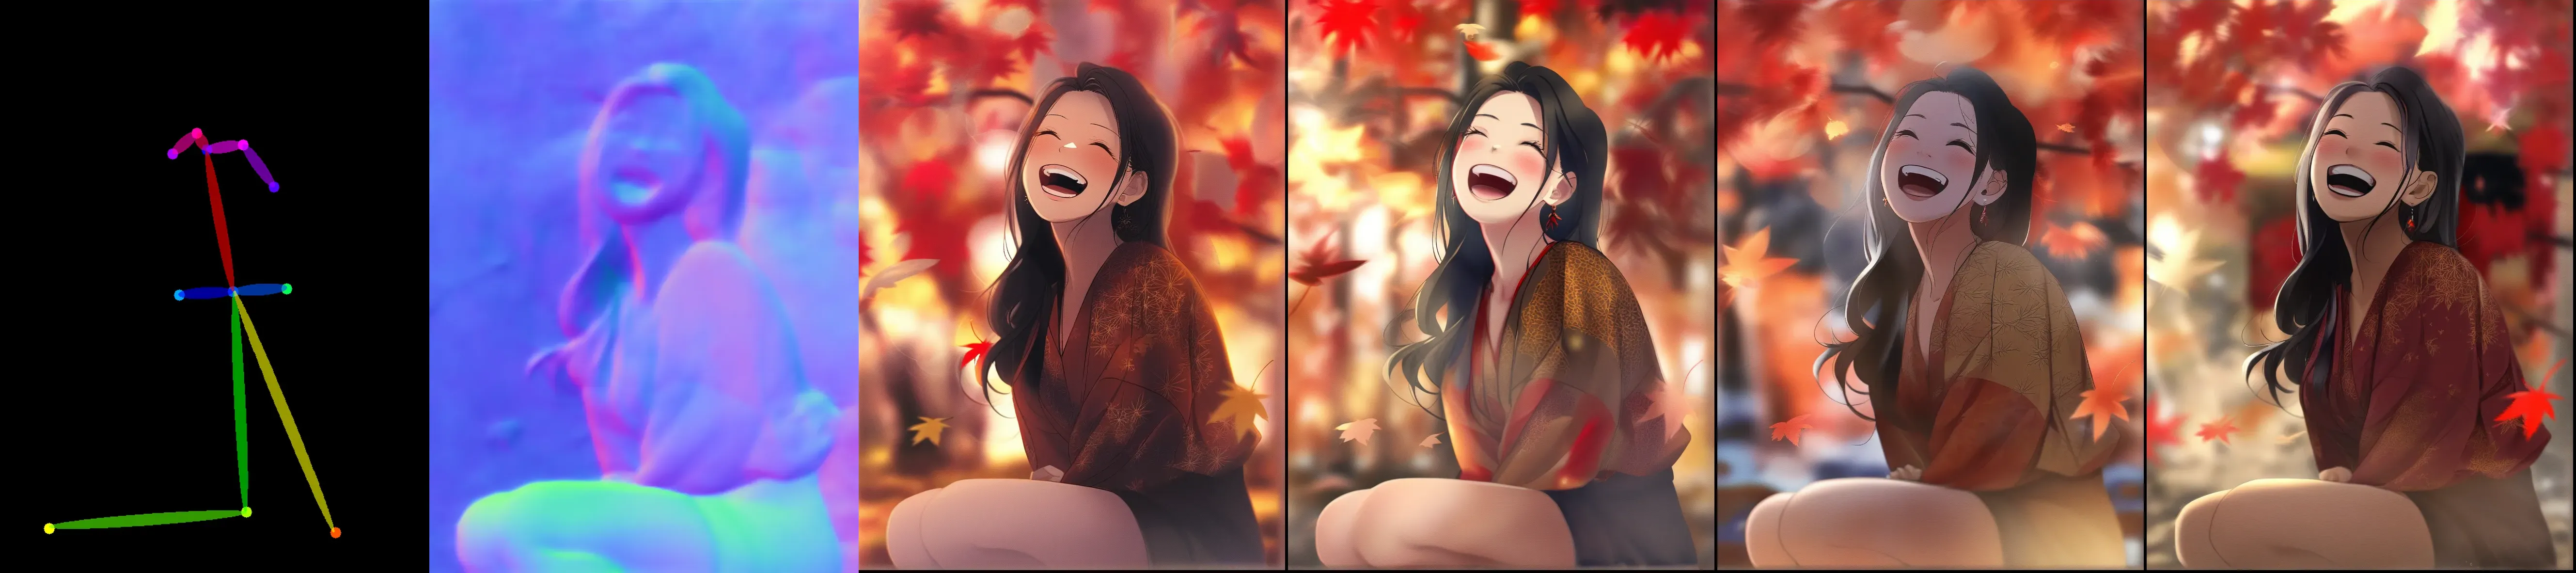
Openpose + Normal
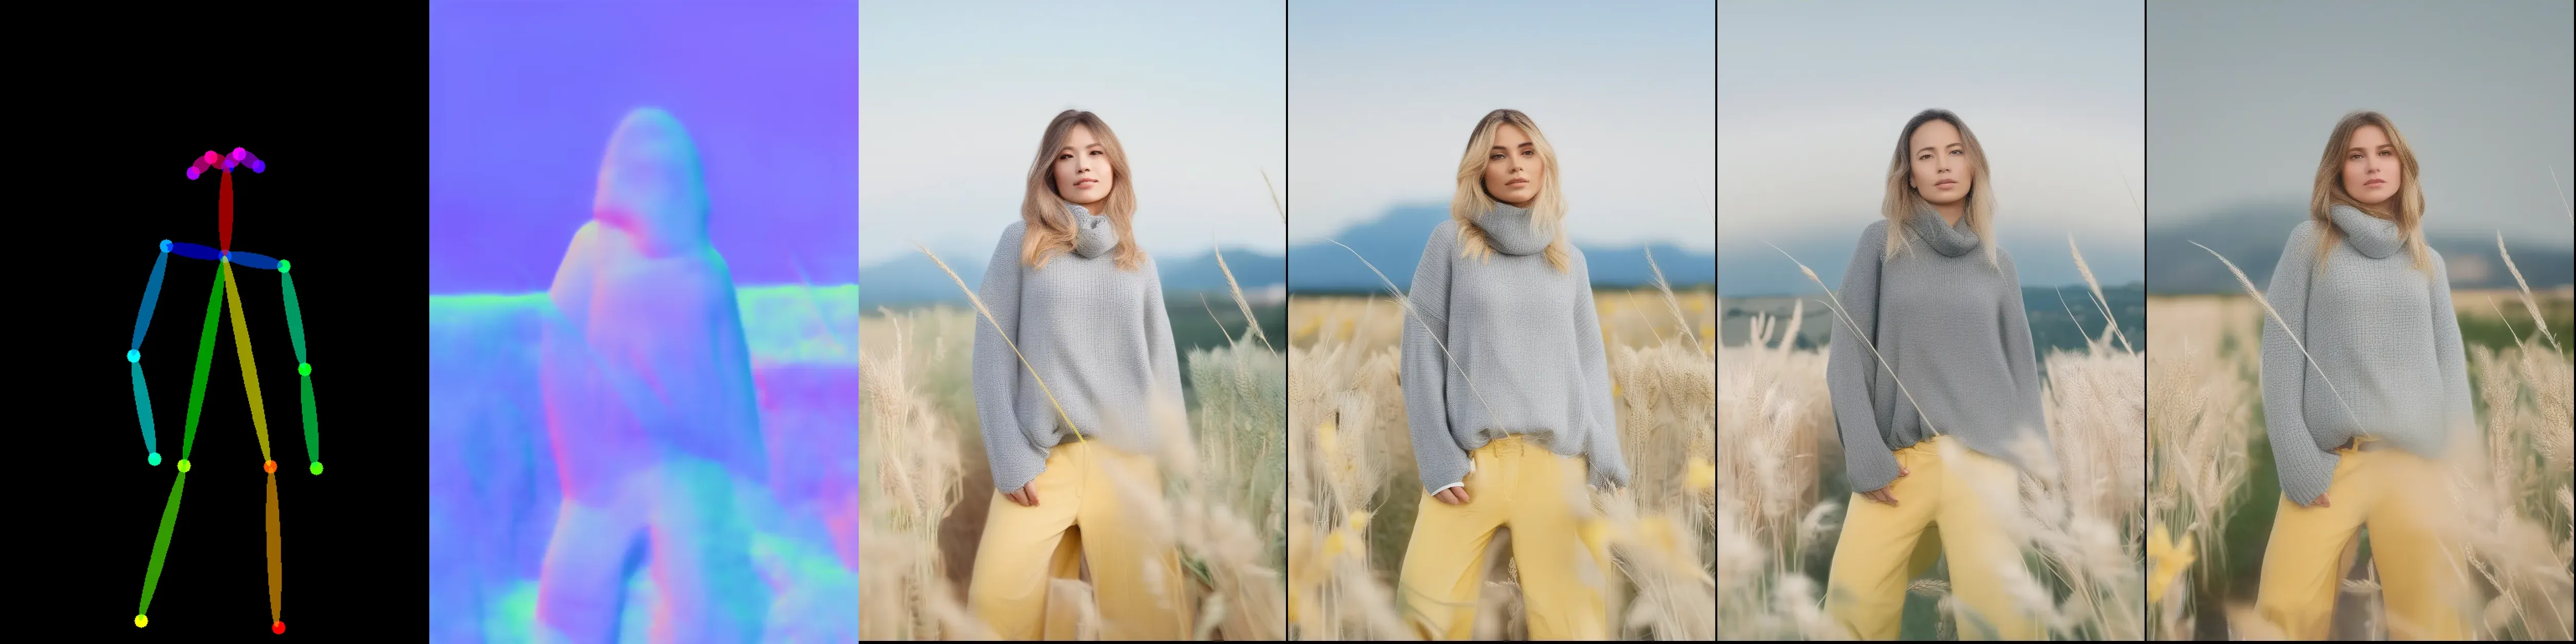
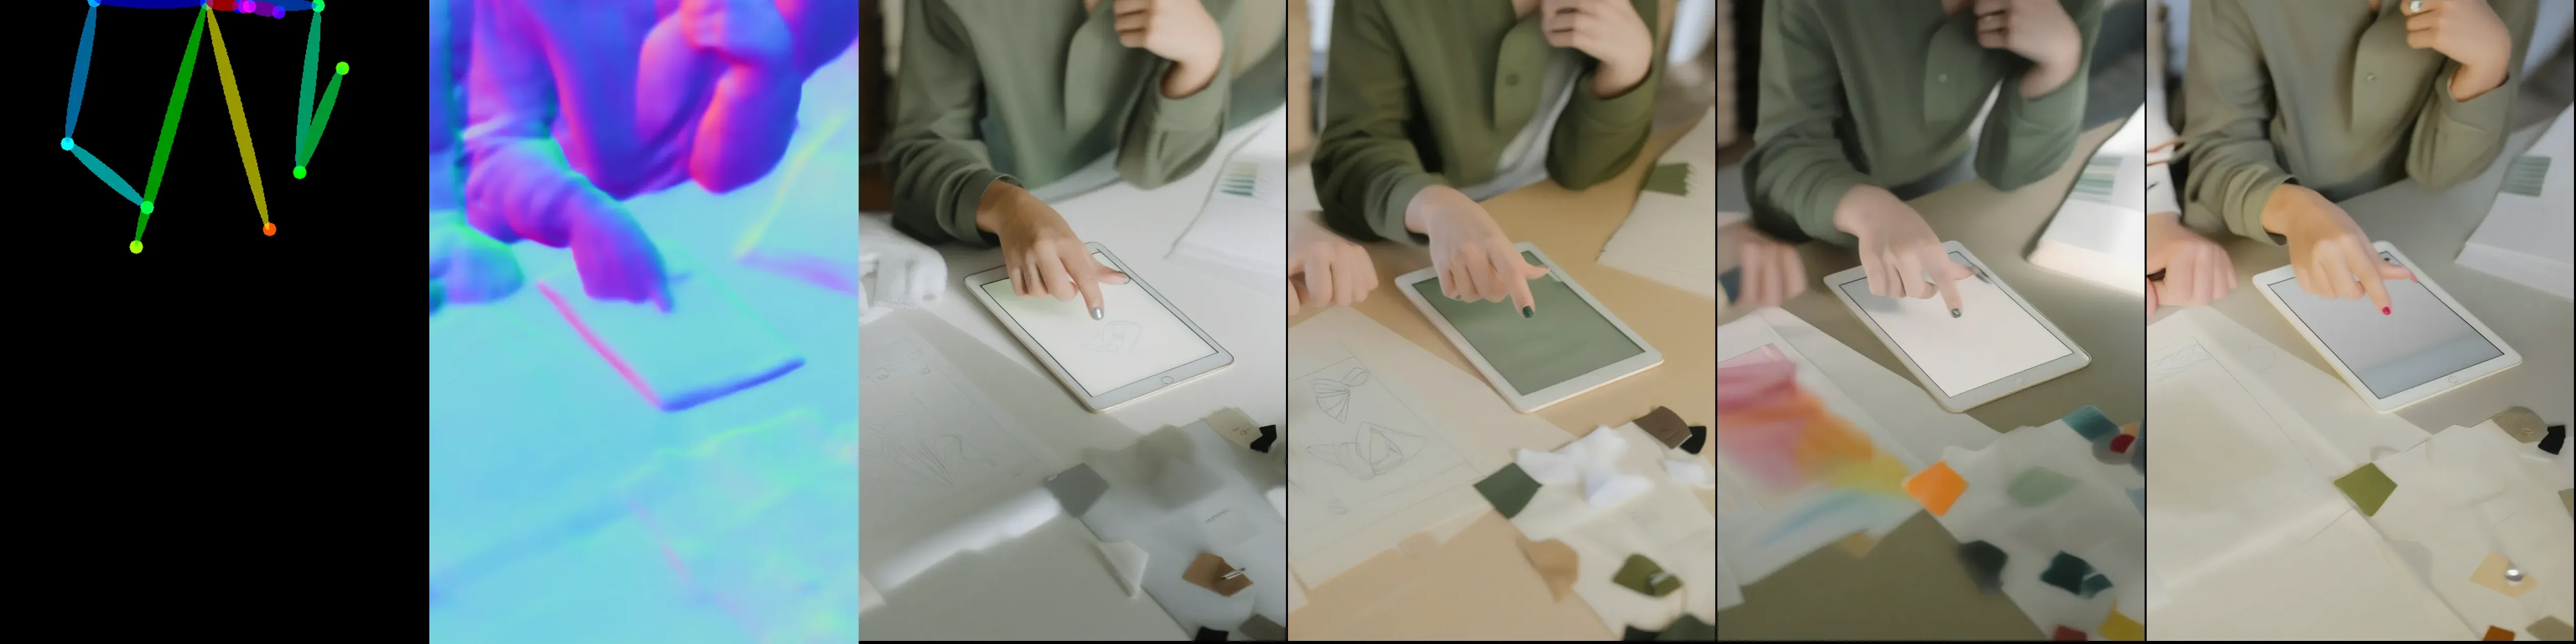
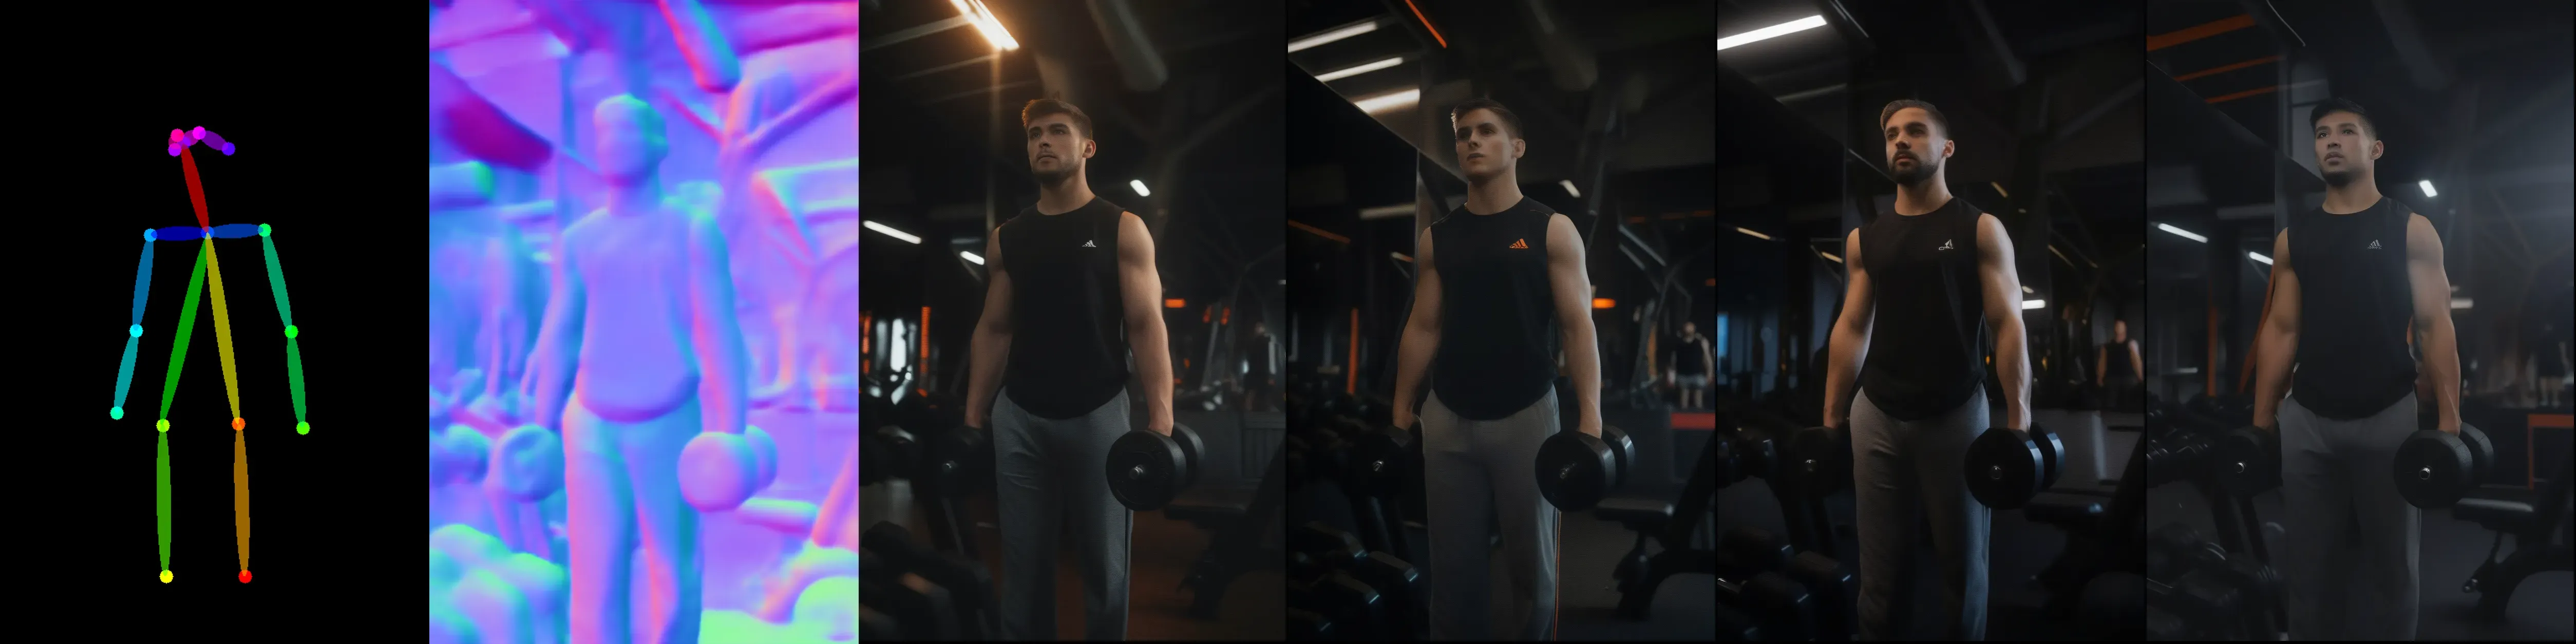
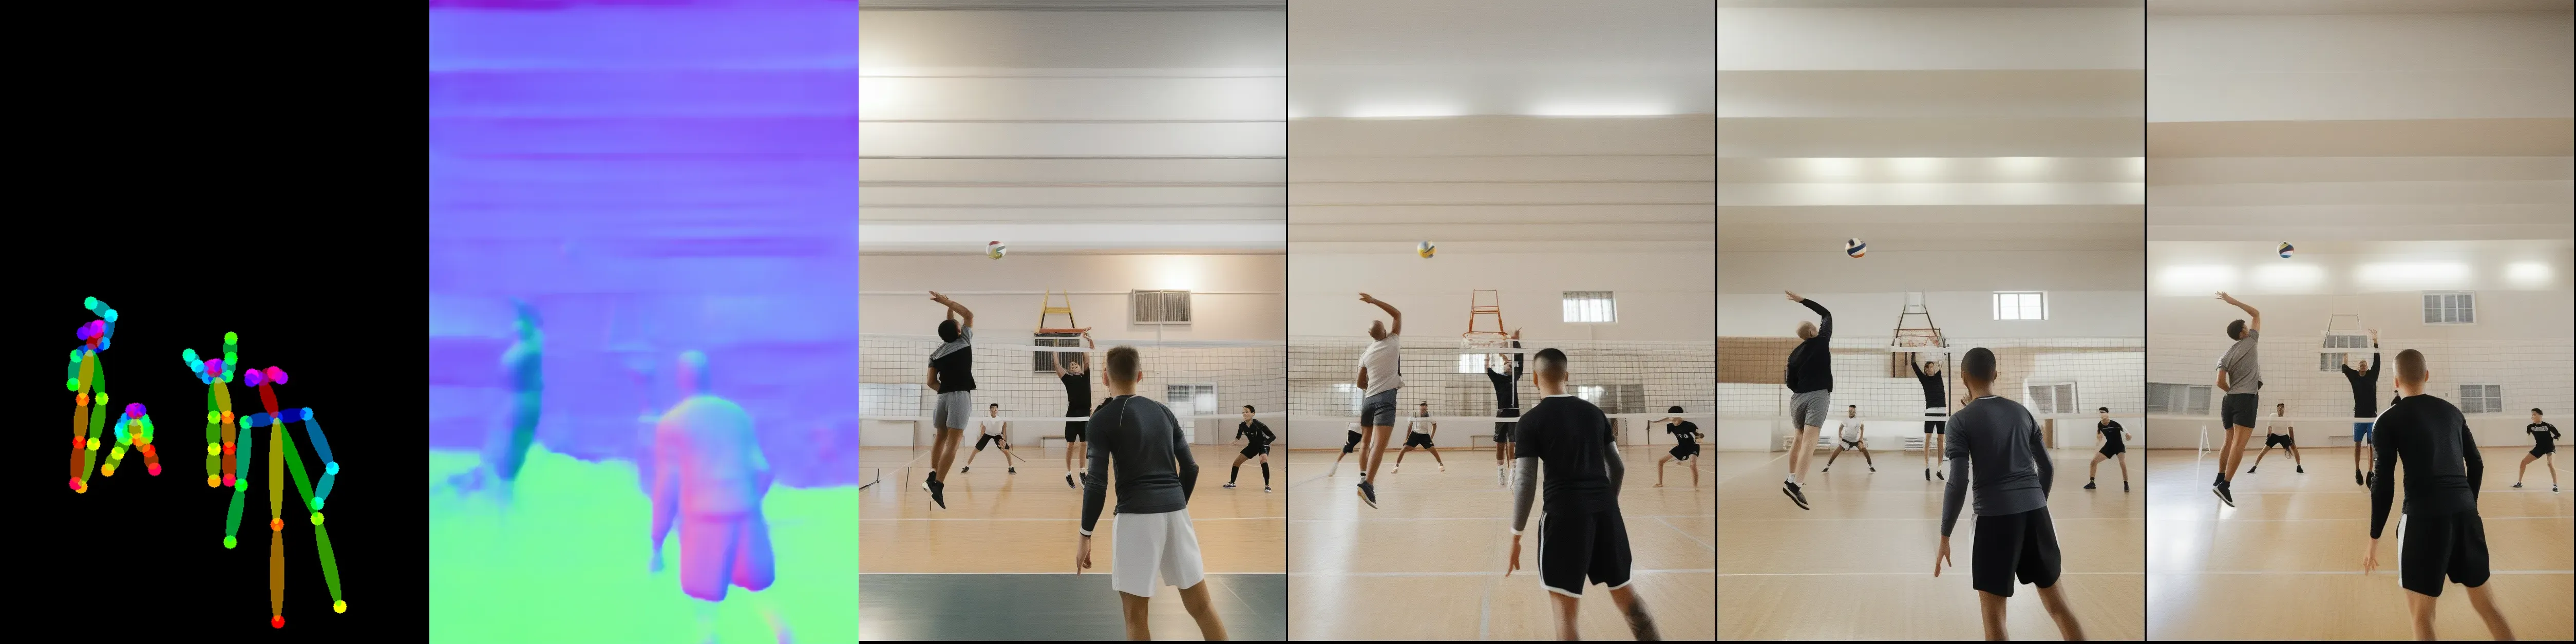
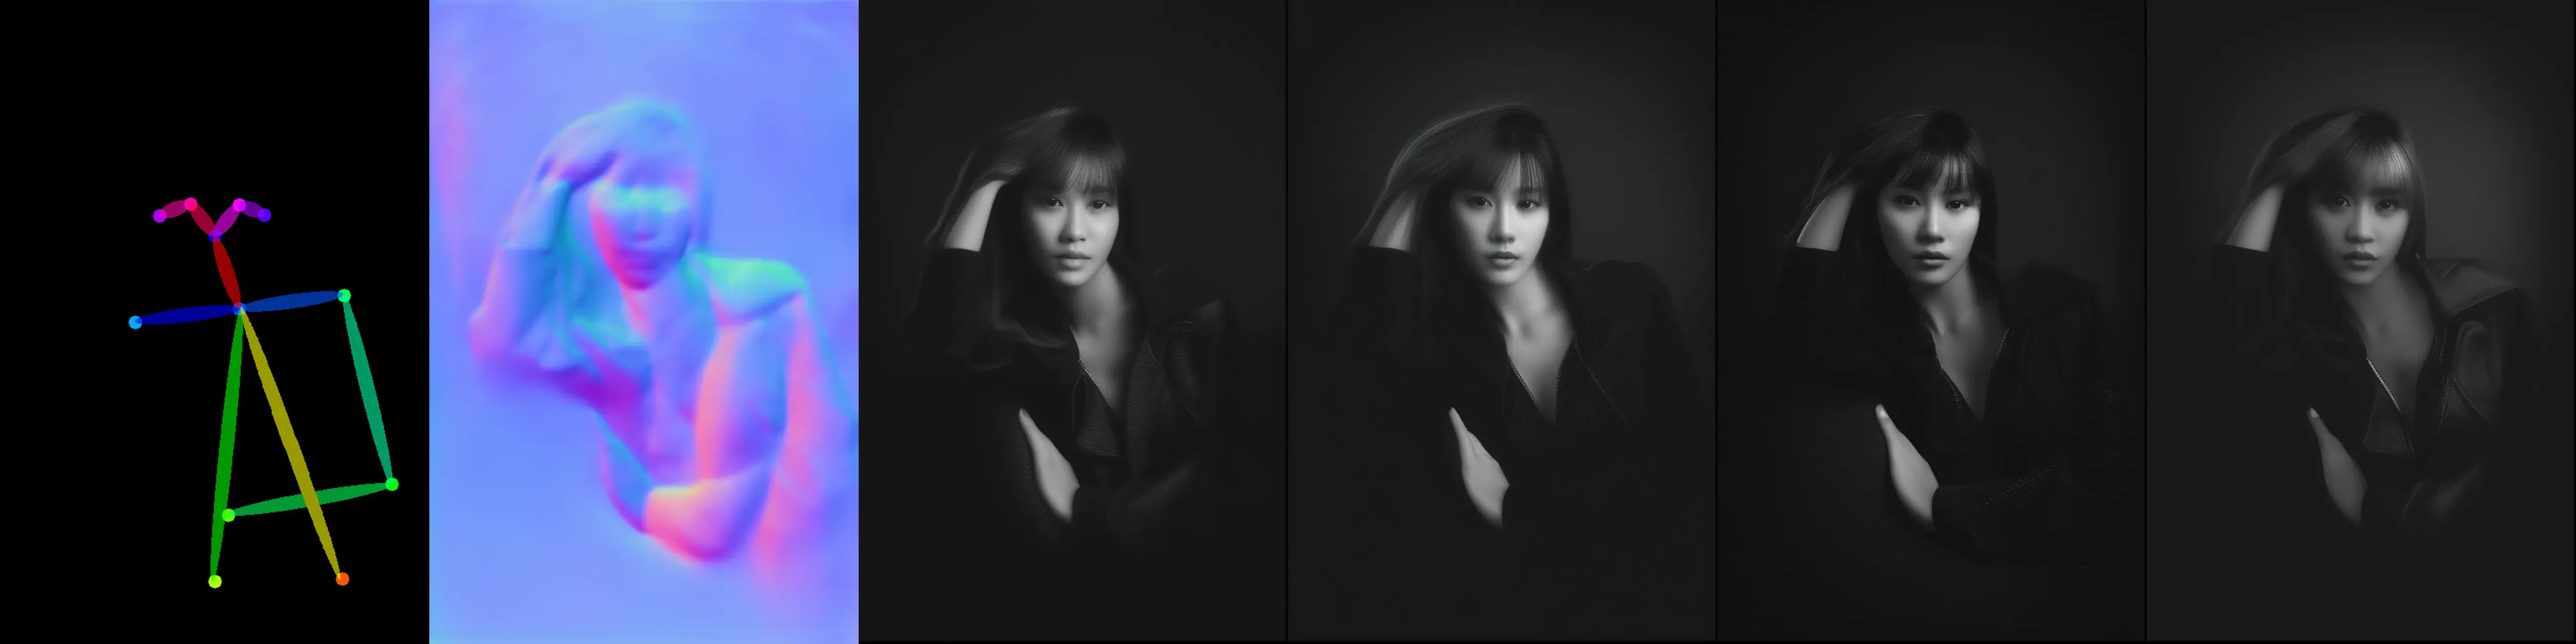
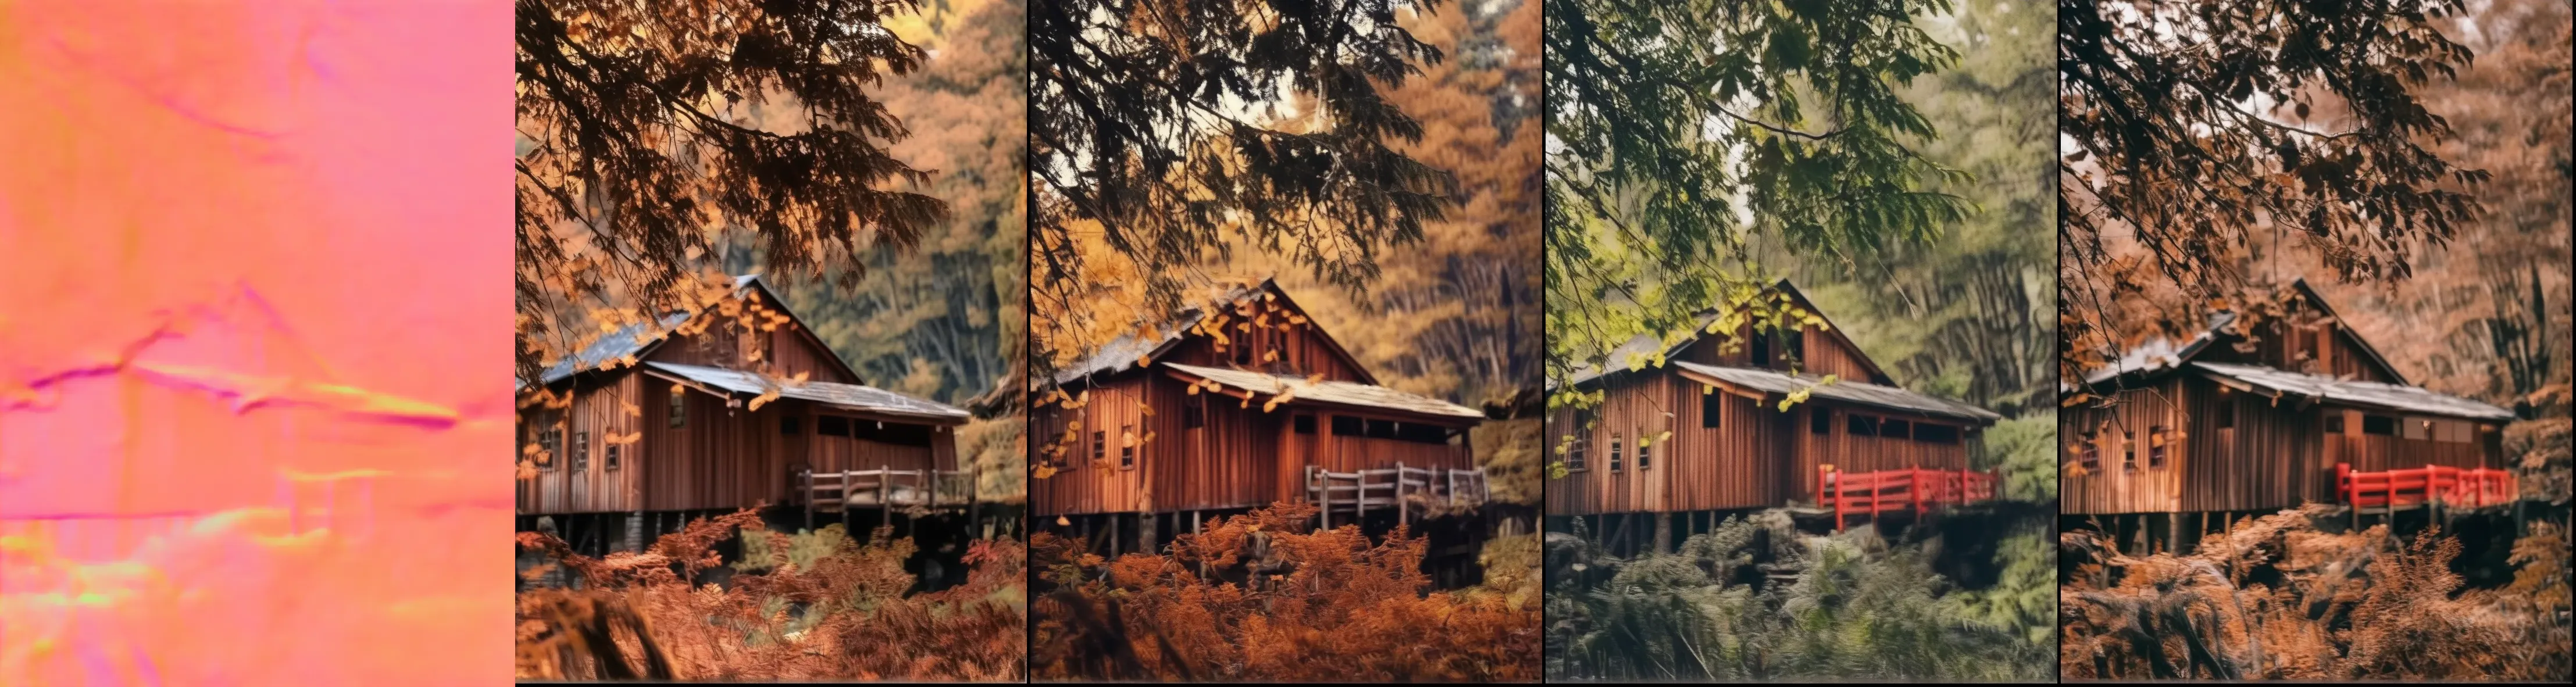
Openpose + Segment


数据集
我们收集了大量高质量图像。这些图像经过严格筛选和标注,涵盖了广泛的主体,包括摄影、动漫、自然、midjourney 等。
网络架构
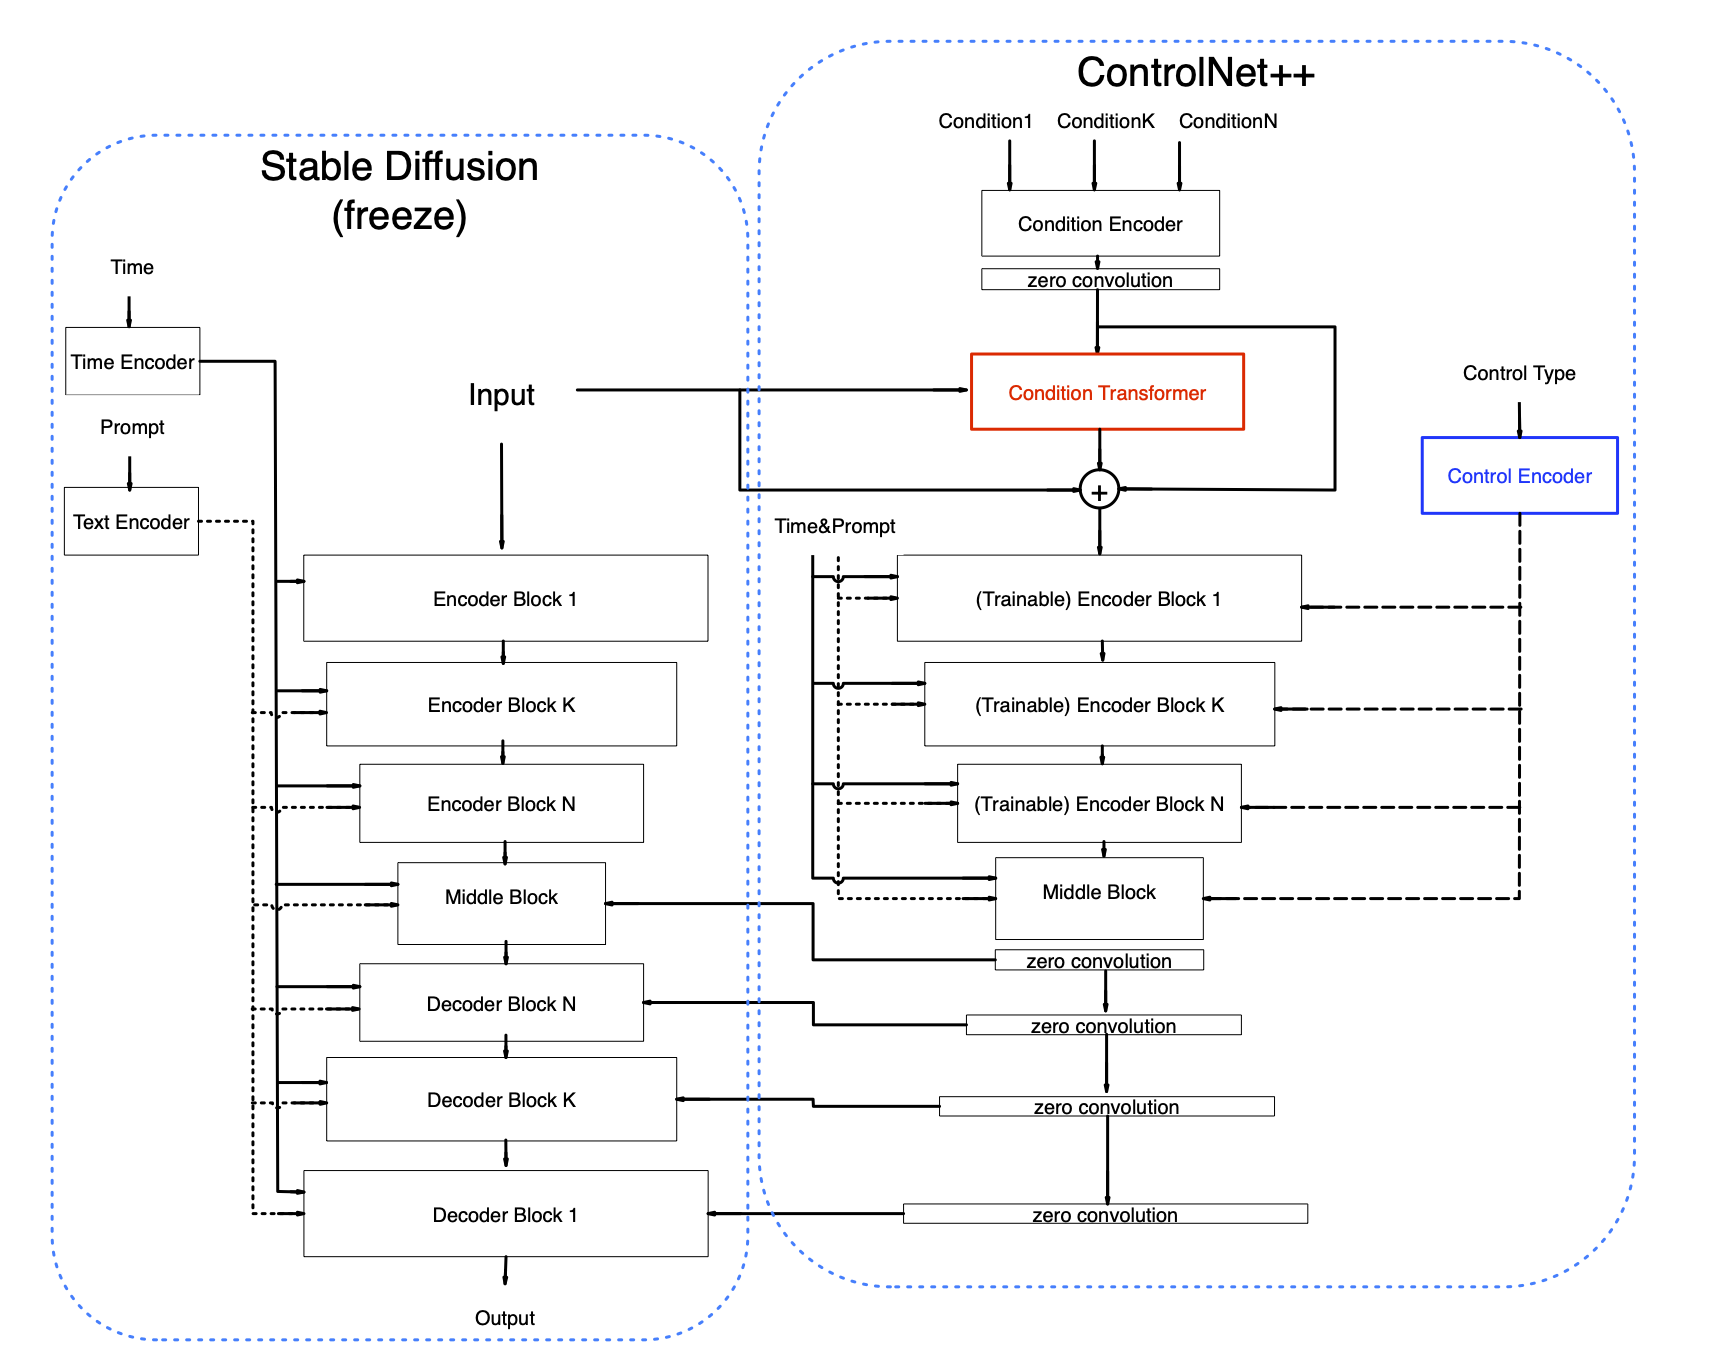
我们提出了 ControlNet++ 中的两个新模块,分别命名为 Condition Transformer 和 Control Encoder。我们对一个旧模块进行了轻微修改,以增强其表征能力。此外,我们提出了一种统一的训练策略,以在单个阶段实现单控制与多控制。
Control Encoder
对于每个条件,我们为其分配一个控制类型 ID,例如,openpose--(1, 0, 0, 0, 0, 0),depth--(0, 1, 0, 0, 0, 0),多条件则类似于 (openpose, depth) --(1, 1, 0, 0, 0, 0)。在 Control Encoder 中,控制类型 ID 将被转换为控制类型嵌入(使用正弦位置嵌入),然后我们使用单个线性层将控制类型嵌入投影到与时间嵌入相同的维度。控制类型特征被添加到时间嵌入中,以指示不同的控制类型,这种简单的设置可以帮助 ControlNet 区分不同的控制类型,因为时间嵌入往往对整个网络产生全局影响。无论是单条件还是多条件,都有一个唯一的控制类型 ID 与之对应。
Condition Transformer
我们将 ControlNet 扩展为使用同一网络同时支持多个控制输入。条件变换器用于组合不同的图像条件特征。我们的方法有两个主要创新点,首先,不同的条件共享同一个条件编码器,这使得网络更加简单和轻量。这与 T2I 或 UniControlNet 等其他主流方法不同。其次,我们添加了一个变换器层来交换原始图像和条件图像的信息,而不是直接使用变换器的输出,我们使用它来预测原始条件特征的条件偏置。这有点像 ResNet,我们通过实验发现这种设置可以显著提高网络的性能。
修改后的条件编码器
ControlNet 的原始条件编码器是卷积层和 Silu 激活函数的堆叠。我们没有改变编码器架构,只是增加了卷积通道数以获得一个“胖”编码器。这可以显著提高网络的性能。原因是我们为所有图像条件共享同一个编码器,因此要求编码器具有更高的表征能力。原始设置在单一条件下表现良好,但在 10 个以上条件下表现不佳。请注意,使用原始设置也是可以的,只是会牺牲一些图像生成质量。
统一训练策略
使用单一条件进行训练可能会受到数据多样性的限制。例如,openpose 要求使用包含人物的图像进行训练,而 mlsd 要求使用包含线条的图像进行训练,因此可能会影响生成未见过的对象时的性能。此外,训练不同条件的难度各不相同,同时使所有条件收敛并达到每个单一条件的最佳性能是棘手的。最后,我们倾向于同时使用两个或更多条件,多条件训练将使不同条件的融合更加平滑,并提高网络的鲁棒性(因为单一条件学习到的知识有限)。我们提出了一个统一的训练阶段,以同时实现单一条件的最优收敛和多条件融合。
ControlMode
ControlNet++ 需要向网络传递一个控制类型 ID。我们将 10 多种控制合并为 6 种控制类型,每种类型的含义如下:
0 -- openpose
1 -- depth
2 -- thick line(scribble/hed/softedge/ted-512)
3 -- thin line(canny/mlsd/lineart/animelineart/ted-1280)
4 -- normal
5 -- segment
Installation
我们建议 Python 版本 >= 3.8,您可以使用以下命令设置虚拟环境:
conda create -n controlplus python=3.8
conda activate controlplus
pip install -r requirements.txt
下载权重
您在 https://huggingface.co/xinsir/controlnet-union-sdxl-1.0 下载模型权重。任何新模型发布都将放在 huggingface 上,您可以关注 https://huggingface.co/xinsir 以获取最新模型信息。
推理脚本
我们为每种控制条件提供了推理脚本。请参阅以获取更多详细信息。
存在一些预处理差异,为了获得最佳的 openpose-control 性能,请执行以下操作: 在 controlnet_aux 包中找到 util.py,用以下代码替换 draw_bodypose 函数
def draw_bodypose(canvas: np.ndarray, keypoints: List[Keypoint]) -> np.ndarray:
    """
    Draw keypoints and limbs representing body pose on a given canvas.

    Args:
        canvas (np.ndarray): A 3D numpy array representing the canvas (image) on which to draw the body pose.
        keypoints (List[Keypoint]): A list of Keypoint objects representing the body keypoints to be drawn.

    Returns:
        np.ndarray: A 3D numpy array representing the modified canvas with the drawn body pose.

    Note:
        The function expects the x and y coordinates of the keypoints to be normalized between 0 and 1.
    """
    H, W, C = canvas.shape


    if max(W, H) < 500:
        ratio = 1.0
    elif max(W, H) >= 500 and max(W, H) < 1000:
        ratio = 2.0
    elif max(W, H) >= 1000 and max(W, H) < 2000:
        ratio = 3.0
    elif max(W, H) >= 2000 and max(W, H) < 3000:
        ratio = 4.0
    elif max(W, H) >= 3000 and max(W, H) < 4000:
        ratio = 5.0
    elif max(W, H) >= 4000 and max(W, H) < 5000:
        ratio = 6.0
    else:
        ratio = 7.0

    stickwidth = 4

    limbSeq = [
        [2, 3], [2, 6], [3, 4], [4, 5],
        [6, 7], [7, 8], [2, 9], [9, 10],
        [10, 11], [2, 12], [12, 13], [13, 14],
        [2, 1], [1, 15], [15, 17], [1, 16],
        [16, 18],
    ]

    colors = [[255, 0, 0], [255, 85, 0], [255, 170, 0], [255, 255, 0], [170, 255, 0], [85, 255, 0], [0, 255, 0], \
              [0, 255, 85], [0, 255, 170], [0, 255, 255], [0, 170, 255], [0, 85, 255], [0, 0, 255], [85, 0, 255], \
              [170, 0, 255], [255, 0, 255], [255, 0, 170], [255, 0, 85]]

    for (k1_index, k2_index), color in zip(limbSeq, colors):
        keypoint1 = keypoints[k1_index - 1]
        keypoint2 = keypoints[k2_index - 1]

        if keypoint1 is None or keypoint2 is None:
            continue

        Y = np.array([keypoint1.x, keypoint2.x]) * float(W)
        X = np.array([keypoint1.y, keypoint2.y]) * float(H)
        mX = np.mean(X)
        mY = np.mean(Y)
        length = ((X[0] - X[1]) ** 2 + (Y[0] - Y[1]) ** 2) ** 0.5
        angle = math.degrees(math.atan2(X[0] - X[1], Y[0] - Y[1]))
        polygon = cv2.ellipse2Poly((int(mY), int(mX)), (int(length / 2), int(stickwidth * ratio)), int(angle), 0, 360, 1)
        cv2.fillConvexPoly(canvas, polygon, [int(float(c) * 0.6) for c in color])

    for keypoint, color in zip(keypoints, colors):
        if keypoint is None:
            continue

        x, y = keypoint.x, keypoint.y
        x = int(x * W)
        y = int(y * H)
        cv2.circle(canvas, (int(x), int(y)), int(4 * ratio), color, thickness=-1)

    return canvas
对于单条件推理,您应提供一个提示词和一张控制图像,并修改 python 文件中的相应行。
python controlnet_union_test_openpose.py对于多条件推理,您应确保您的输入 image_list 与您的 control_type 兼容,例如,如果您想使用 openpose 和 depth 控制,image_list --> [controlnet_img_pose, controlnet_img_depth, 0, 0, 0, 0],control_type --> [1, 1, 0, 0, 0, 0]。更多详情请参阅 controlnet_union_test_multi_control.py。
理论上,您无需为不同条件设置条件比例,该网络的设计和训练旨在自然地融合不同条件。每个条件输入的默认设置为 1.0,这与多条件训练相同。
然而,如果您想增加某些特定输入条件的影响,您可以调整 Condition Transformer Module 中的条件比例。在该模块中,输入条件将与偏置预测一起添加到源图像特征中。
将其乘以某个比例会产生很大影响(但可能会导致一些未知结果)。
python controlnet_union_test_multi_control.py