
Personal
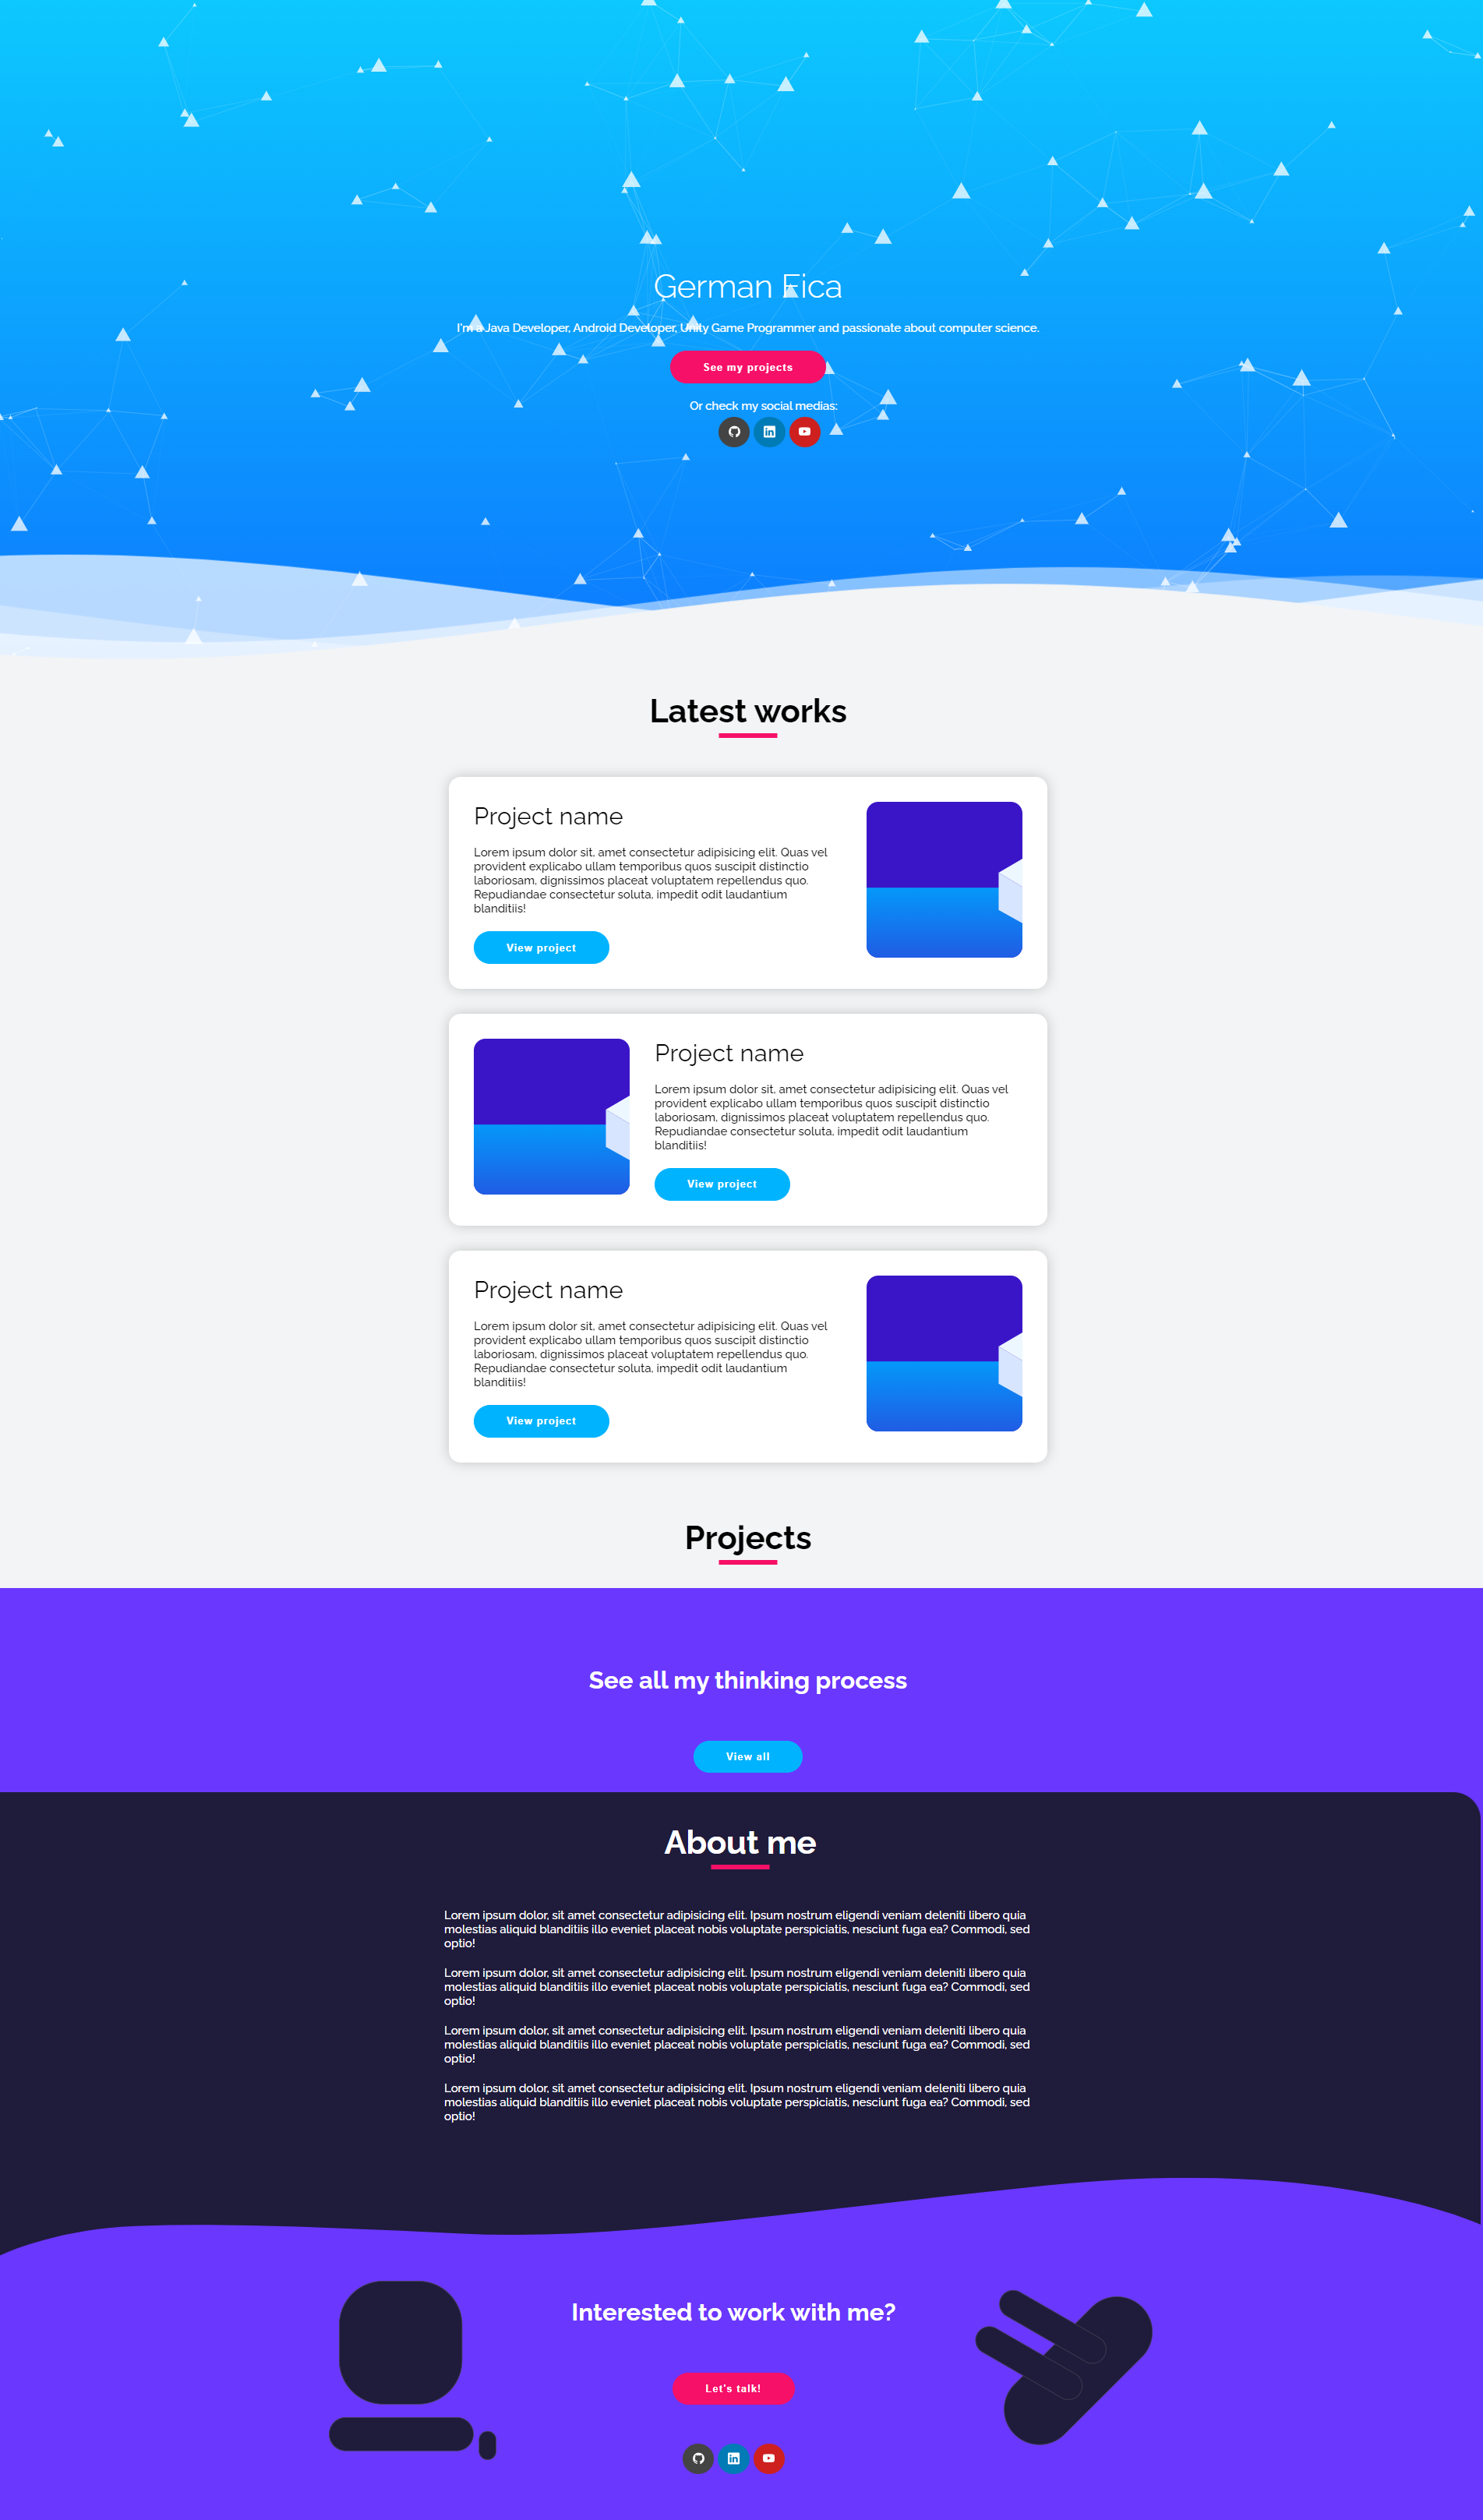
This project was generated with Angular CLI version 17.3.2.
Prerequisites
- Node.js version 18.18.2 or 20.16.0
- Angular CLI version 17.3.2
Development server
Run ng serve for a dev server. Navigate to http://localhost:4200/. The application will automatically reload if you change any of the source files.
Code scaffolding
Run ng generate component component-name to generate a new component. You can also use ng generate directive|pipe|service|class|guard|interface|enum|module.
Build
Run ng build to build the project. The build artifacts will be stored in the dist/ directory.
Running unit tests
Run ng test to execute the unit tests via Karma.
Running end-to-end tests
Run ng e2e to execute the end-to-end tests via a platform of your choice. To use this command, you need to first add a package that implements end-to-end testing capabilities.
Further help
To get more help on the Angular CLI use ng help or go check out the Angular CLI Overview and Command Reference page.
Build docker
docker compose up -dor
docker run -d -p 80:80 angular-personal-website-webDocker compose image template 🎉
docker-compose -f docker-compose-image-template.yml up -dTake a look at the docker-compose-image-template.yml file.
Basically, docker-compose-image-template.yml is a template to use a pre-existing Docker image instead of building a new one each time. The 'build: .' directive is removed and replaced with 'image: <your-image-hash>', allowing the use of a local or remote image specified by its hash. This change makes container deployment easier and faster, especially in environments where the image has already been built and is ready to be reused. Suitable for development and production environments that prioritize resource management efficiency.
Shorten relative paths 🛣️
Open tsconfig.json
{
   "compilerOptions":{
      "baseUrl":"./",
      "paths":{
         "@shared/*":["src/app/shared/*"],
         "@core/*":["src/app/core/*"],
         "@util/*":["src/app/util/*"],
         "@app/*":["src/app/*"]
      }
   }
}
Example of use:
import { CoreModule } from '@core/core.module';import { SharedModule } from '@shared/shared.module';SCSS Path Aliasing 🎨
Open angular.json:
"architect": {
   "build": {
      "options": {
         "stylePreprocessorOptions": {
            "includePaths": [
               "src/styles"
            ]
         }
      }
   }
}
Example of use:
@import 'variables';In tsconfig.json for TypeScript consistency (optional):
"compilerOptions": {
  "paths": {
    "@styles/*": ["src/styles/*"]
  }
}
Use it like:
@import '@styles/variables';Basic project dependencies
ng add @angular/materialnpm i ngx-bootstrap-iconsnpm i particles.jsnpm i ng-recaptchaAngular.json
Open angular.json
{
   "projects":{
      "personal":{
         "architect":{
            "build":{
               "options":{
                  "styles":[
                     "./node_modules/@angular/material/prebuilt-themes/indigo-pink.css",
                     "src/styles.scss"
                  ],
                  "scripts":[
                     "node_modules/particles.js/particles.js"
                  ]
               },
               "configurations":{
                  "fileReplacements":[
                     {
                        "replace":"src/environments/environment.ts",
                        "with":"src/environments/environment.prod.ts"
                     },
                     {
                        "replace":"src/environments/environment.api.ts",
                        "with":"src/environments/environment.api.prod.ts"
                     }
                  ]
               }
            }
         }
      }
   }
}
Note: Keep in mind that this project uses the Angular Material Dialog, so you need to add the Angular material prebuilt-themes "./node_modules/@angular/material/prebuilt-themes/indigo-pink.css" line. If you are not going to use Angular material you can remove it and easily replace it with your own custom Dialog.
projects.json
The projects.json file is crucial for displaying projects on your application. If this file is not present or is improperly configured, no projects will appear. Make sure to place this JSON file in the assets/json/ directory.
Important note
By default, the projects.json file is ignored in the .gitignore file. This is a recommended practice for several reasons:
-
Prevent Accidental Exposure: Although
projects.jsonshould not contain sensitive information, it is ignored by default to ensure that if sensitive data is mistakenly added, it won't be saved in the Git history. -
Environment Specific: Sometimes, you may have a different set of projects for development, staging, and production environments. Keeping this file out of version control allows you to maintain different versions of the file for each environment.
-
Flexibility: Ignoring the file allows developers to have their own local versions for testing and development, without conflicting with others.
⚠️ Caution: Since projects.json will be publicly accessible, make sure not to include any sensitive or confidential information in it.
If you wish to include projects.json in your version control system, make sure to remove it from .gitignore.
File structure
The projects.json file should contain an array of project objects. Each object should have the following fields:
id: A unique identifier for each project.author: The name of the author of the project.name: The name of the project.content: A description or any other details about the project.date: The date when the project was created, formatted as a string in ISO 8601 date format.modified: The date when the project was last modified, also in ISO 8601 date format.
Example projects.json
Here is an example projects.json file:
[
    {
        "id": 1,
        "author": "John Doe",
        "name": "Project 1",
        "content": "Lorem ipsum dolor sit, amet consectetur adipisicing elit. Quas vel provident explicabo ullam temporibus quos suscipit distinctio laboriosam, dignissimos placeat voluptatem repellendus quo. Repudiandae consectetur soluta, impedit odit laudantium blanditiis!",
        "date": "2023-01-10T12:00:00.000Z",
        "modified": "2023-01-15T12:00:00.000Z"
    },
    {
        "id": 2,
        "author": "Jane Doe",
        "name": "Project 2",
        "content": "Lorem ipsum dolor sit, amet consectetur adipisicing elit. Quas vel provident explicabo ullam temporibus quos suscipit distinctio laboriosam, dignissimos placeat voluptatem repellendus quo. Repudiandae consectetur soluta, impedit odit laudantium blanditiis!",
        "date": "2023-02-20T12:00:00.000Z",
        "modified": "2023-02-22T12:00:00.000Z"
    },
    {
        "id": 3,
        "author": "Bob Smith",
        "name": "Project 3",
        "content": "Lorem ipsum dolor sit, amet consectetur adipisicing elit. Quas vel provident explicabo ullam temporibus quos suscipit distinctio laboriosam, dignissimos placeat voluptatem repellendus quo. Repudiandae consectetur soluta, impedit odit laudantium blanditiis!",
        "date": "2023-04-01T12:00:00.000Z",
        "modified": "2023-04-03T12:00:00.000Z"
    },
    {
        "id": 4,
        "author": "Alice Johnson",
        "name": "Project 4",
        "content": "Lorem ipsum dolor sit, amet consectetur adipisicing elit. Quas vel provident explicabo ullam temporibus quos suscipit distinctio laboriosam, dignissimos placeat voluptatem repellendus quo. Repudiandae consectetur soluta, impedit odit laudantium blanditiis!",
        "date": "2023-06-15T12:00:00.000Z",
        "modified": "2023-06-18T12:00:00.000Z"
    }
]
Basic project configuration
Open src/environments/environment.api.prod.ts
export const api = {
  production: true,
  baseUrl: 'your-production-endpoint',
  contact: 'https://submit-form.com/your-form-id',
  recaptcha: {
    siteKey: 'your-google-site-key',
  }
};
Open src/environments/environment.api.ts
export const api = {
  production: false,
  baseUrl: 'http://localhost:4200',
  contact: 'https://submit-form.com/your-form-id',
  recaptcha: {
    siteKey: 'your-google-site-key',
  }
};
Google reCAPTCHA v2
You should configure Google reCAPTCHA v2: https://www.google.com/recaptcha.
Formspark reCAPTCHA
You should create an account in formspark. Check the oficial documentation here: https://documentation.formspark.io/setup/spam-protection.html#recaptcha